Do you want to garden, but you just don’t have enough time for it? I’m with you.
To be honest with you, after working 40 hours a week, the last thing I want to do is garden. So there’s been many years when I just haven’t planted a garden. I decided that since I’m one who doesn’t have a lot of time for a garden, there’s probably more people out there who need some help on how to get started on a garden without a lot of time.
Here are my tips on how to garden when you don’t have a lot of time
1. Start out small
2. Take it slow
3. Start with container gardening
4. Choose foods that you like
5. Choose easy plants to grow
6. Plan out your garden ahead of time
7. Use a soaker hose
8. Participate in a community garden
My first tip is to start out small.
Don’t try and tear up half your yard and plant a massive garden. Just because you saw a beautiful huge garden design on pinterest, doesn’t mean that’s what is right for you! I always recommend starting out small and maybe just trying a couple of plants at a time. You don’t want to create a massive backyard garden and then realize you actually don’t enjoy gardening at all! I normally suggest that you just choose a small area of your yard to plant a garden in and try it out for a year. If it works out and you love it, then you can get a little bigger the next year. Having a large garden is A LOT of work and it requires a time commitment so you don’t want to get yourself into too so much that it ends up stressing you out!
Take it slow
Along the same lines as my last tip, if you don’t have a lot of time you need to take it slow. I suggest starting small and then slowly increasing your garden size each year. You don’t want to jump into a huge garden too quickly because you’ll likely end up getting pretty stressed which is not what gardening is supposed to do! I use gardening as a way to relieve my stress and spend some time outdoors, but I also know how much I can handle and I don’t try and do too much.
Start with container gardening
Container gardening is a great way to garden that’s easy and doesn’t take a lot of time. You can start with container gardening and then branch out as you get more time to garden!
Check out this how to guide with 35 of the easiest plants you can grow in a pot or container. This post gives some great information on what plants you can grow in a container and what you will need to be successful at container gardening. Also for my apartment dwellers, check out this how to guide on how to grow plants in your windowsill. It’s easy and you don’t even have to leave your house or your apartment!
Start out with an herb garden
So I love herbs and they are some of my favorite plants to grow because they’re pretty easy and incredibly useful. There are TONS of diy herb gardens out there that you can make and I love this guide that has tons of different diy herb gardens you can choose from.
Choose foods that you like
Trust me, when you don’t have a lot of time you want to choose to grow plants that produce vegetables or fruit that you actually like. Especially when you are just starting out you don’t want to plant jicama (it’s a really good, but also a fairly unknown vegetable, at least in my area) when you have no idea what to do with it. And if you grow things you don’t like you’re less likely to enjoy gardening and you’ll get discouraged. Before you plant something in your garden you should know how you’re going to use it! Look up a couple of recipes that use that vegetable that look good to you, so you know how you’re going to use it once you’ve grown it. Don’t waste time planting vegetables or fruits that you don’t like and won’t use!
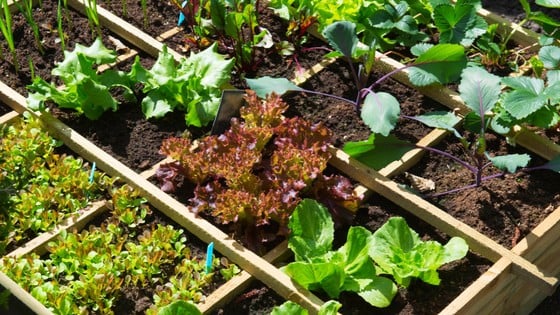
Choose the easy plants
I HIGHLY recommend that especially for beginners you start out with the easy plants. They’re a little bit more forgiving, of potential mistakes and if you don’t have a lot of time it’s very easy to make mistakes (like forgetting to water for a long time) Some of my favorite easy plants to grow are:
Cucumbers
Green Beans
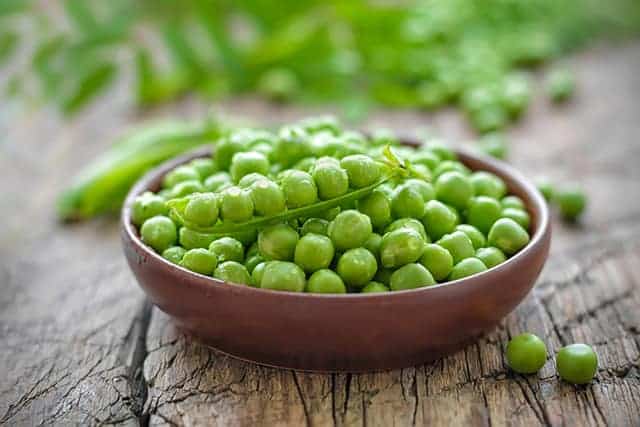
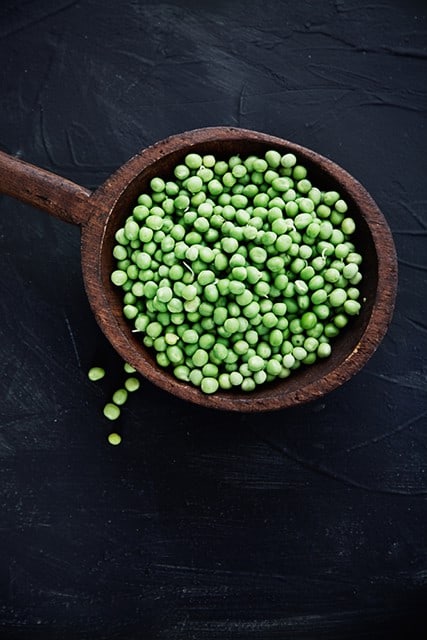
Peas
Tomatoes
Mint
Zucchini: Seriously you can’t get these things to STOP producing. You’ll have more zucchini than you know what to do with
Summer Squash: Same with summer squash. It grows like CRAZY
Bell Peppers
Spinach
The Tower Garden has an amazing how to guide to help you choose plants, and seeds that will work best for your garden and are easy to grow. Check it out here
Plan out your garden ahead of time
Trust me. If you don’t plan out your garden you’ll probably regret it. You might think that you’re saving time by not planning, but when you realize you planted your tomatoes directly in the shade of a tree you’ll wish you had. Plant your plants in the right spot! Look up the sun and water requirements for each plant and then plant accordingly. Put low water plants together and full sun plants together. You’ll save yourself tons of time watering when all of your plants that need a lot of water are together, and all of your low water plants are together. It makes things simpler, easier, and faster.
Use a soaker hose
I LOVE soaker hoses. Once they’re set up in your garden they will save you so much time because you can just leave them on and let your garden to soak. Beats watering with a watering can am I right? I also feel like using a soaker hose is WAY more effective and saves water.
Get the right tools
So I normally keep things pretty simple here at the homestead, but there are some new, fancy homesteading and gardening tools that are huge time savers. I highly recommend a no kink hose (like this one) because getting kinks out of a 100 ft long hose is a pain! So look around and find the best tools that will work for your garden, and save you the most time! Also a great tool you can use are self watering containers. Check out these amazing diy self watering containers! If you’re anything like me, you forget to water your plants A LOT. So I love these diy self watering containers because they save tons of time and prevent me from accidentally killing my plants.
Find (or create) a community garden
Personally, I think community gardens are a huge timesaver. The work of gardening is divided up among a bunch of people, so there’s less work for everyone involved. Which is a HUGE timesaver. Look around your community and see if there is a community garden near you that you can participate in. Or see if some of your neighbors would be willing to help you create one!
Go to your closest farmers market
Ok so I understand that for some of us there just isn’t enough time in the day for gardening. And that’s ok! One of my favorite gardening alternatives are farmers markets or farm shares. You can head to your local farmers market and pick up some amazing fruits and vegetables that are delicious and fresh! I also suggest that you contact local farmers and see if they do farm shares. There are several farms in my area that do farm shares and they are awesome! Basically with most farm shares you pay a certain amount up front and then you pick up certain fruits and vegetables each week. I LOVE farm shares because they’re a great way to support local farmers and you get to try out different yummy fruits and vegetables each week!
Do you need some extra help getting started with your garden? Check out my book all about backyard gardening!
Are you a really busy person? How do you make time for gardening? Help me out and share your time-saving gardening tips in the comments below!