Adding a window to your chicken coop is easy – as long as you have a plan.
While the coop we bought for our hens is largely perfect, when the summer time heat hit, it got just a little bit too stuffy in there for my comfort.
Backyard chickens don’t sweat like humans do – so they feel heat more and chickens have a hard time cooling down.
It’s very important your coop has great ventilation and air flow so your hens don’t develop respiratory issues and suffer heat stroke – so we decided to add a few windows to our chicken coop to reduce the heat inside AND increase the airflow.
Before we get started, know that there’s a LOT of decisions to make before you start cutting a hole in the wall of your coop…..practical AND style decisions.
And since you’ll be looking at your coop for a LONG time, both of these types of decisions are equally important.
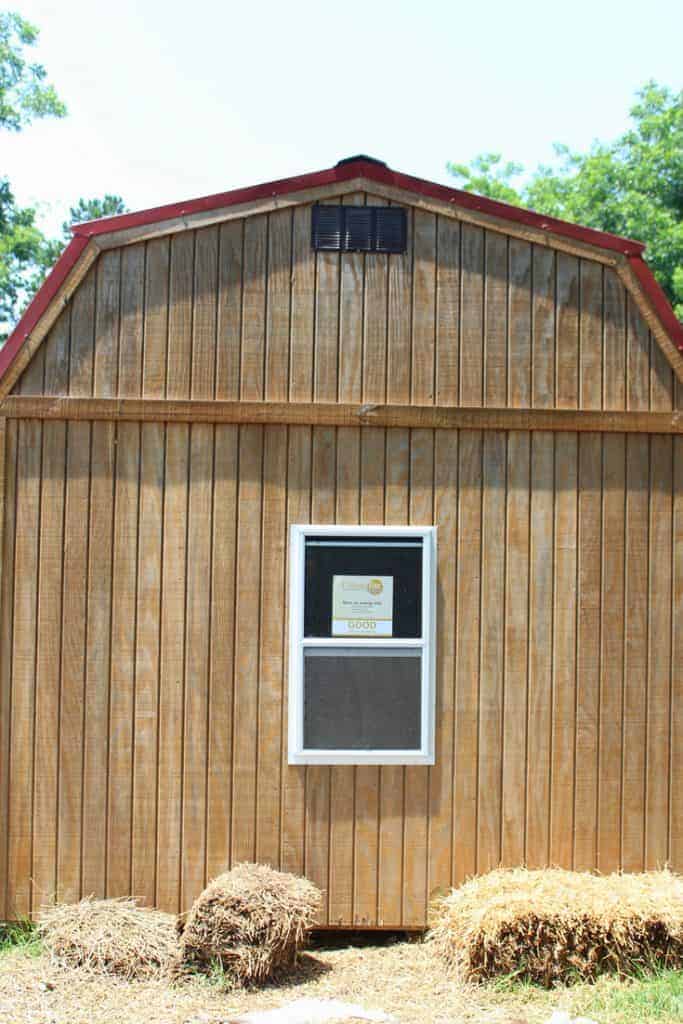
For those who can’t wait to discover what window we chose, we opted for a $30, pre-fab, single hung windows with screens. You’ll learn why as you read the article.
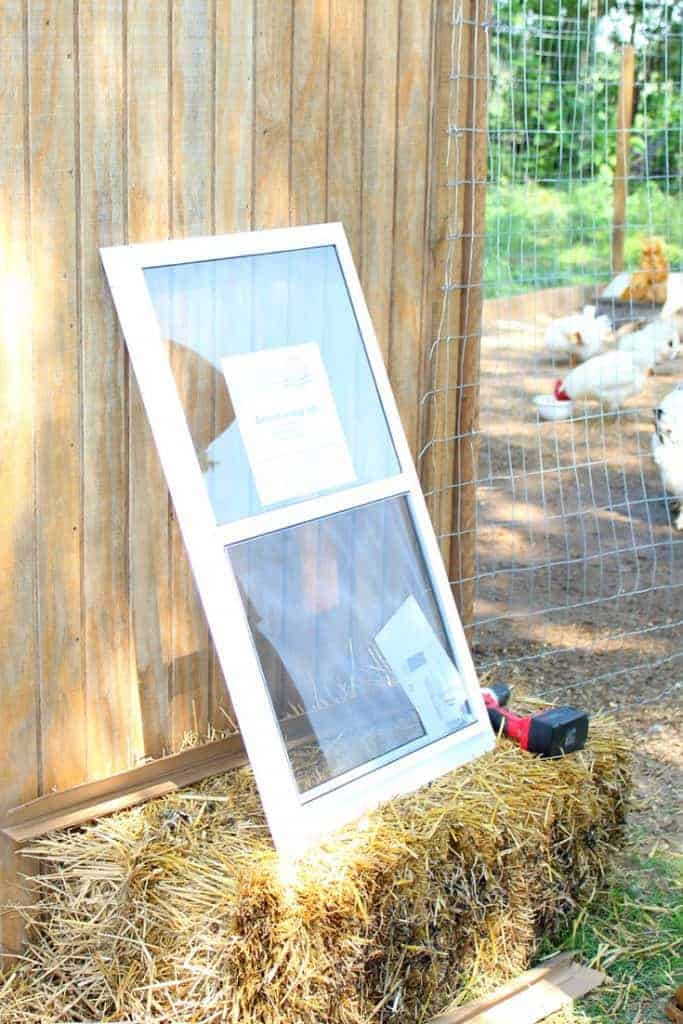
You should choose the type of window that works best for your own situation, however.
Here’s how we did it, and how you can add a window to your chicken coop yourself.
Tools needed:
- Sawzaw or other way to cut a hole in your coop wall
- Window & manufacturer’s window installation kit
- Molding or wood to frame the window
- Broom to sweep up wood shavings and dust
- Measuring tape
- Ear plugs (yes, these are important – you don’t want ringing ears!)
- 1-inch drill bit & drill
- Electric screwdriver
- A carpenter’s pencil or a marker
Step 1: Decide Where To Put The Window
This is critical – once you cut a hole in your coop wall, it’s permanent, so keep the following questions in mind before adding the window.
Where does the wind blow?
The goal is to create air flow – so you want to make sure you stand a good chance by putting the window where there tends to be a lot of airflow already.
Don’t make this decision lightly – you need to keep airflow from all seasons in mind.
On our farm, we have a lot of wind from the North, so it seems it would be best to place the window on the North side of the coop.
But in the winter, the North wind come from Canada, and it’s cold and bitter. So, the North side isn’t the best place.
The coop already has a window to the South, so we decided on an East/West location for the windows. We get a good West wind, and during the winter, it’s not as bitter as the North wind.
Are you adding more than one window?
Not every coop needs multiple windows. Ours does, so we decided to add 2 windows.
But going back to airflow….
You might need more than one window if your coop is very hot and stuffy over the summer, or if you want a lot of light in your coop and live in a cooler area, so make this decision before deciding on the final placement of your chicken coop window.
Is there a spot that tends to get super wet with rain (avoid this spot)?
An open window is an invitation for wet weather to seep into your coop. If you have a particular spot that’s more likely to bring water into the coop, this might not be the best place to add a window.
For example, we rarely have East winds – so we know we’re less likely to have our coop soaked during a sudden rainstorm with a window that faces the East.
This is key to reduce moisture in your coop and keep your chickens healthy.
What height should you put it at to avoid predators?
If chicken predators plague your area, you want the window to be high enough that they can’t just jump into your coop or rip open any screens.
In our area, we don’t have much trouble with predators. However, we still make sure the window is several feet off the ground.
Where does the window look the most attractive?
Really, this IS important, so don’t gloss over this because it seems frivolous.
You’ll be looking at this new window for a long time – choose a spot on the chicken coop wall that looks “right” and not funky.
The last thing you want is to regret the placing decision and spend the next 20 years kicking yourself.
Do you need to move any structural beams or add bracing?
Go inside your chicken coop and look at the overall structure. To install the window, will you need to move any beams and will you need to brace the walls around the window?
For our coop, the interior 2×4 beams were largely for looks – they didn’t really support the walls at all. So, we were free to remove them as needed.
However, your coop might not be structured the same way, and you might need to brace a wall in order to keep your flock’s home structurally sound.
Adding bracing is pretty easy. We had to do it in our farm house when we installed French doors, but it’s important to know whether you have to do it – so you don’t walk out one morning to a crumpled heap of wood.
So, take these decisions into consideration when deciding where to place the window in your chicken coop.
Do you plan to buy a pre-fab window or build one yourself (or simply cut a hole in the wall??)
Ask yourself whether you plan to DIY the window (which brings up another host of questions) or if you’ll buy a window and kit and just install it yourself.
We opted to buy windows – they cost about $30 each and look better than just a hole in the wall.
Step 2: Will the window close?
Ask yourself whether you plan to close the window at any point. This is also an important decision.
In the past, we simply cut holes in the wall, slapped some hardware cloth in it, and left it at that.
Then winter rolled around, and we regretted being so cavalier – because we then had to cover the chicken coop window with really ugly tin.
In some areas (such as areas with little rainfall and high temperatures), a window that closes isn’t as important.
So, you need to consider your local climate.
But if you plan to close the window during bad weather, you’ll need to buy or make a window that has the ability to close.
Do you plan to use hardware cloth or a screen?
The purpose of a window is to create airflow, but you also don’t want your flock to escape through the window.
So, you’ll need some sort of covering for the big gaping hole you’re about to create. We wanted to keep bugs out of the coop as much as possible, so we opted for a prefab window that had a screen.
If you live in an area with a lot of predators, a screen might not be the best option. In fact, if you live in an area with bears, you might want to consider safety bars.
If raccoons or opossums are an issue in your area, then ¼ inch hardware cloth might be a better option. For areas with aggressive neighborhood dogs, ½ inch hardware cloth will work well.
We don’t have a lot of predators, and certainly no bears, but we do have a LOT of flies in our chicken coop……so we went with a screen that gave us a bit of bug control.
Before cutting, ask yourself whether you’ll use hardware cloth or a screen.
Single hung or double hung?
This is kind of a minor decision, but ask yourself whether you want a single or double hung window to grace the wall of your chicken coop.
Single hung windows are cheaper, so we went with that.
Step 3: Cut A Hole In The Wall The Size Of The Window
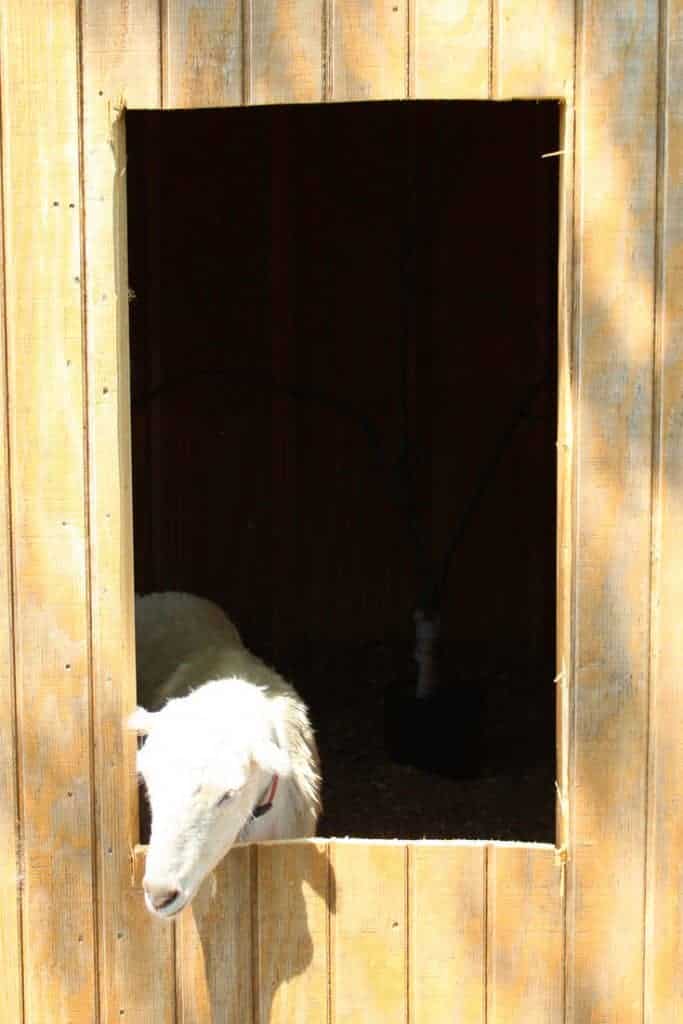
Now it’s time to actually install the window. First, keep your chickens out of the coop if possible – they will be disturbed by the loud noise and wood particles in the air.
Let your hens free range and enjoy some time outside hunting bugs while you improve their home.
Next, make sure you don’t need to move any structural beams.
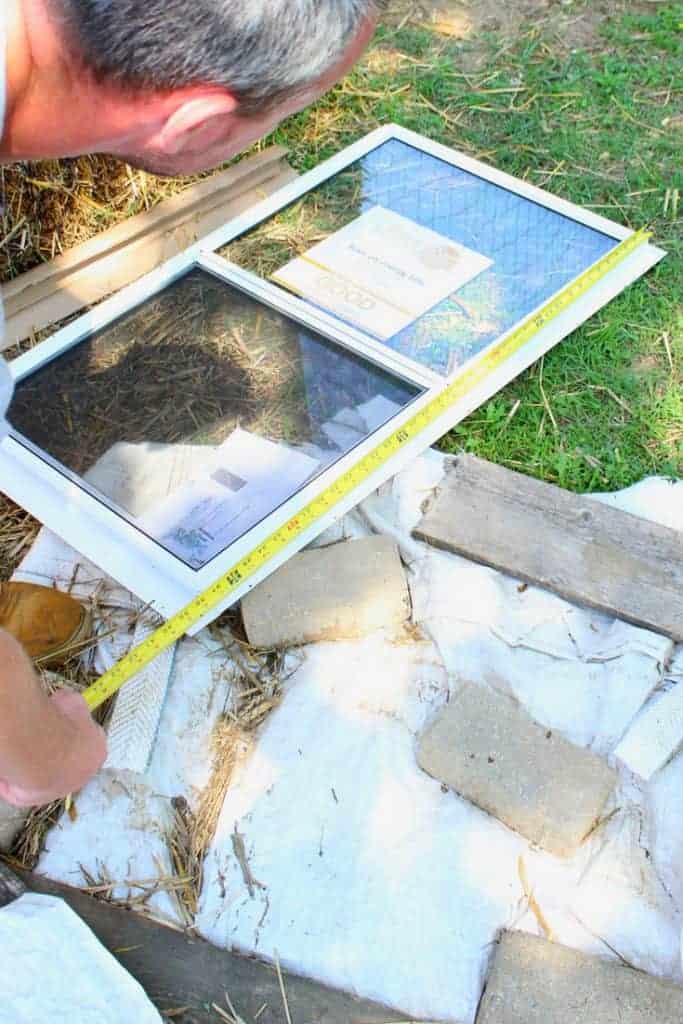
Measure the size of your window, and measure the wall – if any beams are in the way, they’ll need to be moved or you’ll need to find a new spot. Don’t start cutting until you’ve figured this out.
If you’re using a prefab window, consult the window installation kit and instructions before cutting.
Remember, you can’t do this twice, so measure twice, cut once!
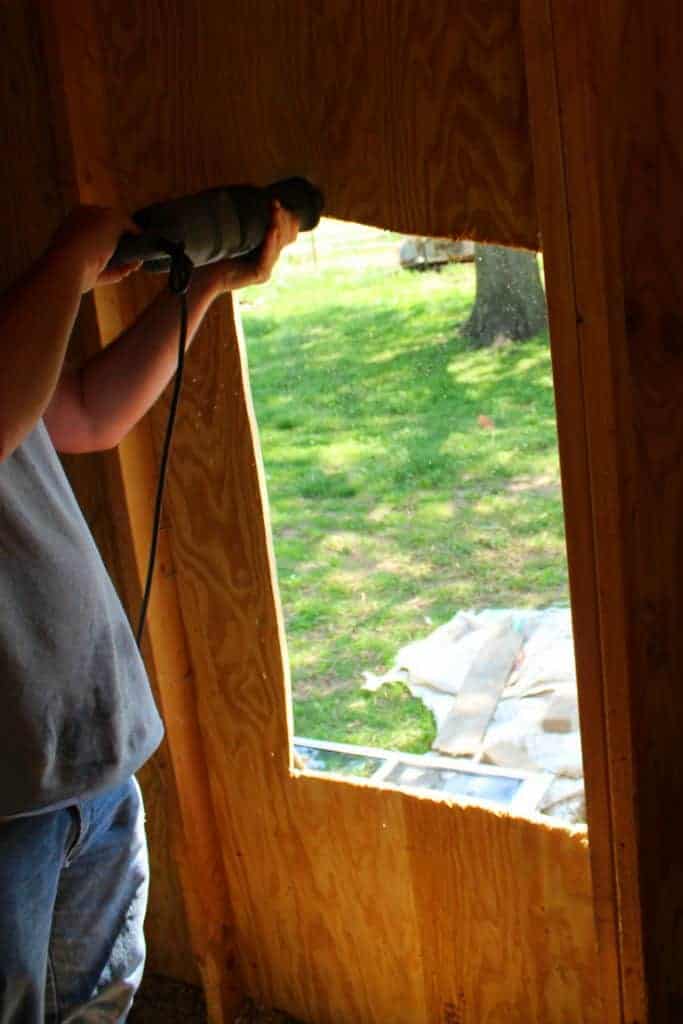
To cut the hole in the wall, we started by tracing an outline of the window on the wall, and then used a drill to create a hole large enough for the sawsaw to fit through.
Using the tracing as a guide, we cut a hole the length and width of the window. Easy!
Step 4: Following The Instruction With Your Window Kit, Install The Window
Installing the window was easy – most of the work is making all those pre-installation decisions!
Using the manufacturer screws, we easily affixed the window to the chicken coop wall.
If you’re using hardware cloth, add it inside the coop. You can use small hardware staples or screws with washers to keep it in place.
For extra security from predators, you can also add a wood frame over the hardware cloth to make it even harder to remove.
Step 5: Finish Off The Installation By Framing Your New Chicken Coop Window
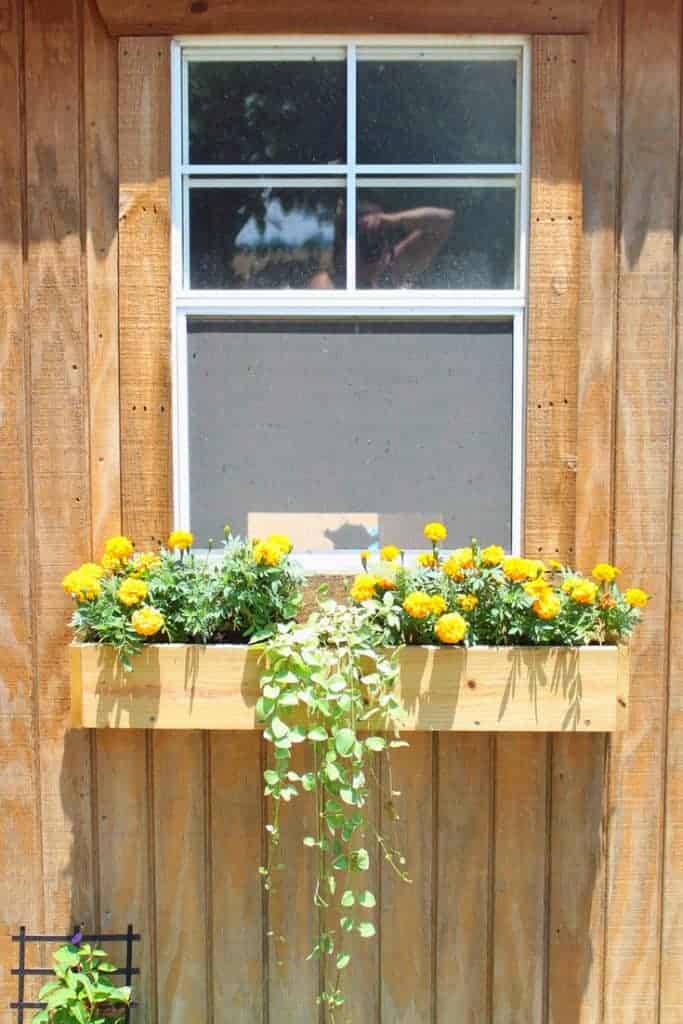
You can leave the window as is, or frame it to complete the look. I highly recommend framing it – it’ll keep the window looking nicer for longer, and cover up any mistakes (and we made plenty!).
You can also add shutters or a window box for an additional cute finishing touch to your new chicken coop window, like we did with this window:
Maat van Uitert is a backyard chicken and sustainable living expert. She is also the author of Chickens: Naturally Raising A Sustainable Flock, which was a best seller in it’s Amazon category. Maat has been featured on NBC, CBS, AOL Finance, Community Chickens, the Huffington Post, Chickens magazine, Backyard Poultry, and Countryside Magazine. She lives on her farm in Southeast Missouri with her husband, two children, and about a million chickens and ducks. You can follow Maat on Facebook here and Instagram here.


This is so cute especially the window ox need to show the hubby?