Of course most people are interested in feeding their chicken flock a homemade, organic, non-gmo feed – you are what you eat, after all – but if you’re anything like me, the expense is a big factor.
Until now. I’ve cracked the code on creating a homemade organic feed recipe your chicken will love, and your wallet will love it too. I’ve done it by pairing together two time-tested ideas, and the result is a huge amount of nutrients for your chicken with less cost.
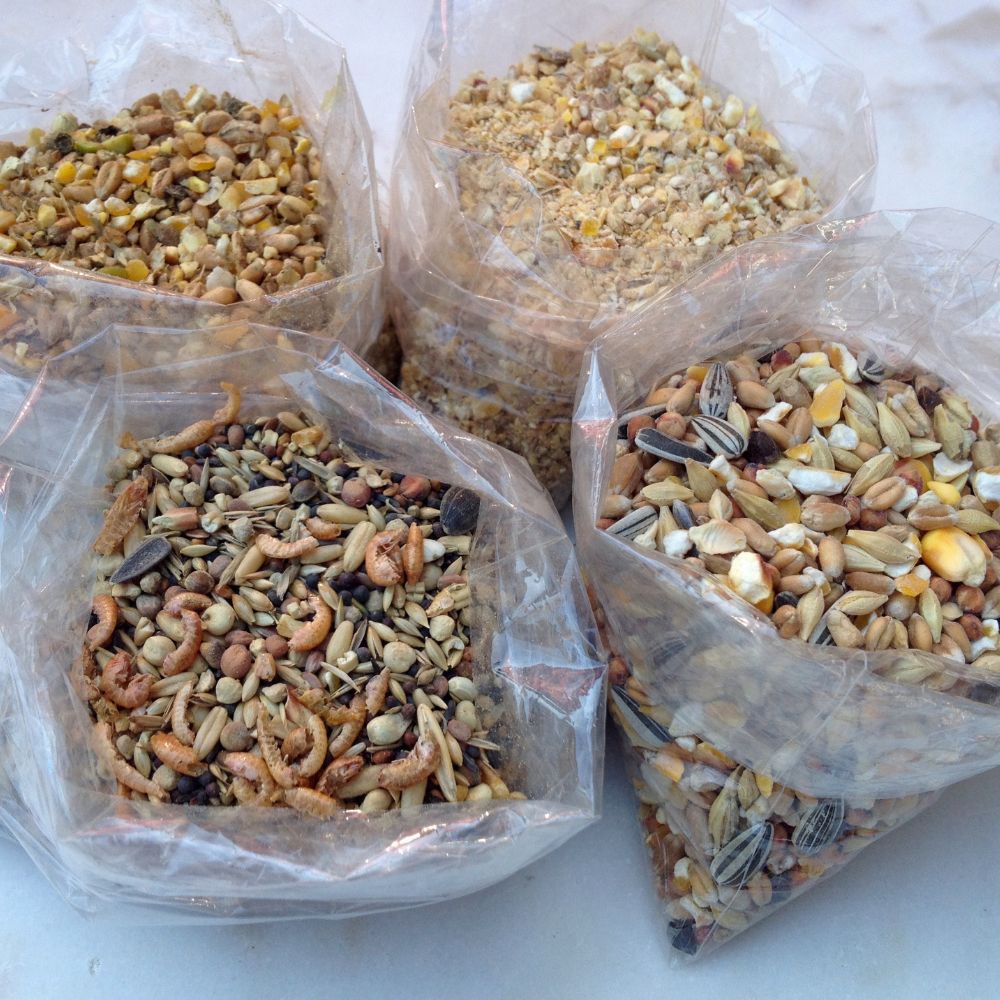
Table of Contents (Quickly Jump To Information)
Introduction
It’s true, I do tell readers to use brand name products. I’m a realistic person who’s here to help people – sometimes homemade products just aren’t for some chicken owners.
Not everyone has the time or energy to research and mix a homemade organic chicken feed recipe, and commercial grains are formulated to give your flock the optimum amount of nutrients.
If you can afford to pay for commercial organic grain, there’s nothing wrong with going that direction. Your chickens will get their basic nutritional needs met, and live a happy, productive lives.
So I’ve been testing a homemade recipe that still will let you throw organic chicken feed to your hens with less money (but more work). Here’s my homemade recipe and method to creating an organic chicken feed that will help them stay healthy and produce great eggs.
If, for any reason, you don’t want to make your own feed, we love and recommend this non-GMO feed with dried black soldier fly larvae (for extra protein). Our chickens LOVE it! Otherwise, keep reading for a homemade recipe!
1. Ingredients
The first question is to address the ingredients for your homemade chicken feed. You need ingredients that will provide the right protein, vitamin, and mineral content for your flock.
For my basic homemade chicken feed recipe, I use:
- Wheat (hard or soft, winter or spring – it doesn’t matter)
- Peas
- Mealworms (live or freeze dried)
- Oats
- Sesame seeds or sunflower seeds
A note about where to buy your grains: You may have to purchase grains from Amazon. Sometimes there’s no way around it because there’s no place local to purchase organic grains. Period. In my opinion, you should always check to see if you can purchase them for less near you.
You can do the research about the ingredients, but you’ll find this recipe yields between 16 – 18% protein – for a growing pullet and a layer, that’s the optimum amount of protein.
Both wheat and peas are great for protein (wheat has about 17% protein while the peas are about 24%). The oats are an excellent source of fiber in a homemade recipe, while the sesame and sunflower seeds are great for fat.
There’s some controversy about the amount of mealworms a chicken should eat. Given the ability to forage, hens will consume large quantities of bugs – which are almost pure protein.
However, if a chicken eats too much protein, she can develop kidney and other problems. When it comes to mealworms, add a 1/2 cup to their daily ration to start with, and let your chicken tell you if she needs more. If they seem like they need a protein bump, add another 1/2 cup or so of the meal worms.
While I believe it’s best to offer live mealworms, not everyone has the time or energy to raise them for a homemade recipe (or the desire, they’re bugs after all!). That’s okay – freeze dried ones provide a nice protein bump to your homemade grain too, and they’re easier to store.
2. Sprout Your Seeds
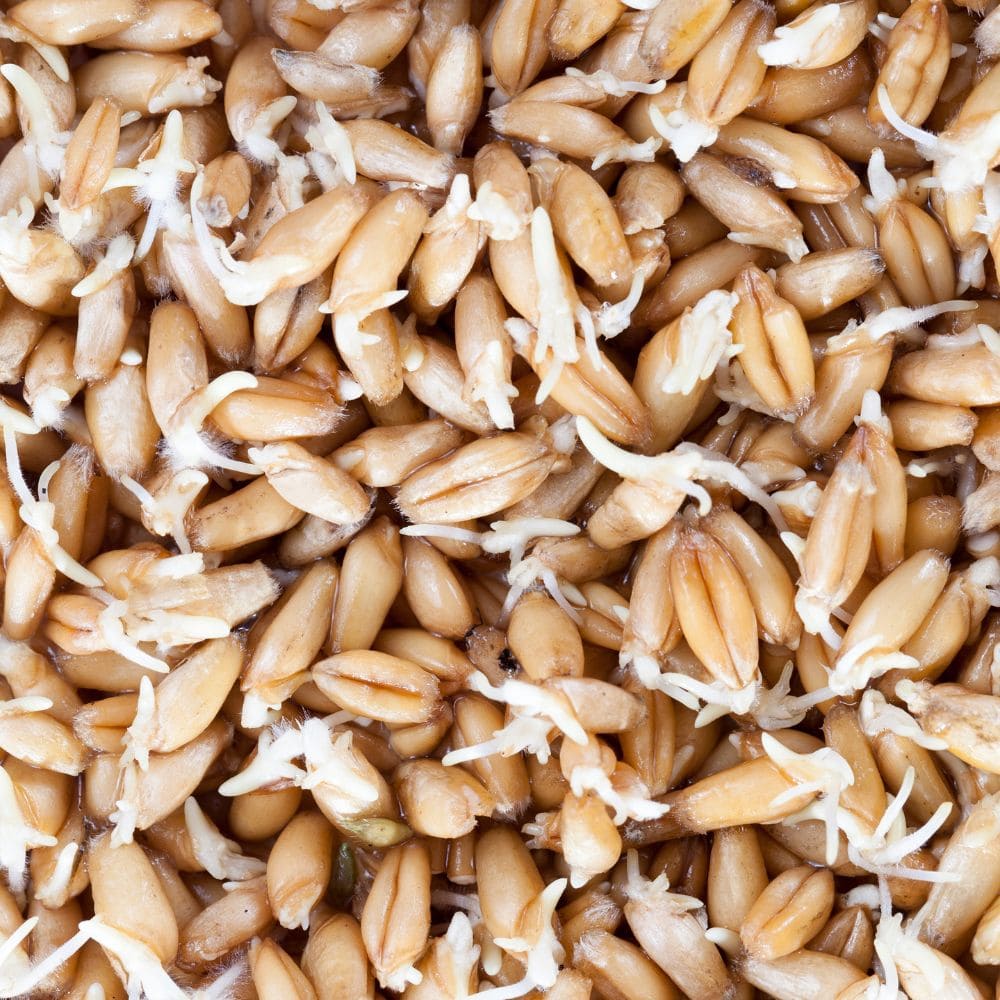
This is where the real savings comes in. When you sprout your wheat into fodder, you automatically unlock nutrients, and create a homemade chicken feed that’s easier for your flock to digest. In other words, more of the nutrients become bioavailable.
The first time I sprouted seeds, it was revolutionary. Mind. Blown. A tiny berry in the recipe became something much more nutritious and valuable than it was before.
You can read my recipe to sprout fodder here. For homemade chicken feed, I recommend soaking the grains (also known as berries) for 24 hours, then allowing them 3 days to sprout.
You can sprout them longer than 3 days, but you might run into issues with mold. After 3 days, they’ve started to sprout and unlock the grass, but they haven’t turned into a moldy mess that might make your chickens sick.
Once your grain has turned into fodder, you can feed the same weight or volume amount – which ends up being less seed overall.
And the berries have turned into something more nutritious than it could ever be as just a seed. Depending on the type of peas you purchase, you can sprout your peas as well. (Note, if you purchase split peas, you won’t be able to sprout fodder).
I don’t recommend sprouting oats. In my experience, by the time the oats actually sprout (it can take a while), they tend to get moldy. That being said, it’s perfectly fine to soak them overnight. (If you want, you can substitute the wheat for barley in your recipe – barley is hard to come by in my region, which is why I use and recommend wheat.)
Before you feed your hens their ration, mix your sprouted seeds with the remaining ingredients.
3. Create a daily ration
Because everyone has a different amount of chickens, it’s hard to give you exact recipe. For 5 chickens, however, in my experience, the following recipe works well for each meal:
- Sprouted seeds (5 cups)
- Peas (2.5 cups)
- Oats (2.5 cups)
- Sesame Seeds (2 tablespoons)
- Mealworms (1/2 cup)
While this homemade recipe usually works well, you might need to scale up or down a bit depending on your flock’s needs, and whether you allow them to forage.
4. A note about fermenting
If you want to ferment your homemade chicken feed, you can leave the wheat soaking for another day or so. You will get bubbles that let you know the fermenting is taking place, and the berries will still sprout while submerged.
As with anything fermented, let your nose be your guide – if it smells funny or rancid, toss it. Wheat that’s properly fermented will smell something like fresh bread or slightly like beer. I don’t recommend letting it soak for longer than an additional 2 days. You will unlock a lot of nutrients as it ferments, but if you wait too long, you can run into other issues.
Make sure you keep your fermenting vessel covered and completely under water. You can ferment the peas as well, following the same steps. Here is my guide to fermenting chicken feed which works for my organic homemade chicken feed recipe or commercial feed.
5. Adding supplementary ingredients
You can add your supplementary ingredients to your homemade chicken feed, such as kelp, garlic, or oregano right before you feed your hens. Just mix them in as you normally would.
I’m a big supporter of giving all three of those supplements to your chickens in a homemade recipe – kelp especially will help ensure your flock gets an iron boost, and the garlic and oregano are great for their antiseptic and immune boosting properties.
This homemade organic chicken feed recipe has been successful for me – I hope it is for you, too!
As I said above, if you don’t want to make your own feed, then we love and recommend this feed (it has black soldier fly larvae for extra protein!)
Maat van Uitert is a backyard chicken and sustainable living expert. She is also the author of Chickens: Naturally Raising A Sustainable Flock, which was a best seller in it’s Amazon category. Maat has been featured on NBC, CBS, AOL Finance, Community Chickens, the Huffington Post, Chickens magazine, Backyard Poultry, and Countryside Magazine. She lives on her farm in Southeast Missouri with her husband, two children, and about a million chickens and ducks. You can follow Maat on Facebook here and Instagram here.



Unless I am missing it, how much does this make? I am trying to cost out per a 50lb bag of organic I get from my CO-OP.
It’s hard to say because when I’ve weighed it in the past, it’s been variable because the weight of the sprouted seed and peas varies. When you price it out, remember that you save a lot with the sprouted seed because it’s more nutritious and more food than it is as just unsprouted seed. A 50# bag of unsprouted wheat lasts 4-8 weeks depending on how many chickens I have.
although this recipe seems great, how do you store it? Do you have to do this on a daily basis so you always have sprouts to feed?
I store everything separately, then combine for each meal. You need a continual supply of sprouted seeds, I have a mini green house (18″ by 5′) that’s a glorified shelving unit that I sprout the seeds in. It only takes a few minutes a day to set up the seeds to sprout. I just take out that day’s sprouted seeds then add to their dinner. if you use live mealworms, add at dinner time. Hope that helps!
You may be able to get better prices when you include shipping from Bob’s Red Mill. I am trying.
Good idea! I’ll have to check that out myself!
How much is this costing you per lb? Based on my quick figuring it seems to be quite a bit more expensive then the organic feed that I buy. I would love for it to be cheaper.
Also, do you ferment your feed without the wheat as to sprout the wheat separately?
We grow a lot of what we need here on the farm at this point. Wheat only needs about a 20×50 area to grow. I do ferment my feed without the wheat, but if you leave the wheat seed under water, they will sprout a little overnight. I suggest sprouting them separately though because it’s not enough to really make a difference.
Can you feed chickens worms? They are easy to grow.
Yep, you can feed them worms. They’re great protein.
Thank you so much! This is a huge help! 🙂
I keep my chickens and ducks together. Do you think this recipe is sufficient for ducks as well? The ducks love mealworms and peas for sure.
Yes, I think it would be fine for ducks too.
What about Calcium?? Any supplements needed to meet laying hens requirements?
Yep, I always offer oyster shells free choice, in a separate dish. You can also offer toasted egg shells as a source of calcium.
This is really good information. Thank you for sharing it so we can all learn more about different ways to feed our flocks!
How much kelp do you add per day? I just picked up a 50 lb bag of it, and I’m not sure how much to feed!!! Any suggestions?
Thanks!
Hi, I like to add 1 tablespoon per chicken.
Just found your site. We purchased egg laying hens about 2 weeks ago. Your site is very helpful!
Glad you like it! Thanks for the lovely compliment!
I’m not sure if I’m reading right, your 5 chickens eat 10 cups per meal? That seems like a lot. Did you mean batch?
Hi, Im getting my first chickens tomorrow…..coooool!!!!! and I know the previous owner uses non-organic feed, is there any problems with changing their diet? Also where do you store all these bit separately, I have some large metal dustbins with lids that I was going to use, but i sprout seeds for me so I like the idea of doing that for my chickens. SO my question is do you put it all in a bucket and spread it around or do you have a trough?
Hi there! Thank you so much for this information. One question when you sprout in your mini green house do you have to have it at a special temperature? I live in the south, would the wheat sprout in the green house year round?
This is wonderful information Maat! I am so excited to try it! Thank you so much for sharing!
This is very helpful information. I never thought of ordering from Amazon! Where I live a 25 kg bag of layer mash costs $40. So I will check this out! Your site is gorgeous and very helpful!
Thank you!
You really make it seem so easy along with your presentation but I find this topic to be actually one thing that I think I might never understand. It kind of feels too complicated and very wide for me. I am having a look forward in your subsequent post, I’ll try to get the hold of it!