Nothing is worse than being bothered by flying pests. It can make life miserable for you….and, yes, even your chickens! Here 6 ways to keep mosquitoes, flies, and gnats off your chickens so you AND they can enjoy time outside!

When it’s the time of year for flying insects to make their presence known, you need to be prepared to fight the battle and win.

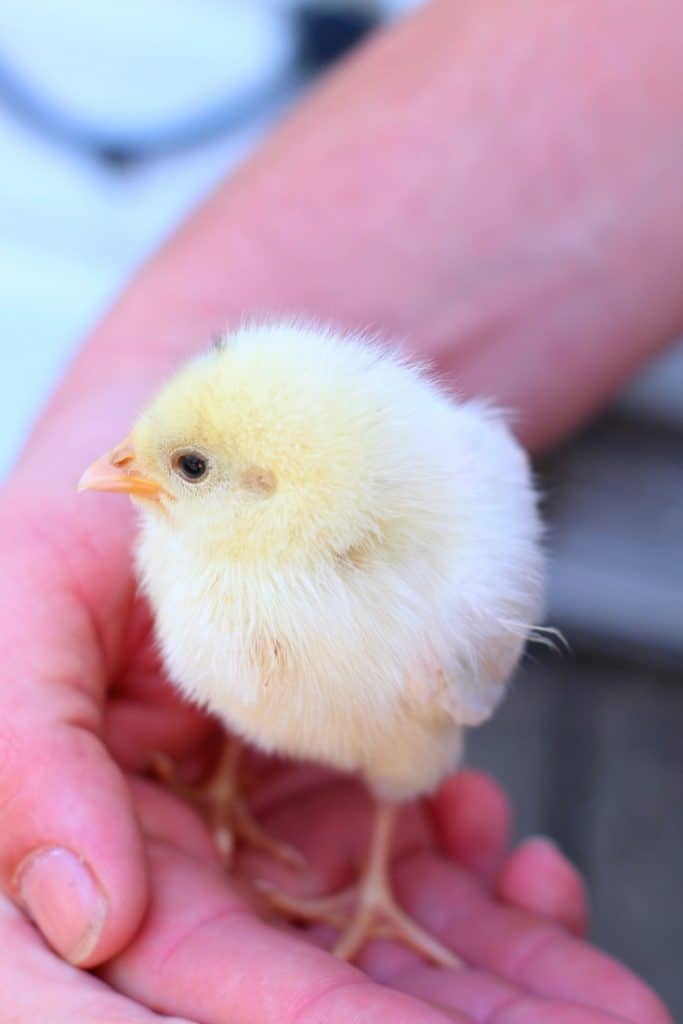
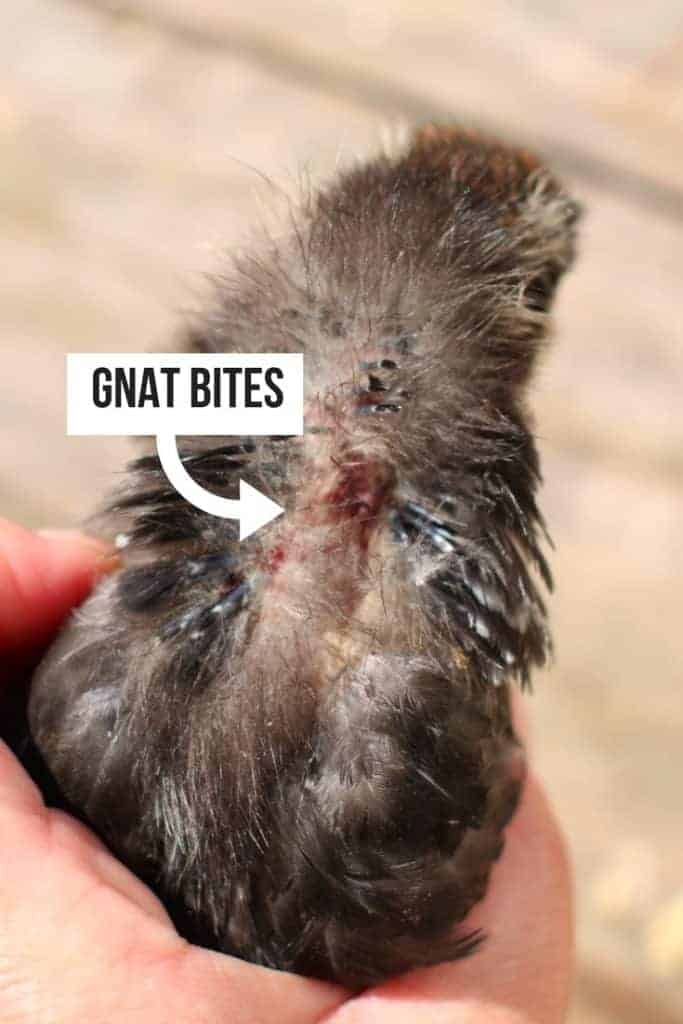
I’ve shown you how to keep flies out of your chicken coop, true enough. But as your flock plays in their run or tractor, or free ranges, you might notice them shaking their heads quite a bit and looking somewhat miserable, particularly on humid days.

You might even hear some annoyed clucks and squawks.

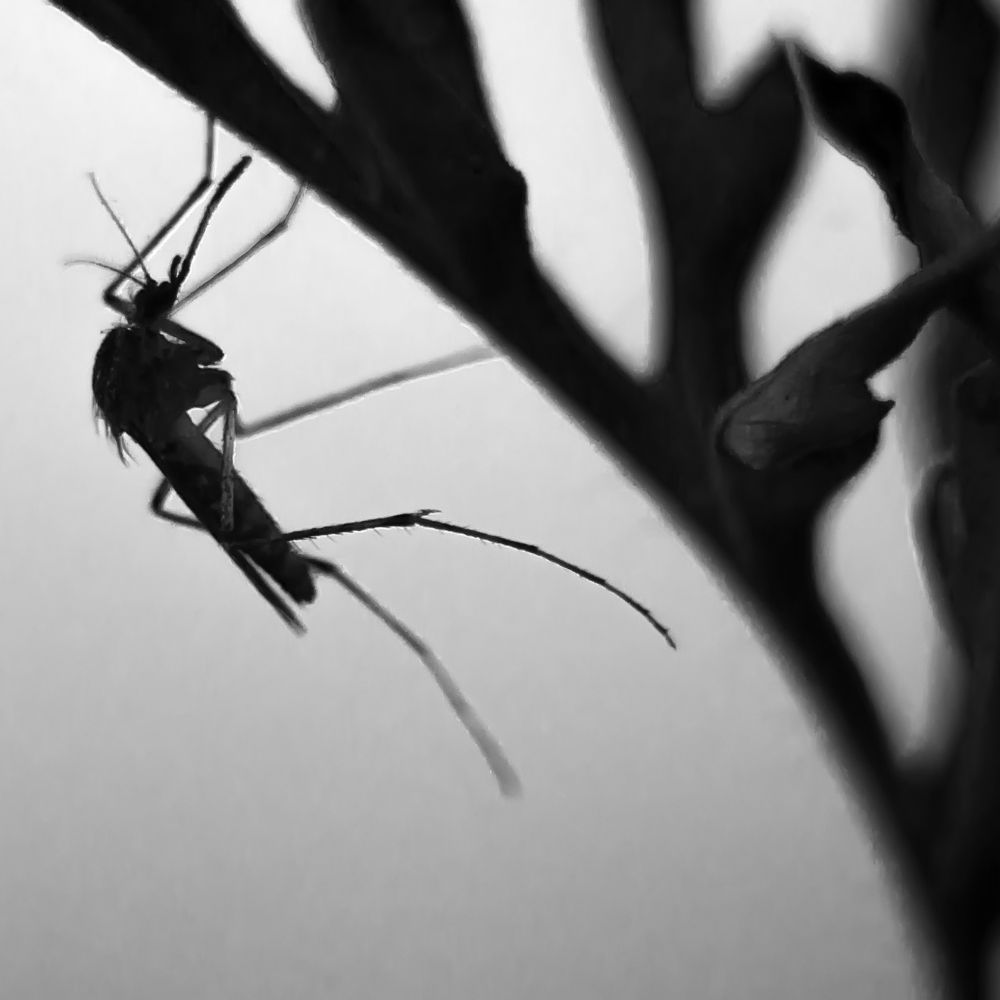
It’s possible your flock is being annoyed by mosquitoes, gnats, flies, and the like – and it can impact their health.

A silhouette of a mosquito on a plant

Why flying insects can cause health problems in your backyard chickens

Think about it – if you’re trying to forever keep insects from bugging you, you’re not eating, drinking, and enjoying life. The same is true for chickens. Maybe even more so since they aren’t reasoning creatures with access to an air-conditioned house.

The extra energy spent constantly moving to keep bugs off can cause your chickens to lose weight and experience heat stress. Not to mention they are physically uncomfortable.

Flies and mosquitoes also harbor diseases and bacteria, which can affect your flock’s health. Yes indeed, they are the perfect disease transmission specialists.

So, in this article, I’ll show you 6 different ways you can keep flying insects off your hens! (plus more tips)

Ways To Keep Flies, Gnats, And Mosquitoes Off Your Chickens

6 All-Natural Remedies

#1 Citronella

Citronella is safe for chickens. I’m sure I don’t have to tell you how great it is at keeping bugs away – particularly mosquitoes. Yes! It will repel mosquitoes.

Each year about this time, I put a few potted citronella plants in the coop. They look great, keep the air smelling fresh, and help keep mosquitoes from bothering the hens.

You can also use fresh citronella in nesting boxes (see below for more herbal nesting box options). This might prevent them from getting heat stress and laying abnormal eggs.

Just be sure to clean your nesting boxes 3-4 times a week if you’re using fresh herbs.

#2 Lemongrass

Lemongrass and citronella are related. They both contain the chemical constituent that does a great job keeping us bug-free during the summer.

I have not found the citronella plant as a dried herb, so I use lemongrass in my flock’s nesting boxes to give them extra protection while they lay eggs.

I’ve noticed that when the hens sit still to lay their eggs, they’re way more prone to mosquito bites. Plus they can be irritated by gnats, flies, and other creepy crawlies as well. This can make it pretty difficult to get those butt nuggets out easily.

Imagine trying to give birth while having a mosquito buzzing around your head. No fun.

Lemongrass is a main ingredient in PestsBGone, which I developed specifically to keep pests away in coops.

Both of these are the same herbs I use in my own backyard chicken flock’s nesting boxes. It helps make them happy and have better egg production.

#3 Dried Lemon Balm

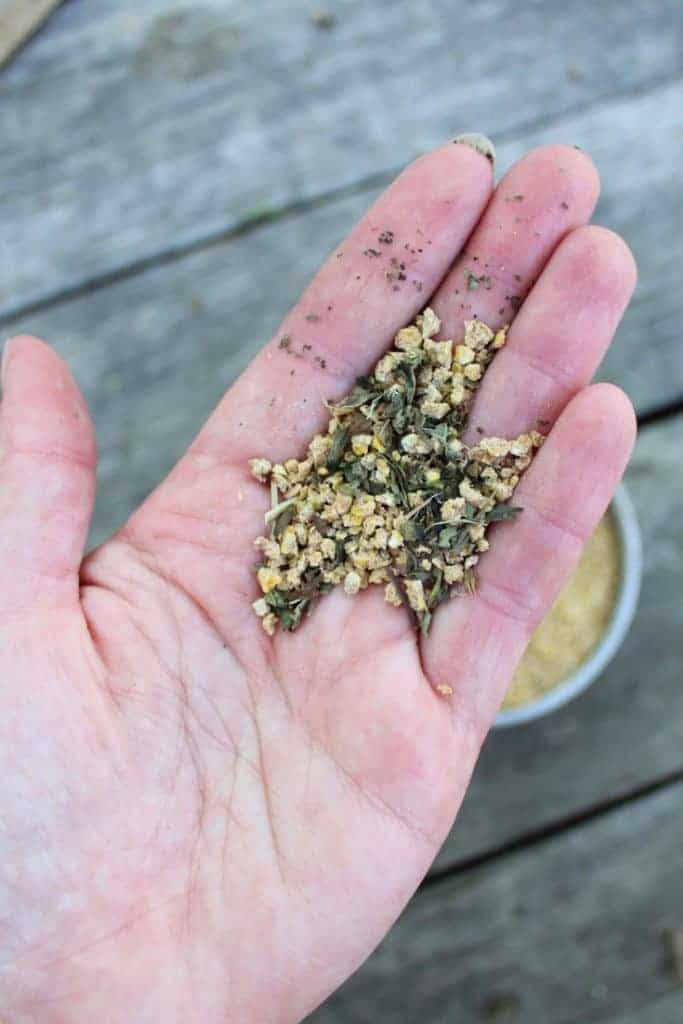
Lemon balm also contains citronella and can be mixed in feed and nesting boxes.

We grow it every year in our garden and it’s a perennial. So, we have a constant supply of fresh lemon balm. We hang it in the coop or mix it into the nesting boxes.

You can also tear fresh lemon balm to release the essential oils. Then rub them on your flock’s combs, wattles, legs, and other areas that seem bothered by insects.

You can buy started lemon balm at your local big box store and replant it into pots. Dried lemon balm smells GREAT and the essential oils are concentrated.

You can also mix dried lemon balm into your flock’s feed. They love the fresh taste and picking at the herbs.

Our product called Stronghen is a great choice as well.

dried lemon balm Ways To Keep Flies, Gnats, And Mosquitoes Off Your Chickens

#4 Citronella essential oil mixed with a carrier oil

Not everyone wants to use essential oils on their chickens – and that’s fine.

If you DO use oils on your flock, citronella essential oil is a GREAT choice. Apply to your flock if they’re REALLY bothered by gnats, flies, and mosquitoes, and are completely miserable.

Each year I usually have a few hens who seem especially bothered, and they seem much relieved after applying citronella oil.

You can mix 1 drop of citronella essential oil with 1 tablespoon of carrier oil. Some choices for carrier oil are coconut oil, cocoa butter, and mango butter. Apply the mixture to combs, wattles, etc to keep the bugs at bay.

If essential oils aren’t your thing, you can combine citronella, dried lemongrass, or dried lemon balm with olive oil. Allow to steep for 2-4 weeks so the olive oil absorbs the essential oils from the plants, and then apply as needed.

I avoid essential oils altogether with chicks. Instead, I opt for simply keeping fresh or dried herbs around them to prevent pests.

#5 Peppermint coop spray & fly spray for chickens

I cover how to make peppermint coop spray here and natural fly repellent here, and they’re both great options to keep flies and other pests away. Please note that these sprays aren’t meant to be sprayed ON your chickens – just around the coop.

I have a recipe below that you can use ON your chickens.

Flying insects hate peppermint. Although I would also add something like citronella or lemon balm to get a double (or triple) punch. I’m not convinced peppermint is as effective as plants containing citronella when it comes to flying insects.

If you plan to spray your flock to keep bugs away, consider steeping peppermint with lemongrass in hot water. Allow to cool, then gently mist by spraying the mixture up towards the sky, allowing the mist to fall down.

Don’t drench your chickens – you’re not looking to give them a bath. Just mist them a bit, making sure to avoid eyes, ears, and nostrils.

If they’re particularly bothered in those areas, you can squirt your fingers and gently apply by rubbing your fingers AROUND those areas – not in or on them.

If I need to apply around the eyes, I only apply UNDER the eyes to avoid any drips that might harm their eyeballs.

We’ve found this to work to provide some relief during particularly muggy & buggy days.

As stated above, I avoid spraying chicks at all and opt to keep fresh or dried herbs around them to keep them bug-free.
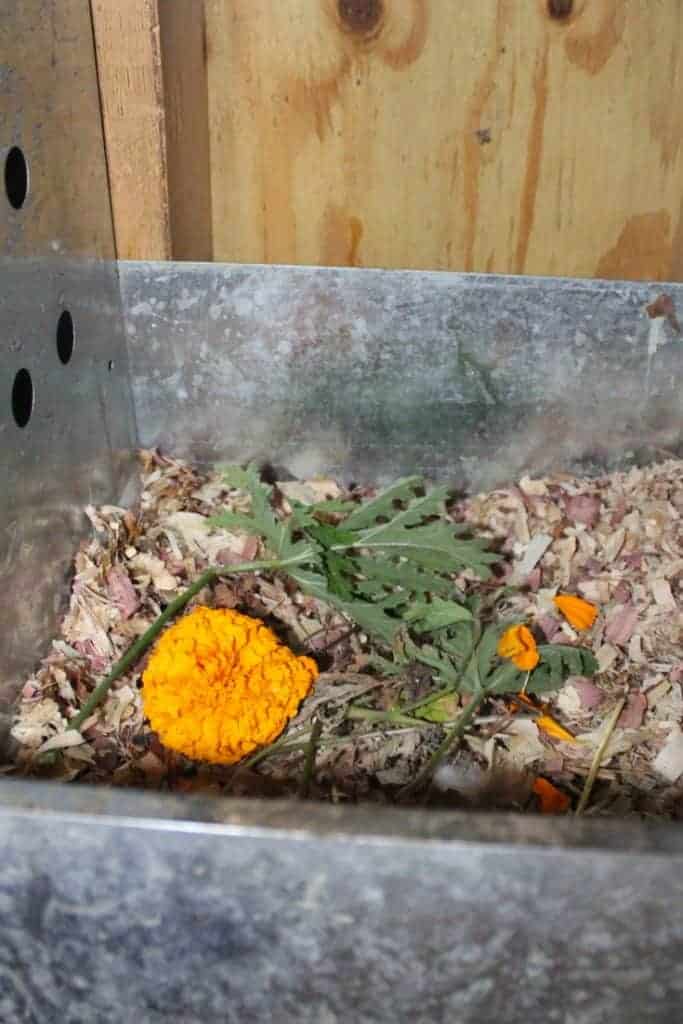
#6 Marigolds

Marigolds are the go-to for gardeners to keep pests out of the garden, and they’ll work for your coop also. Don’t confuse them with calendula, which are great flowers to feed your backyard chicken flock for golden yolks. Regular marigolds you can find at your local farm store in early spring.

We love putting marigolds in window boxes, hanging them around the coop, and placing the petals in nesting boxes to provide relief and help keep our hens comfortable.

They’re safe for backyard chickens, and it’s best to put any fresh flowers or herbs we discussed in this article at the same level as your flock.

But if you find your hens stripping off the petals, put the marigolds out of reach so they can still do their job, or give your flock something tastier to rip apart.

The pretty color of marigolds brightens the interior of the coop and nesting boxes. Just be sure to clean your nesting boxes regularly, and keep watch for any potential external parasites such as chicken mites.

Help! I Don’t Have Time To Figure Out the Herbs!

No worries! Many of my followers don’t have the time, or the desire, to grow, harvest, and prepare herbs and plants for their chickens (or any other reason). It’s okay, no judgment here. I do have help for you though.

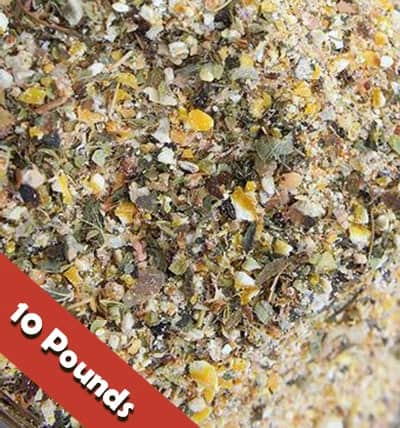
Here is a list of some of the pest control products we have designed to make your life easier and your chickens’ lives better!

Other Tips To Keep Bugs Away

You can find methods online to trap mosquitoes and that can be helpful. But I recommend doing that in tandem with the methods I shared in this article. You can trap the ones that resist the repellent.

Keep an ultra-clean coop. The chickens’ odors will attract bugs and the cleaner the coop, the less appealing it is for nasty bugs.

These methods will also help keep mosquitos and other bugs away from goats, sheep, and horses.

Standing water in old stock tanks, an old bird bath, unkept ponds or oversized puddles will contribute to the mosquito population. Therefore, fixing those areas will also help protect your flock.

Some ducks are considered to be mosquito predators (they eat them), so you might look into a duck or two.

Hey y’all! Here’s this week’s sneaky peek photos of life on our farm!

These images also appear on my Instagram account where I share MANY more photos and stories from the farm!

If you aren’t yet following me there, you can right here.

Enjoy the photos & be sure to share some of yours with me!

https://www.instagram.com/p/BiIpiDBBVrz/?taken-by=pamperedchickenmama

https://www.instagram.com/p/BiLOo1igGyh/?taken-by=pamperedchickenmama

https://www.instagram.com/p/BiNzJERhFP0/?taken-by=pamperedchickenmama

https://www.instagram.com/p/BiS81ZDAAVd/?taken-by=pamperedchickenmama

https://www.instagram.com/p/BiVh4MtAO_T/?taken-by=pamperedchickenmama

https://www.instagram.com/p/BiYGRyMhA_q/?taken-by=pamperedchickenmama

So you forgot about Mother’s Day. Oops. Or you ran out of time and can’t make the amazing DIY project for mom you were planning on.

Don’t worry I’ve got you. Here are some of my favorite last minute Mother’s Day gifts that your mom will definitely love.

Polaroid Photo Coasters

These cute polaroid photo coasters would be a great gift for mom. And since you only need photos, modge podge, and a ceramic tile it would make it a great last minute gift.

Gardening Essentials Gift Basket

My next idea is to make a gardening essentials gift basket! Fill it up with those gardening essentials that are often forgotten. Fill up a small planter or pot with:

You could also throw in a couple packets of seeds, a small shovel and you’re good to go! Check out this link for more planter gift basket ideas!

Homemade Soap

Homemade soap is an awesome gift. And making soap doesn’t have to be hard! This recipe only takes 10 minutes to make and it only has a couple of ingredients! This would be an amazing last minute gift for your mom.

Or you can buy great smelling handmade goat’s milk soap in our store right here!

Sweatshirt Garden Gloves

Ok, so this idea is my favorite. These gloves are made out of an old sweatshirt and they only take about 10 minutes to make! They’re so easy to make and it’s a great way to reuse some of your old sweatshirts!

Homemade Body Butter

Ok, so I have a pretty amazing recipe for a coconut oil, lavender whipped body butter, if I do say so myself. It only has two ingredients and you could make some as an easy gift for mom. Check out the recipe and instructions here.

Floral Tea Bags

So I love herbal tea. And my mom loves herbal tea. So these cute floral tea bags are a perfect gift for Mother’s Day. Plus they only take about five minutes to make.

DIY Essential Oil Reed Diffuser

Essential oils are the best. Which is why I love this DIY essential oil reed diffuser. This won’t take long to make and you may already have everything you need at home.

Gardening “Coupons”

Tight on funds? Remember when you were a kid and you would give your mom “coupons” she could redeem for a back rub, cooking dinner, or an extra chore?

I definitely gave my mom quite a few of those as a kid. If you live close to your mom, why not give her some gardening themed “coupons” now?

You could give her one for a lawn mow, an entire yard weeding, or you could offer to plant and take care of a garden for your mom if she’s getting older or doesn’t have time.

You don’t have to spend money to give an amazing gift! Go spend some quality time with your mom out in the garden chatting, weeding, and enjoying your time spent together in the outdoors!

Do you have anymore fast DIY gift ideas? Share them with us in the comments!

It’a gardening season, y’all. And these gorgeous cedar DIY garden markers are so easy to make! They’re also functional, and should last you years!

I invited my friend Amy from 1905 Farmhouse to show us how she made these beautiful diy garden markers using cedar stakes and a wood burning kit!

Her tutorial is really easy, and even I can do it! (If Larry would let me touch his circular saw, that is!) And I NEED to to do this year – last year, I couldn’t remember half of what I planted nor WHERE I planted it – has that ever happened to you?

Well, this year, I can keep it straight thanks to Amy’s easy to follow DIY garden marker plans!

If you’re looking for a beautiful but functional way to keep your own garden straight, you’ll love the directions below. Enjoy!

DIY garden markers tutorial

How To Make Your Own DIY Garden Markers With Cedar Stakes

Hi Everyone! I am Amy, it is so nice to “virtually” meet you! I’m here today to share a fun DIY for your garden or raised bed.

But first I wanted to share a little bit about myself. I am a life-long Oregonian, currently residing near where I grew up about 30 miles west of Portland.

My husband and I recently moved into a 1905 farmhouse on two acres and on my blog www.1905farmhouse.com you can find DIY home renovations on a budget, gardening ideas, and simple and easy DIY projects.

For as long as I can remember my parents always had a garden where we would grow beans, corn, tomatoes, onions and much more. When we moved in there was already a big open spot near our orchard that would be perfect for our garden area.

I enjoy growing the normal staple vegetables I mentioned earlier but unlike my parents, I like to branch out with my growing options and try new plants and seeds each year.  

Last year I used small flimsy wooden plant markers that I found in the Target dollar spot. They came with a white chalk marker to write the names on.

They looked cute at first but after all the watering and sun exposure those markers soon became lost and broken as all the plants grew taller.

This year I decided I wanted to create something that would withstand the elements and be easily seen. I am so excited to share this easy and fun project with you!

If you don’t have a large garden space you and definitely make these custom to a size that would work for a raised bed or even a large pot.

DIY garden markers for garlic

Materials Needed to Make Your DIY Garden Markers

  • Wooden stakes (preferably cedar)
  • Screws and drill or a hammer and nails
  • Wood Burning Kit
  • Table saw or hand saw
  • Pencil
  • Tracing paper

Step 1:

You can buy a pack of grade stakes at your local hardware store, or you can make your own. We had a pile of 3-foot cedar trim pieces that we had from another home improvement store that came in a bundle that was already the perfect size and only needed a little tweaking.

I first cut a 1-foot section off of each piece for the plant name to go on to. The other 2 feet would be used for the stake that will be going into the ground.

Step 2:

If your stakes don’t have a pointed end like mine did already that will be your next step to create. The pointed end will help them go into the ground more easily.

I used our table saw to cut a 45-degree angle to create the point. If you don’t have a table saw you could definitely use a hand saw or even a skil-saw.

Step 3:

This step is where you can become creative. I wanted to make sure the name was permanent and didn’t want it to wash off or fade from the sun.

I’ve had a wood burning kit for years now and thought this would be a great project to bring it out of storage. Instead of free-handing the name on, which was my original thought, I hopped on my computer and pulled up a Word document and typed each name that I wanted on stakes.

I used a font called “Berlin Sans FB Demi.” After printing out the names I used tracing paper to transfer the names to the stakes to be my guide when burning.

DIY garden markers are easy to make

If you have never used tracing paper just lay the tracing paper down on your project and then put your pattern over top.

Then trace over your letters with a pencil or pen. The tracing paper will leave a mark anywhere that you trace and press down on.

Step 4:

Most wood burning kits will come with several types of tip options. Choose the one that is most comfortable for you.

I would suggest practicing on a scrap piece of wood first. I chose the slanted tip, also known as the universal tip, as I liked the way it wrote the best over my tracings.

These tools can get very hot so make sure to do this out of reach of children or pets.

Then just let the tool heat up and then slowly burn your outlines until you get the desired look you want. I noticed that if I was trying to rush the wood didn’t burn as well and I had to go back over it.

DIY garden markers made from cedar

Step 5:

Now to put the stakes together! I used screws to attach the names to the stakes but you could definitely also just use nails.

I pre-drilled a hole through both being sure not to go all the way through into my nicely burned label. Then just screw the two together and you are done!

I can’t wait now for our weather to be better to get our garden tilled and ready to plant for the summer! And these stakes are going to make a great addition for years to come!

A very common question I get is whether a chick is a rooster or a hen. In other words, how to sex baby chickens. In this article, I’ll show you 6 ways you can tell when it comes to sexing chicks!

When it comes to getting chicks and starting your own flock, one of the most exciting parts is waiting until your pullets grow up to be layers.

Buuutttt….it’s pretty much a given that at some point in your chicken-keeping career, you’re going to wonder about the chicken sex: whether the chicks you picked up at the local farm store are REALLY pullets (which will grow up into hens), OR little roosters in disguise.

We’ve all been there…thinking our chicks will be great layers, only to find out 7 months later, it would take an act of God for them to lay eggs.

There ARE some ways you can sex baby chicks – they’re not all 100% accurate but they’ll help you take a good guess at whether you have a rooster or a hen.

Three chicks standing on concrete

6 Ways to Sex Baby Chicks

#1 Check The Vent

Now, before I explain this one, let me state for the record that unless you’ve gone through extensive training to vent sex chickens to tell if your chick is a rooster or a hen, I suggest skipping this route just to be on the safe side.

Vent sexing involves turning the chick upside down and squeezing out feces (if needed) and then checking the vent area (also known as the cloaca area) for male or female “parts,” and it’s the only 99.9% surefire way to tell if your chick is a rooster or a hen.

However, as you can imagine, this is fairly invasive, and you could possibly permanently harm or kill your chick – so I would leave this method to the experts (a chick sexer). Hatcheries are pretty accurate because they use this method.

Professionals who sex chicks for a living go to school for years to learn how to do it properly. As far as accuracy goes, this is the real deal.

#2 Look at Combs & Wattles

While this is definitely not a 100% sure way to tell a rooster from a hen (some roosters are pretty androgynous and some hens like to crow), I’ve found it to be pretty accurate.

The photos below are of 2 chicks from the same hatch – both California Whites, the same age, purchased at the same time.

Wondering how to sex baby chicks? Here's answers!
Wondering how to sex baby chicks? Here's how!

At the time of these photos, these two chicks were about 2 weeks old.

The comb of one chick is more pronounced than the other chick. This is a fairly accurate indicator that the chick with the more pronounced comb is likely a rooster.

Another indicator is the wattles. In young roosters, the wattles grow longer and faster and are a more vibrant red than pullets. So, if you start to notice your chicken’s wattles when they’re fairly young, it’s possible you have a rooster in your hatch!

Note this only works with breeds that grow regular combs – pea comb breeds might not exhibit these characteristics at a young age. Rose combs are flat and bumpy as opposed to tall and floppy.

  • OUR MOST POPULAR CHICK STARTER!
    $26.99
    Herbal Non-GMO Chick Starter & Grower Feed With Oregano & Garlic
    10 POUNDS
    ✔️ 18% PROTEIN SUPPORTS GROWING CHICKS
    ✔️ EASY TO RAISE HEALTHY LAYERS
    ✔️ 24 HOUR ACCESS TO BENEFICIAL HERBS LIKE OREGANO & GARLIC
    ✔️ CHICKS LOVE IT!

#3 Watch Feather Growth

Feather growth is another way you can try to sex baby chickens. Female chicks (pullets) grow feathers faster than males (cockerel). Learn more about chicken feathers here.

This only works for about the first 3 days of life – after that, the feather growth on each chick will be about the same.

Pullets in some breeds grow their primary feathers faster, so their secondary feathers will be shorter. Young roosters will have feathers about all the same length. For the ultimate fluffy feather growth try this!

You can see more in this video right here:

https://www.instagram.com/p/7BqywHC884/?taken-by=pamperedchickenmama

Feather sexing is also sometimes breed-specific, so if you don’t notice some chicks growing feathers faster than others, don’t worry, you still might have pullets!

Once the chicks are older, about 12 to 16 weeks, you’ll also start noticing young roosters develop saddle feathers. Hens don’t have saddle feathers. If you don’t know what I’m talking about, saddle feathers are near the tail and they are long, pointed feathers that resemble a saddle appearance.

Saddles aren’t the only fun feature of a rooster though. They also have hackle feathers, which are long feathers around their necks. Roosters are sounding a bit like cowboys at this point!

Some people are good at determining gender by wing feathers too. When you fan out their wings, male’s wing feathers will be straight in a line, and females will have long and short alternating points. But you have to do this for day-old chicks (or at least within the first couple of days). This is called wing sexing.

Here are more tips on caring for new chicks.

#4 Down Color

Some breeds will produce chicks with different colors of down or different markings based on their sex.

For example, Black Sex Link and Red Sex-Linked chicks (pullets) will have different markings than roosters of the same breed. This is a characteristic selected for by breeders so they can tell the sex of the chicken right after it hatches.

One such match that will produce sex-link chicks is crossing a Rhode Island Red rooster with a Barred Rock hen.

In this cross, male chicks will have a white spot on their head while female chicks will be solid black.

Sex link chickens don’t necessarily breed true – so if you cross a black sex link rooster with a black sex link hen, there’s no guarantee the resulting chicks will also be sex linked.

This is, again, breed specific – so it will only work with chicks of certain crosses.

#5 Examine Behavior

Now, this is just drawn from my own personal experience, but I believe you can also start to tell the sex of baby chicks based on behavior.

Naturally, this isn’t universal, and pullets might exhibit some of the behaviors we’ll discuss, but I’ve noticed over the years that roosters will do some things that pullets naturally won’t.

These are the stink eye and fighting. Don’t laugh too hard, it’s been true more often than not.

Now let me explain. The stink eye is when you look at a chick, and they look up at you, cock their head to one side, and stare you straight in the eye.

I’ve noticed it’s typically roosters that are this bold. Pullet chicks tend to not be so aware of their surroundings and often look to other chicks for behavioral guidance and security.

I’ve noticed this in many different hatches over my chicken raising years, and it’s a clue I regularly rely on to determine the sex of baby chicks.

You might also notice some chicks fighting earlier in their lives than others. For example, you might notice them flying up at each other, bumping chests like football players, then going back to their corners.

In my experience, these are young roosters testing their strength against other roosters.

#6 Listen For Crowing

Something else you might notice is young chicks testing out their lungs. Young roosters will sometimes crow very early in life – as early as 4 weeks in some cases.

While there ARE hens that’ll crow, it’s not usual, so if you notice your chick trying to make a little baby crow (maybe succeeding, maybe not!), you might just have a young rooster on your hands.

While nothing will ever be 100% certain except vent sexing, hopefully now you no longer wonder how to sex baby chicks!

Summary

Now you have 6 (or at least 5) methods to sex your chicks! Try it out and make a journal to keep track of your successful guesses! It will be fun and help you figure out what works best for you.

More Tips on Raising Chicks

Hey y’all! Here’s this week’s sneaky peek photos of life on our farm!

These images also appear on my Instagram account where I share MANY more photos and stories from the farm!

If you aren’t yet following me there, you can right here.

Enjoy the photos & be sure to share some of yours with me!

https://www.instagram.com/p/Bh0DI5QB93G/?taken-by=pamperedchickenmama

https://www.instagram.com/p/Bh5MxKihD58/?taken-by=pamperedchickenmama

https://www.instagram.com/p/Bh7xkh5hDcp/?taken-by=pamperedchickenmama

https://www.instagram.com/p/BiA7J79BfzM/?taken-by=pamperedchickenmama

https://www.instagram.com/p/BiDg_HNA8QX/?taken-by=pamperedchickenmama

https://www.instagram.com/p/BiGE-cWAcUe/?taken-by=pamperedchickenmama