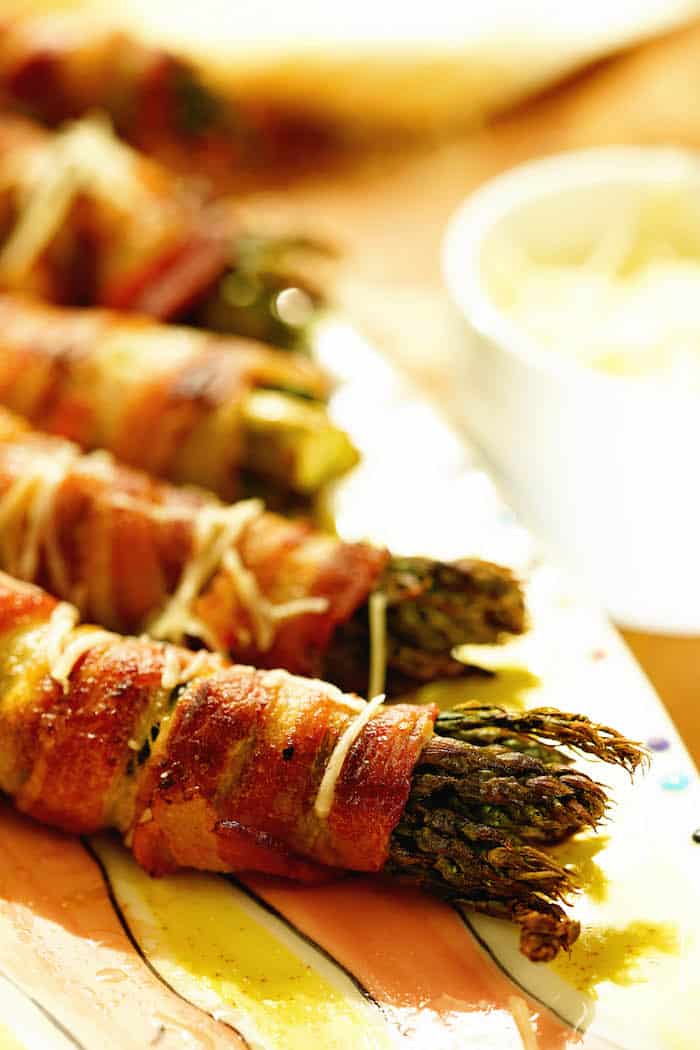
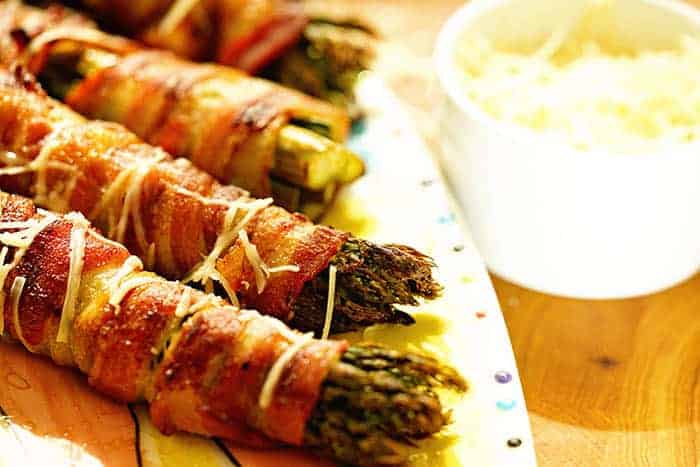
Grilled Bacon Wrapped Asparagus – Crispy bacon wrapped around tender asparagus and sprinkled with salty Parmesan cheese, this simple side dish is giving you a new reason to eat asparagus! It’s a perfect side and easy to make on the grill and with only three ingredients!
Are you ready for the holiday? If you’re getting your grill on, I have a terrific side dish, that everyone will be grabbing the instant it comes off the grill!
Hey friends, it Deb stopping by again from Bowl Me Over. It’s summer and we are doing a ton of grilling, so today I thought I’d share with you an easy recipe for a terrific side dish made right on the grill.
Bacon. Wrapped. Asparagus. Need I say anymore?
The salty bacon gets crisp while the asparagus is perfectly tender. And it is delicious! Everyone will be fighting for seconds!
Let’s go thru the basics.
How do you trim asparagus spears?
- Rinse the asparagus to remove any grit and then snap off the woody end. You can save the end pieces to make stock if desired.
Steps to make Grilled Bacon Wrapped Asparagus
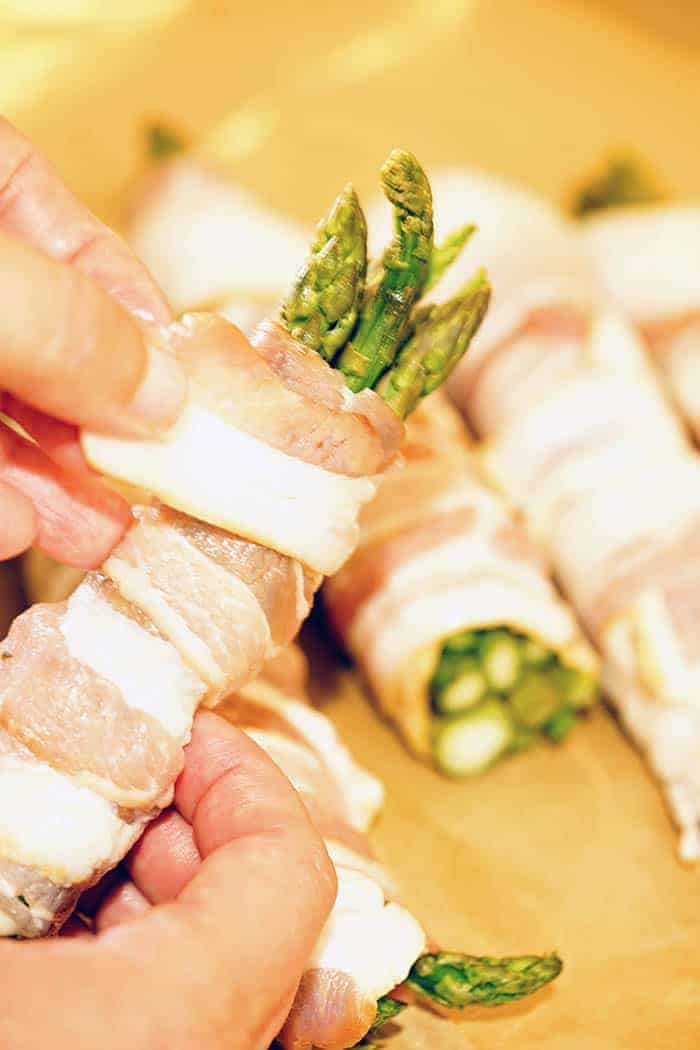
- Prepare a bundle with about 5-6 spears
- Wrap tightly with thin sliced bacon – 2 slices of bacon per bundle
- Grill on all sides until the bacon is crispy
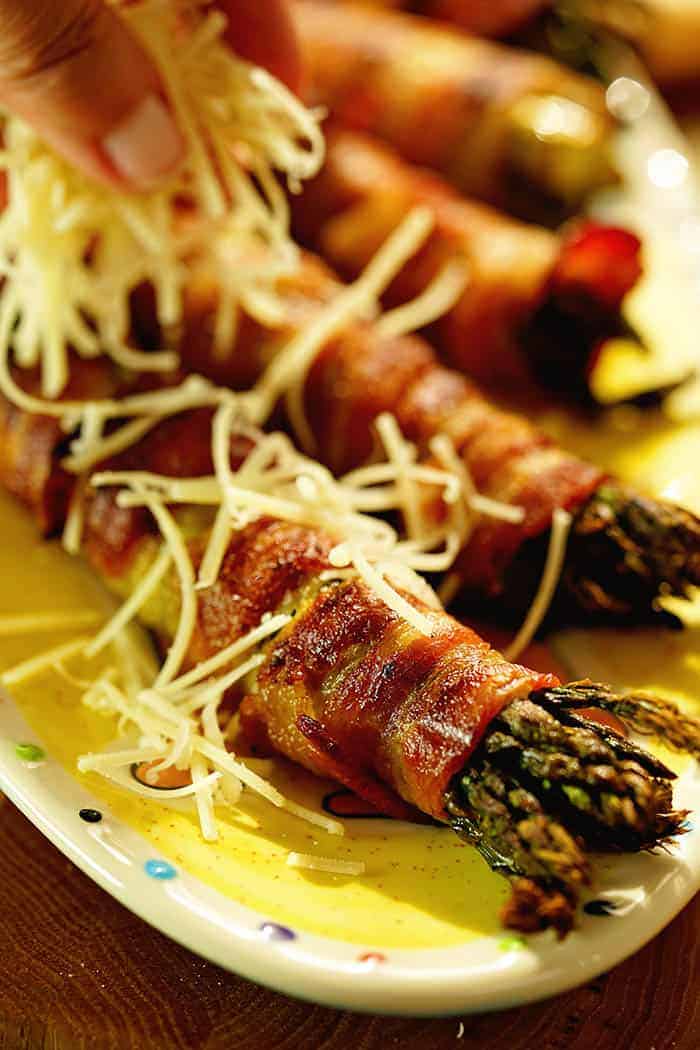
- Sprinkle with parmesan cheese the instant it comes off the grill
What temperature to cook bacon wrapped asparagus?
- Preheat the grill to 350-375 degrees. Try and keep the grill within that temperature range. Definitely less than 400 degrees. Below that the bacon will just steam. Much more than that and the bacon will burn and turn black. I know…. I’ve done the research! 😀
How do you cook asparagus with bacon wrapped around it?
- Be sure to oil the grill well. Add the bacon wrapped asparagus and close the lid. Flip it every three minutes or so. Don’t futz with it, just rotate it to the new side. Continue turning the bundles until the bacon is crispy on all sides.
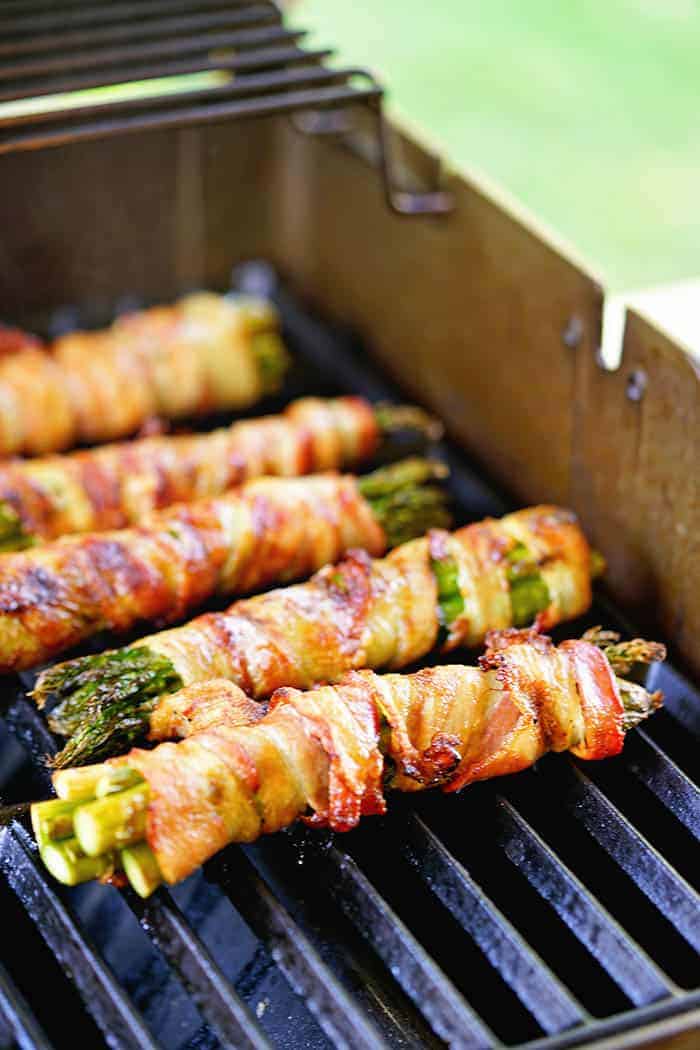
Just be patient – this takes about 20-25 minutes to cook. You want the bacon good and crispy! The hardest part is not eating this as soon as it comes off the grill!
Sprinkle the bundles with Parmesan cheese the instant you take it off the grill so it melts and gets all cheesy! Lightly cover the side with foil until you’re ready to serve.
If you’re looking for something super tasty to serve with this meal, how about teriyaki steak? We love this marinade and use it on just about everything!
Have you joined the blog yet? I have so many great grilling options and I’m always sharing new ideas!
I hope you really enjoy this recipe! Be sure to tag me on Instagram @bowl_me_over – I’d love to see how it turned out for you!
Grilled Bacon Wrapped Asparagus

Grilled Bacon Wrapped Asparagus – Crispy bacon wrapped around tender asparagus and sprinkled with salt parmesan cheese is the perfect side dish and to make on the grill!
- 1 1/2 lbs. asparagus
- 12 slices bacon (use thin sliced)
- 1/4 cup parmesan cheese
- nonstick coating for the grill
- Clean the asparagus, snap off the woody ends.
- Prepare each bundle with about 5-6 spears.
- Wrap tightly with thin sliced bacon – 2 slices of bacon per bundle.
- Oil the grill and add the bundles to the grill. Grill on all sides three minutes per side until the bacon is crispy 20-25 minutes.
- Sprinkle with parmesan cheese the instant it comes off the grill.
 Debra Clark blogs over at Bowl Me Over where she shares her love of all things in a bowl! Soups, stews, salads, Buddha bowls, ice cream you name it! Comfort food that is delicious and full of flavor. Most meals are quick and easy!
You can also connect with her on Facebook, Pinterest, Instagram, Twitter and YouTube.