Raising ducks (especially ducklings) is easy, and ducks are some of the most entertaining and useful livestock you can add to your farm!

We started to raise ducklings in hopes they would begin to lay eggs once they matured. As you might know, I’m a big believer in keeping more than one type of poultry!

A bunch of newly hatched ducklings up close

Ducklings also are a nice accompaniment to chicks you might raise in the spring and can do just as much work in your garden when they mature.

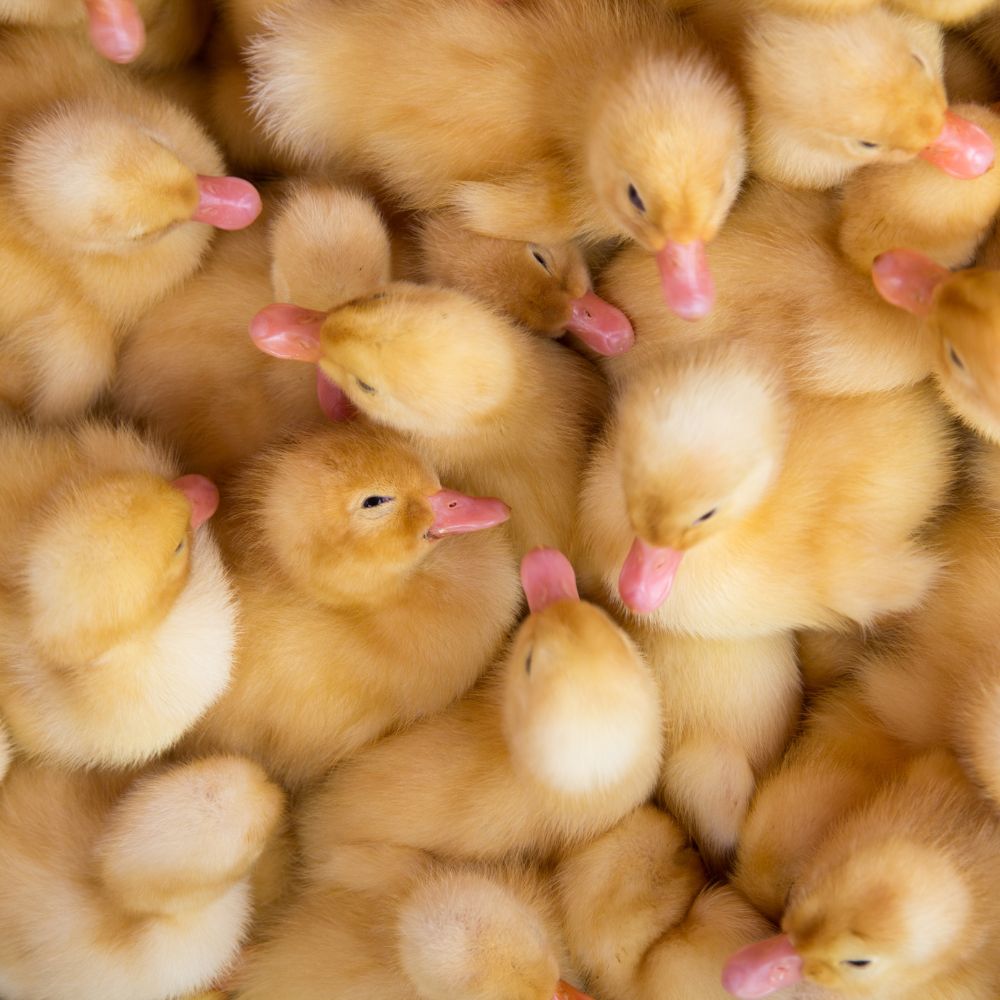
Until they mature and lay eggs, ducklings can forage and help keep the bug population down. I think you’ll find that if you raise ducklings, they will be very cute, and provide hours of entertainment.

They’re easy, low-maintenance animals that will provide eggs when they’re ready.

Decide What Breed To Buy

There are so many different duck breeds to choose from, so I won’t cover them all. I’ll talk about the breeds I have experience raising, their histories, and why I like them. You can buy them from hatcheries online, local farm stores, and local breeders.

Pekin Ducks

Pekin ducks are possibly the most popular breed of ducklings to raise in the United States. They’re the white ducks you see everywhere.

Pekins originated in China, and immigrants brought them in the mid-19th century. They quickly gained popularity as a breed of ducklings to raise in the US because of their hardy, useful natures.

They’re a good dual-purpose breed and lay eggs consistently. We’ve chosen Pekin ducklings to raise in the past, and they were easy, low-maintenance ducks.

Indian Runner Ducks

Indian Runners are excellent ducklings to raise and are highly prized for their wonderful pale green and white eggs. Runners are foragers and great layers. They can lay around 180-200 eggs per year.

Runners generally are not suitable to raise for meat because the males top out at 5 pounds or so. Their value lies more in their eggs.

Khaki Campbell Duckling

Khaki Campbell Ducks

We have a few of these on our farm, and they lay nice white eggs regularly. They’re also very pretty!

Named after their developer, Mrs. Adah Campbell, these are the breed of ducklings to raise if eggs are your priority.

Laying around 300 eggs a year, Khaki Campbells were developed by breeding Mallards, Runners, and Rouen ducks.

They’re good foragers, and only weigh 3-5 pounds fully grown.

Raising Ducks

Purchasing and Transport

Step one in learning how to raise ducklings is to choose ducklings at the breeder or feed store (or wherever you happen to source them).

You want healthy-looking ducklings to raise that are active, curious, and free of poop on their bottoms.

If you’re buying your ducklings locally, be sure to keep them warm on the ride home, and provide an appropriate container for transport. Anything from a cardboard box to a cat carrier will work (our cat carrier gets lots of use!), as long as it’s solid and has a way to keep them inside. I personally use a cat carrier when transporting ducklings I’m bringing home to raise.

Keep them warm by keeping the heat in your car turned on if it’s cool outside. Their down will provide them with a certain amount of warmth as well, but not a ton.

Because your ducklings will likely experience some stress from the move, keeping them warm will make sure they arrive home in the best shape possible.

Put something on the bottom of your box or carrier to catch any poop/pee, and to give them traction. In a cat carrier with no lining, they can easily slip.

Your goal is to make the ducklings comfortable so they are less stressed during transport.

I’ve purchased poultry through the mail successfully, and most hatcheries want their birds to get to you in great shape. But if you’re concerned about travel conditions, you’re best off buying your ducklings close to home.

I purchased my ducklings about an hour away from my house, which ensured their ride home was as short as I could make it, and my ducklings arrived in good shape.

Necessary Duckling Equipment

If you want true success in raising ducklings, there’s some equipment you will need.

If it’s still cool outside, you’ll need a heat source and a duckling brooder and a thermometer. We usually wait until warm weather – above 80 all the time – so we can skip the heat source step.

In my experience, the number one killer of young ducklings is getting too cold, so giving them a place to warm up is very important. They need to be extra warm, especially during the first week of life.

It can be very helpful to have a heat lamp for ducklings. The type of bulb you need depends on the time of year, and where you will keep your ducklings.

During the winter, I raise my ducklings inside when it’s cold, and use a heat lamp for ducklings if it’s really cold outside (we have a drafty house) or a 75-watt bulb if it’s spring, and 60 degrees or so outside.

To be honest, I prefer using the 75-watt bulb; the heat lamps get too hot, and if they fall, they can lead to a fire. It’s not ideal if a 75-watt lamp falls, but the metal lamp surrounding the bulb doesn’t get very hot, so a fire is less likely.

I especially make sure the ducklings have a warm place to go if they’ve been swimming. Maybe they’ll need it, or maybe they won’t, but it’s better than ducklings getting too cold.

I put the heat lamp in one corner of the brooder, and let them decide when they want to use it. Happy ducklings wander around and are curious, so let that be your guide to determine if they’re warm enough. If they start panting, your lamp is too hot.

Your brooder can be as fancy or as basic as you like. I use a big plastic tote because they’re cheap and easy to clean, but you can make a brooder out of wood or metal as well. It just needs to be sturdy and safe for your ducklings.

Most people use shavings in their brooder. I use shavings, and sometimes I add some hay or straw. Be sure you use larger flakes because ducklings have a tendency to taste the smaller shavings or the shavings can become mixed with their feed. Pine shavings are a great choice.

You will also need a waterer and something to keep their food in as you raise ducklings. Equipment for chickens is fine, as long as the ducks can eat or drink from it, and keep their nostrils clear. Even a simple water bowl can work, but they will splash water EVERYWHERE.

It’s best to allow them to have a deeper dish of water so they can easily dip their bills in.

Duck Feed

It’s best to go with poultry feed with about 22% protein. It is not recommended to use medicated feed for ducks.

Chick starter isn’t a good choice since ducklings have different nutritional requirements (such as important niacin requirements) and chick starter doesn’t have enough vitamin B in it. You’ll run the risk of your ducklings developing leg issues – and this is a very real issue, so please don’t give your ducklings chick feed.

You can add brewers yeast to chick starter to supplement the nutritional needs. Here’s a great option.

Be sure to make the duckling feed available all the time.

Providing a Pool

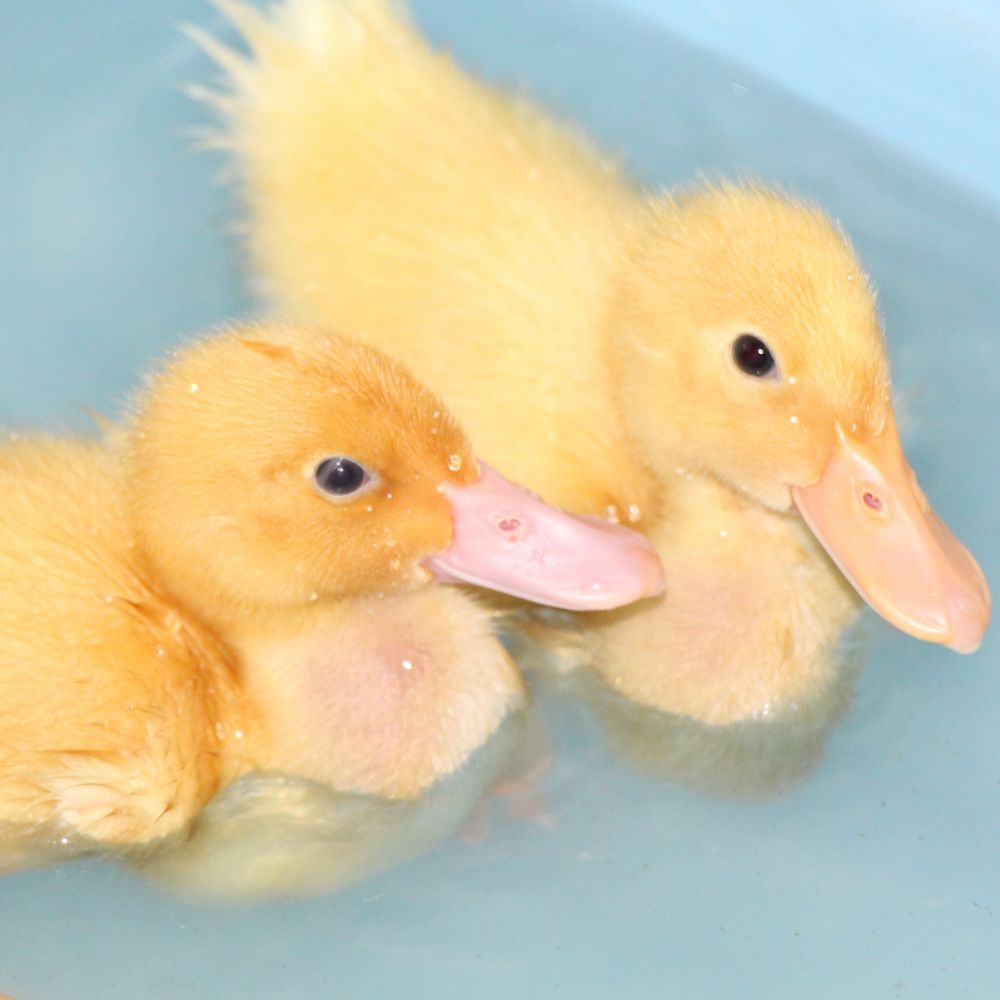
One of the most fun things you’ll get to do as you raise ducklings is watching them swim and play in the water.

Although it isn’t strictly necessary to provide a pool, I provide one for my ducklings on a limited basis because I think it’s healthier and natural.

You can provide a small pool, which they will use to play and clean themselves. Beware that they WILL make a mess.

Be sure the water isn’t too cold and you watch them for signs of hypothermia. Remove them if they start quacking and trying to get out, and generally looking like they’re not having much fun anymore.

Ducks are very messy when they have water to play with; I have seen backyards become muddy piles of muck by ducks in a short time. 

They will need a separate water dish for drinking because they dirty up their pools quickly. Ducks need to be able to dip their entire heads into the water to keep their eyes and nose clean.

I don’t recommend allowing your ducks to live on a pond. They can’t fly like wild ducks because they’ve been bred to be heavier (and in some cases, their wings have been clipped), and they can’t defend themselves against predators.

Two ducklings swimming in a pool

Shelter

At some point, you’ll want to move your ducklings outside, and they’ll need shelter. Be sure to give them a shelter that will protect them from predators and inclement weather and heat, and give them enough room.

I wait until mine have feathers before moving them outside in the spring. During warm weather, they’re allowed to go outside but brought back in at night so they stay safe.

If you’re going to let your ducklings free range, the space requirements are a little different than if they’re cooped in a run.

I don’t recommend free ranging your ducklings unless you want them picked off by predators. I use a tractor so they can get around to different areas without being exposed.

One thing that’s worked well for us is keeping our ducks with our goat. I firmly believe we haven’t lost any ducks because the goat is large enough – and we have small predators – that she scares off any carnivores looking for a midnight snack.

Ducklings kept in a run all the time will need about 10 square feet of space each, so when you plan your duck house, consider those space requirements.

Your shelter can be as fancy or as basic as you want, and you can keep your ducks with chickens if you only want one coop.

I’ve seen duck houses made out of chain link fences and tarps, and I’ve seen children’s playhouses repurposed as coops. As long as they can stay dry and away from predators, any shelter will work.

Our duck house isn’t anything fancy (it’s actually a repurposed shed), but it works well and keeps them dry and warm!

More Resources on Raising Ducks

Hey y’all! Here’s this week’s sneaky peek photos of life on our farm!

These images also appear on my Instagram account where I share MANY more photos and stories from the farm!

If you aren’t yet following me there, you can right here.

Enjoy the photos & be sure to share some of yours with me!

https://www.instagram.com/p/Bfj850dB011/?taken-by=pamperedchickenmama

https://www.instagram.com/p/BfhYGzfh8n-/?taken-by=pamperedchickenmama

https://www.instagram.com/p/BfezT7Qhra7/?taken-by=pamperedchickenmama

https://www.instagram.com/p/BfcOhSKhsip/?taken-by=pamperedchickenmama

https://www.instagram.com/p/BfZpufIBVBl/?taken-by=pamperedchickenmama

https://www.instagram.com/p/BfXE7RCh1OD/?taken-by=pamperedchickenmama

https://www.instagram.com/p/BfUgIgJB17G/?taken-by=pamperedchickenmama

Baby chicks require special care – that’s pretty much a fact.

And they’re fragile! Luckily, in this episode, we delve into the care they need week by week, as we explore the first 6 weeks of your new flock members’ lives.

(Want to learn about weeks 7-16? Click here for the next episode!)

You’ll learn:

  • What equipment & food you will need
  • How to make sure your chicks are healthy & the perfect temperature
  • When your chicks are ready to go outside

Links we discuss:

Manna Pro Poultry

Chickens: Naturally Raising A Sustainable Flock

Transcript (Main Ideas):

What do you need for chicks?

For baby chicks, there are certain things that you need to have before they arrive. You’ll need food, water, probiotics, a brooder, a digital thermometer, and a heat source.

I feed baby chicks medicated chick starter because in my experience, they do best with it. However, you can give them non-medicated starter if you like.

The difference between medicated and non-medicated is simple. Medicated chick starter has something called amprolium in it, which helps chicks develop a resistance to parasites that are naturally found in the soil. It’s not an antibiotic, since antibiotics don’t work against parasites.

When baby chicks are born and when they’re younger, they have very specific nutritional requirements, so it’s best to feed an 18 percent protein chick starter.

Probiotics

I always give chicks homemade organic apple cider vinegar, from the time that they’re born. We’ve been able to reduce our death rate by just providing homemade organic apple cider vinegar.

The reason is the beneficial bacteria will help them develop good gut flora in their digestive systems.  

Put one tablespoon of vinegar in one gallon of water and feed once every two or three days just to make sure that they still have it in their system as they grow up.

You can put it in their feed, but the waterer is best because chicks get dirty very easily with wet feed, and then they have a hard time staying warm.

Heat source

The next thing that you’re going to have to worry about is heat. Baby chicks have down, not feathers, on them, and they can’t control their body temperature as easily as an adult chicken.

You should follow basic temperature requirements and use a digital thermometer so it’s simple to tell whether the brooder is too hot or too cold.

Ideally when the chicks are born, for the first week, you want the brooder temperature to be 90 to 95 degrees. I have gone less than that and been OK, but for the sake of this discussion, we’re going to stick with the rule of thumb, which is 90 to 95 degrees the first week.

Then you can decrease by five degrees every week after that. So week 2, the temp should be 85 to 90 degrees, week three is 80 to 85 degrees and so on.

You’ll want to do this until the brooder is 75 degrees or until they’re fully feathered. I personally put a digital thermometer in the brooder to make sure the temperature is correct.

If you see them huddling together, then they’re cold. If they’re cold, they’re not going to eat or drink. . If they’re happily walking around, looking for food and interacting, then they’re warm enough.

If they are scattered all over the place, or if they’re laying down and a panting, then they’re too hot.

Regarding heat lamps, I’m not a fan, and we have not had good luck with them, and almost burdened our house down a couple of times.

Personally, I wait until it’s May or June, and I can be reasonably assured the temperatures will remain high enough for the chicks for their first few weeks of life.

We’ve also used heating pads and those worked out very well. You just put the heating pad on the bottom of the brooder, and the chicks can get off and on as they please.

Brooders

You will also need a brooder. You can buy a brooder, or you can make one. We use big plastic bins because they’re easy to transport and clean

Make sure your brooder has a top on it because by about week five or six, your chicks are going to start trying to fly out of the brooder.

The other advantage to that is if you use a heat lamp, you can just rest the heat lamp on the top of the brooder, assuming the top is something like hardware cloth.

When it comes to the amount of chicks in the brooder, I don’t put more than 10 chicks at a time. The reason is the higher numbers of chicks, the more likely some will get squashed or suffocate.

One common question whether you can house chicks and ducklings together in a brooder. Yes, but I don’t recommend it.

Ducklings are very, very messy, and chicks – which have down, not feathers –  have a hard time regulating their bodies, and as ducks splash water, they also splash shavings and particles of food on the chicks, and the chicks can’t stay warm.

When can chicks go outside?

If it’s above 80 degrees, the chicks can go out at any time in their life. If it’s under eighty degrees, we only put them outside when they’re fully feathered just to make sure that they’ll be OK.

We always make sure that they’re in a very, very safe tractor. We don’t want older chickens picking on them or a hawk to pick them off.

They can still eat grass and bugs and lay in the sun, but they’re safe. Make sure you provide them with food and water at all times.  Make sure they have shade.

When do you introduce everybody?

We introduce chicks to the hen coop when they’re about 12 to 16 weeks so the chicks are big enough to fend for themselves and so they’re not too intimidated by a hen.

There likely will squawking and fighting as they sort out the pecking order disputes.If it goes on for days or if somebody is getting hurt, then it’s  an issue. But if they’re just pecking at each other, and you hear squawking and some feathers flying, don’t worry about it.

If you do have roosters, my recommendation is to wait until the chicks are 16 weeks old. We’ve had issues with roosters killing chicks when they’re not old enough to defend themselves. So at this point, we never introduce a chick to a coop with a rooster until the chicks are 16 weeks old.

March is one of the best times to start getting your hands dirty in the garden, and I’ve created these “to do” lists by USDA planting zone to get you in the garden and enjoying spring!

The weather in your area is likely starting to warm up a bit, and now is a wonderful time to get your seedlings prepared to grow.

Click here for the exact seeds we use on our homestead!

When starting your garden, the very first step is to garden based on the USDA Plant Hardiness Zone that you reside in.

With this information, you can easily determine which plants will thrive in your area, and which ones may require some additional work to keep healthy (such as a greenhouse or cold frames).

The activities in this article will focus primarily on zones 3-10, as these zones cover approximately 99% of US gardeners.


Your glorious organic garden awaits!

BUY NOW

Zone 3

Even though it’s probably still a bit chilly in your area, there’s lots you can do. Start planting your onion, tomato, cauliflower, cabbage, brussels sprout seeds under lights. (For a detailed article about how to do that, click here).

If you’re planning to grow flowers (we are!) now is the time to plant stored bulbs in pots and get them under lights.  

Outside, you can prune overgrown shrubs (but avoid shrubs that flower in spring – otherwise you might not get any flowers at all).

Zone 4

Now is the time to start all of the veggies listed above PLUS your pepper, and eggplant seeds indoors under lights.

If you’ve had any fruit trees effected by fire blight (a bacterial infection in fruit trees) now is the time to prune them back to prevent further spread of the disease.

Make cuts 1 foot below the diseased area, and make sure to disinfect your pruning shears between cuts with a 10% bleach solution to prevent further spread of the disease.

Zone 5

If you plan to include marigolds in your garden this year to prevent pests, now is the time to start them indoors under lights.

You can also start your tomato, pepper, and eggplant seeds indoors under lights. As your tomato seedlings grow, you’ll need to transplant them into larger pots. Make sure to bury the stems deep when you transplant so they develop a good root structure!

If they’re tall enough at the end of March, you can transplant them outside, making sure to bury the step deep again, keeping 1-2 inches of plant above the soil line. Before transplanting put some compost in the hole to promote growth.  

At this time, you can begin planting potatoes, peas, lettuce, radishes, and carrots in your vegetable garden outside, making sure to use cold frames to protect against any unexpected frosts..

Trim back dead or damaged branches from trees, shrubs, and roses.

Zone 6

So long as the weather is mild, you can start planting your roses, trees, and shrubs.

March is a good time to plant your tomato, pepper, and eggplant seeds indoors under lights. If you’ve already started broccoli, cabbage, and cauliflower, they can be moved outdoors to a protected area, or under a cold frame.  For a detailed article about how to do that, click here.

Plant your potatoes as soon as the garden soil is workable or in containers in a protected area.

Zone 7

In more milder areas, you can plant your hardy vegetables around mid-month.  Carrots, beets, kohlrabi, radishes, leaf lettuces, and turnips all love cooler weather, and will grow well as long as they’re properly watered.

Around this time, you can also plant Swiss chard (we like the rainbow variety packs). Late spring, tender stalks will be ready to harvest and the plants will keep producing all summer – and your rabbits & goats will thank you! (I don’t personally like Swiss chard, but they do!)

Transplant onions, shallots, broccoli, cabbage, cauliflower, collards, white potatoes and asparagus crowns to the garden. You can also place your herbs out, such as rosemary, chives, and thyme, making sure to bring them indoors if in pots or cover them if the weather suddenly turns too chilly.

Zone 8

Don’t hesitate in getting your cool-season crops into the garden as soon as possible – if you end up waiting too long, it will quickly become too hot for them. That being said, the nights can still end up getting rather chilly, so make sure to have row covers or windbreaks on hand.

You will also want to start planting the last of spinach, turnips, mustard, beets, carrots, and broccoli early in March for an earlier harvest than the other zones. Nothing is worse than planting these vegetables only to have them turn bitter!

By mid-month, you can start planting corn, tomatoes, squash, peppers, and cucumbers.

Zone 9

Like zone 8, zone 9 is also quite a warm one. Get started with cabbage, broccoli, spinach, radishes, Asian greens, lettuce, and parsley as soon as possible.

Once the threat of a late freeze has passed, move your tomatoes, peppers, and eggplants outside under a cover or in a cold frame. Prune away frost-damaged areas on citrus, and feed your roses with an organic blend of cottonseed meal, alfalfa meal, and composted manure.

Zone 10

For this very warm region, how is the time to start okra, sweet potatoes, mustard, collards, cucumbers, and melons. Side dress new plants and trees with compost.

I’d like to hear from you!

Which zone do you live in? What will you start to grow this March?

Give your beauty kit a revamp with these amazingly easy DIY all-natural skin care hacks you can try at home.

For generations, humans have used nature to enhance our natural glow….and it’s only lately that we’ve turned to synthetic and chemical products.

If you’re avoiding using chemicals, but still want to take care of yourself, you do have options. We’ve talked plenty of times on this website about all-natural skin care for your pets, but did you know you can use those same hacks for yourself?

Everything from deodorant to exfoliants have all-natural solutions…if you know where to look.

In this article, I’m going to show you 5 ingredients you can use for all-natural skin care. I’m sure you already have these ingredients in your kitchen – and you probably didn’t know they could also double as all-natural skin care.

Potatoes for all-natural deodorant

If you’ve been dealing with problems such as sensitivity or dryness (which can happen with commercial deodorants), try rubbing a half-inch thick slice of potato under each armpit. 

The natural enzymes and antioxidants in potato skins help exfoliate delicate skin and reduce offending odors.

Tea tree oil for healthy skin

Tea Tree Oil (also called melaleuca) is one of the easiest all-natural beauty hacks for healthy skin, and it might reduce blemishes and spots. Mix 1 drop of essential oil with 1 tablespoon of coconut oil and apply directly to your skin. The coconut oil is also great for moisturizing and smoothing out any uneven skin!

DIY facial scrubs with honey

For acne and other skin blemishes, try mixing ¼ cup oatmeal with 1 tablespoon honey and one egg white and apply to your face. Be sure to wash off with warm water. Honey and oatmeal are soothing for your skin, and can help reduce redness and blotchiness.

For blackheads, dip a clean cloth or cotton pad to a honey and organic flour mix. The honey is soothing while the flour acts as an exfoliant!

All-Natural Homemade Moisturizers With Aloe Vera & Avocado

Aloe vera is excellent for after-sun skin care as well as sunburns, when your skin, your body’s largest organ, is taking a heap of damage and needs extra care. 

Be sure to use fresh aloe, which is best. Snip a piece of the succulent and apply directly to your skin.

For dry feet and heels, try magnesium oil mixed with avocado and cocoa butter! The high fat content in the avocado is great for moisturizing!

Coffee Under Eye Treatment

One uncommon beauty hack you probably haven’t tried yet is to put coffee on to the dark circles under your eyes to perk them up.

Mix ground coffee with coconut oil and apply it under your eyes 3-4 times each week. You can also make an easy skin care mask with coffee and coconut oil.

(You can also use coffee grounds in your garden, once you’re done with the under eye treatment!)

Hey y’all! Here’s this week’s sneaky peek photos of life on our farm!

These images also appear on my Instagram account where I share MANY more photos and stories from the farm!

If you aren’t yet following me there, you can right here.

Enjoy the photos & be sure to share some of yours with me!

https://www.instagram.com/p/Be_5xvYBJCK/?taken-by=pamperedchickenmama

https://www.instagram.com/p/BfFDXtGhaaj/?taken-by=pamperedchickenmama

https://www.instagram.com/p/BfPWj6gh1Lt/?taken-by=pamperedchickenmama

https://www.instagram.com/p/BfMynKHh3Mr/?taken-by=pamperedchickenmama

https://www.instagram.com/p/BfKM9EWhyy9/?taken-by=pamperedchickenmama

https://www.instagram.com/p/BfHoKDMhYE6/?taken-by=pamperedchickenmama

                    YES I WANT SOAP!