A common question I get is whether chick grit is necessary. And the answer is yes….and no.

It depends on a few factors, namely, whether your feeding your chicks treats, letting them forage, or feeding extra things like herbs.

Like older chickens, grit can help chicks digest their food. In fact, if you’re feeding anything other than chick starter, I’d say you 100% should provide your new mini flock members with chick grit.

Luckily, that’s an easy thing to do. In this article, I show you what your chicks should eat, what supplements can make them healthier, and when chick grit is necessary.

Cute chick in grass with purple flowers

What is Chick Grit?

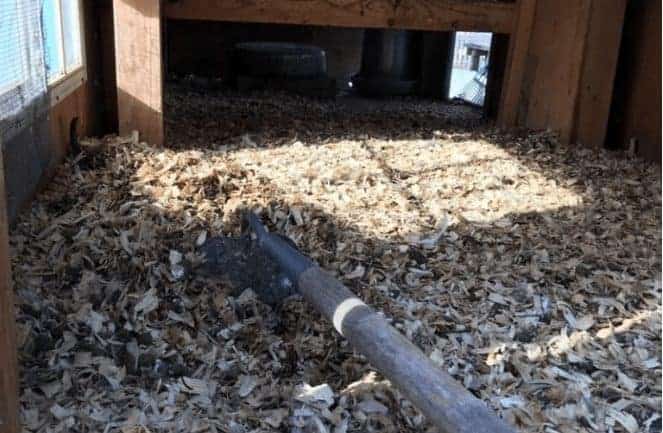
Chick grit is tiny rock fragments or gravel that have been broken down so they’re easier for baby chicks’ gizzards to digest. Chickens don’t have teeth, so grit is the tool used. Chicken grit is basically an aid in healthy digestion.

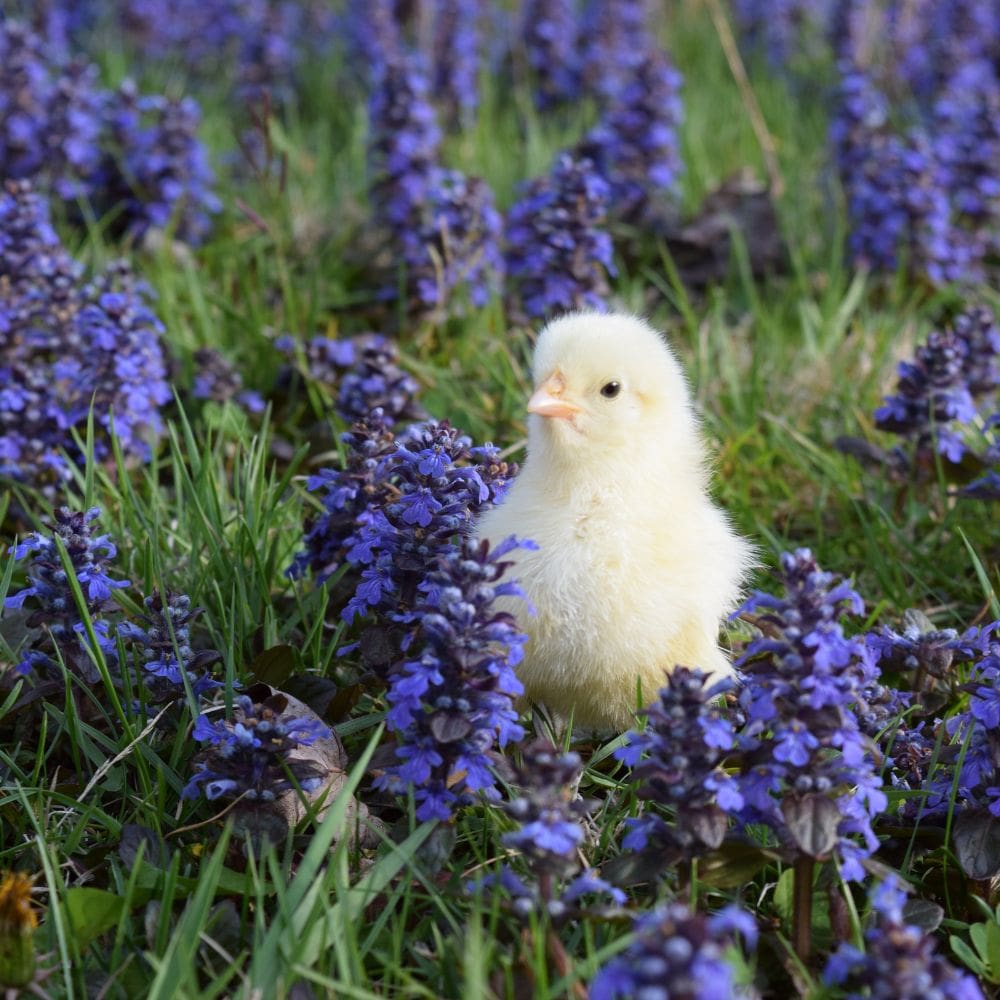
In nature, chicks will pick up rocks outside as they forage with their mothers.

If your chicks were incubated and/or live indoors (we keep our chicks indoors until fully feathered) OR if you feed your chicks anything other than chick starter, chick grit can be the difference between a well-functioning digestive system and one that might prevent your chicks from absorbing nutrients, eventually causing death.

Young birds can start grit at about two weeks of age. If you notice a decline in feed intake, you should limit the amount of grit left out for them.

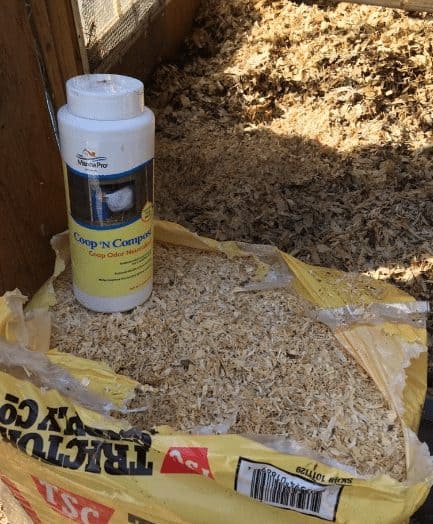
Oyster shell is often confused with grit, it is not the same thing. Oyster shell is used as a calcium supplement and is primarily for adult poultry (layers) to strengthen eggshells. If you want good, strong eggs, you will need that.

What Should Chicks Eat?

For the full breakdown of what your chicks should eat, click here.

To summarize, your chicks should have 24-hour access to a high-quality chick starter. I created my own to be sure my chicks are getting the healthiest start possible. So many folks asked for my recipe, that I now sell it. See it here.

If you are up to it you CAN make your own chick starter (and organic chicken feed). Just be sure it has at least 18% protein so they grow into healthy backyard chickens.

To make things easier on yourself, especially if you’re new to poultry, going with a specially formulated blend takes out the guesswork. What I offer is also non-GMO and organic.

Medicated or Non-Medicated?

In the past, I’ve fed both medicated and non-medicated feed. Both are equally healthy.

The difference between them is that medicated feed contains an additive called amprolium that helps chicks develop a resistance to parasites (coccidia) naturally found in soil.

Yes, amprolium is a drug, and no, it’s not an antibiotic. It’s an anthelmintic, which means it helps prevent parasites.

These parasites can cause coccidiosis – a potentially deadly parasite infection.

It’s completely up to you whether you want to feed medicated or non-medicated start. Both have a place and your decision is individual to your flock.

If my chicks seem to do ok, then I might use non-medicated starter. If I’ve gotten chicks from a hatchery or they seem to have some health issue, then I’ll turn to medicated chick starter so I have one less issue.

Three cute chicks of different colors with blurred background

To Ferment or Not To Ferment?

You can ferment your chick starter if you want to. Fermenting chicken feed is easy to do, and has a lot of health benefits.

Particularly if you plan to ferment their feed when they turn into adults, it’s a good idea to start young so they get used to the texture.

If you ferment the chick starter for 24 hours, it will have some beneficial bacteria in it and won’t turn moldy in that short of a period of time.

Apple Cider Vinegar

Something I ALWAYS give chicks is apple cider vinegar. The beneficial bacteria in apple cider vinegar can help your chicks get a great start to life since it helps them establish good, healthy gut flora.

Ever heard of pasty butt? It’s similar to scours in young mammals like pigs, cows, and horses, or diarrhea in humans.  Left unattended, it can cause major health issues, including death, in chicks because their vents get clogged and they can’t defecate easily.

It can happen for a variety of reasons, and one big one is if their guts aren’t quite ready for life in the big world. Apple cider vinegar can help chickens avoid digestive issues and overall be healthier.

We found over the years that it reduces death rates in our chicks. So, it’s always in the first water our chicks get, and they love it.

Simply add it to their waterers and dip their beaks in very gently so they get a drink. Be sure to use clean water. I’ve never had a chick not take to it.
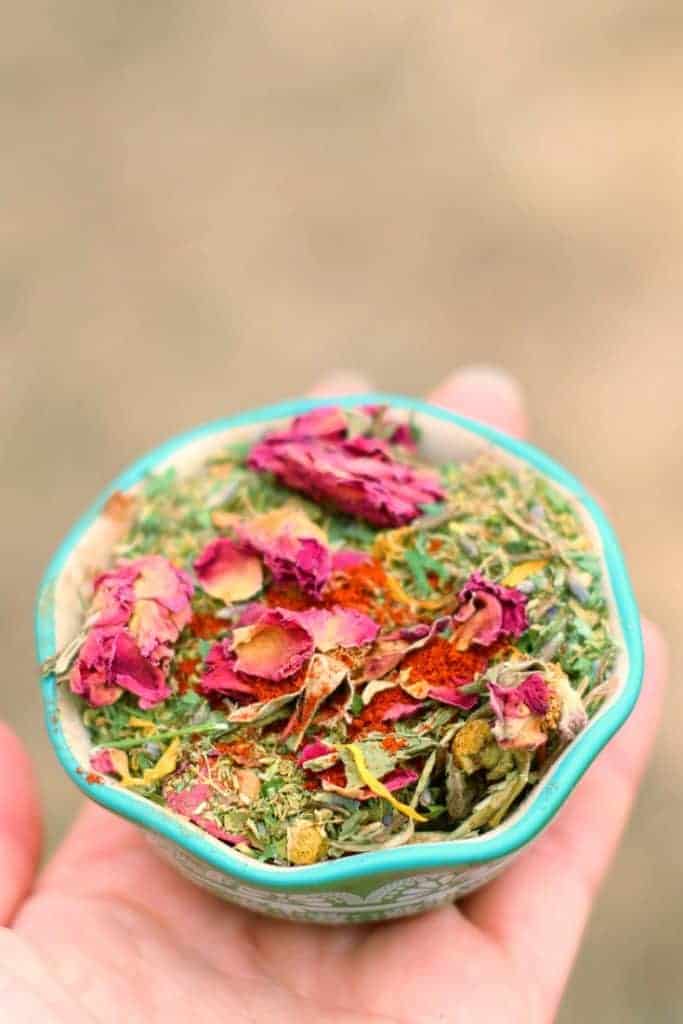
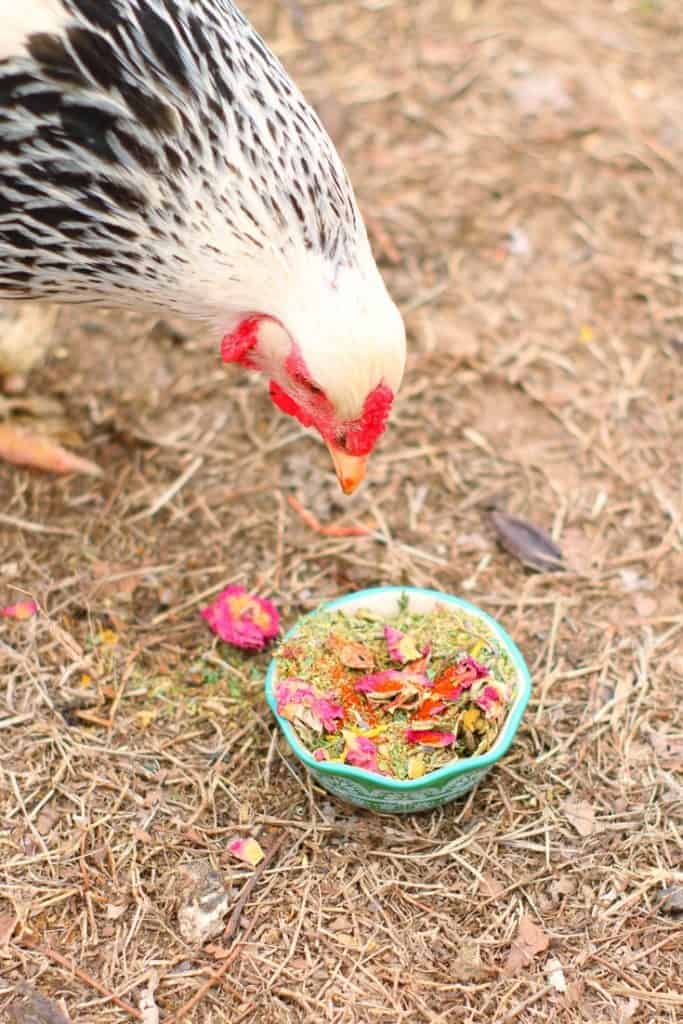
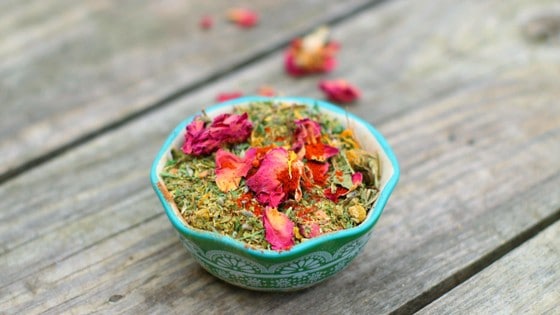
Herbs for Chicks

Now, before I begin this section, let me start out by saying that I’m not a fan of feeding chicks much of anything else except starter and chick-specific treats.

I like to be sure they’re only eating the healthiest food so they grow right and their bodies, feathers, and organs develop correctly.

That being said, I do have numerous readers who feed their chicks herbs so they’re healthier.

If you want to go in this direction, then the best thing to do is offer simple, healthy herbs such as oregano or sage.

Oregano has strong antibiotic properties, while sage has properties that can help prevent parasites.

Most herbs for hens are okay, although I would stick with the two above.

Summary

If you do not feed your chicks herbs or allow them to free range and forage outside, be sure to offer chick grit so they can easily digest anything they might eat.

If they’re foraging and eat bugs or seeds, they will get natural grit to break down their food so they can absorb nutrients from the goodies they’re eating.

You can offer chick grit as a preventative as well. When I offer chick grit, I mix it with their feed to make sure they taste test some. If you offer it separately, they might not understand what it’s about, and ignore it. It’s hard to ignore something in your feed!

Go west, young homesteader to find free land for a homestead. Or East. Or North. Or South.

While the US government doesn’t give away free land for a homestead any more, there are states and cities that do give away free land to encourage declining economies and to encourage population growth.

I’ve done some research for you, and found a number of locales that offer free land.

(Want to check out more land opportunities? I can help! Check out my resource, Homestead On! here.)

As you read this, remember that you can homestead anywhere, even in Brooklyn, NY, so don’t be discouraged by some of the locations.

These plots of land are free for those who qualify, and some come with restrictions or covenants. 

READ NEXT: HOW TO START HOMESTEADING WITH NO MONEY

If you are willing to make some concessions on your homestead, there’s a lot of opportunities out there!

If you’re looking to purchase inexpensive land for a homestead, there’s an alternative at the end of this article.

homestead on ad
New Richland, Minnesota 

If you can handle the very cold winters, there’s a free lot up for grabs in New Richland, MN that might make a perfect homestead.

In New Richland, you must build your homestead within 1 year, and you will be assessed the costs to develop the land with streets, curb, gutter, water and sewer.

There are additional requirements, and the city of New Richland encourages you to contact them directly.

If you're looking for free land to start a homestead, this article will tell you where to find free land, and exactly how to apply for it. From FrugalChicken

Mankato, KS

In Mankato, KS you can qualify for free land for a homestead as long as you meet the minimum requirements.

Mankato is a city of around 900 people in a county that has a population of around 3000 people, and the major industries in the area is agriculture, health care, and outdoor hunting and fishing.

There are currently 20 free lots available in this Kansas town (current as of 4/17/18), and there are no assessments against the lots at this time.

You will have to have your homestead completed within 2 years, and your home will need to be a minimum of 1200 sq. ft.

You can contact the City of Mankato at 785-378-3141 for additional requirements. 

UPDATE: As of 4/17/18, the City of Mankato does not allow livestock such as goats and chickens in their town limits. However, you can still homestead by finding local farms that sell goat milk and free range organic eggs, and preserve them by making cheese and preserving eggs in lime water – you might even be able to barter for those goods.

The city administrator did not mention any limitations against gardening so you can likely still grow as many fruits and vegetables as your plot allows and can your harvest or preserve your vegetables and herbs in another way.

Marne, Iowa

In Marne, Iowa, there’s 3 lots of land left for homesteaders that meet their requirements. You must build a house that’s at least 1200 square feet, and your house must be completed within 18 months of acquiring the lot.

If you want chickens or goats, though, this one’s not for you – they strictly forbid livestock of any kind. They don’t restrict gardens, however.

View the details and additional requirements here.


READ NEXT: 40 HOMESTEADING SKILLS YOU CAN LEARN BY VIDEO TODAY

Marquette, Kansas

The town of Marquette in Kansas has several free lots available for a homestead.

Marquette is known for its family-oriented, small town community.

If you’re selected to have a free lot, you will be expected to build a home on the land, and become a permanent member of the community.

If your free plot of land doesn’t have room for a garden, don’t worry: the town has established and fully supports community gardens!

It’s rare to find a town so actively involved in community gardens, making this small Kansas town really stand out.

Curtis, Nebraska

If Kansas isn’t your thing, Curtis, NE boasts 2 separate subdivisions with free plots available to would-be residents who qualify and build their homestead within a specified period of time.

Although their website doesn’t have much information about the free land up for grabs, you can view plenty of photos and contact the town at [email protected] for more information. 

Lincoln, Kansas

Imagine a 720 square mile county with buffalo, farm animals, and other wildlife scattered across a picturesque hillside homestead.
In Lincoln, Kansas, you can get free land where you can build a garden and homestead in a suburban setting.
 
Lincoln has 3500 residents and no serious crime.
Lot sizes vary between 12,000 square feet to 36,000 square feet (that’s almost an acre), and all lots qualify for their 10 year tax rebate program.
 
You will need to complete your new home within 18 months of receiving your free land.
Keep in mind, too, you cannot keep livestock on your property, so gardens only.
 

If you're looking for free land to start a homestead, this article will tell you where to find free land, and exactly how to apply for it. From FrugalChicken
Lincoln, KS


Looking for inexpensive land?

Free is great, but what if you want to move to a more exotic locale or object to restrictions on your land?

The great state of Alaska routinely offers land for sale.

READ NEXT: 4 HOMESTEADING PODCASTS YOUR FAMILY NEEDS TO HEAR

You can make a sealed bid on an Alaskan homestead (there’s one going on right now!!), join a remote cabin stake drawing where you can homestead, or buy land over the counter.

While these plots aren’t free, there are less restrictions and requirements once you do own the land.

You will probably be able to have livestock, and there are fewer (if any) building requirements.

Plus, you might get to look at this all day:

If you're looking for free land to start a homestead, this article will tell you where to find free land, and exactly how to apply for it. From FrugalChicken

Pretty awesome, right? Now go forth, homesteader. A lifetime of growing tomatoes and tending fruit trees awaits.

I’d love to hear from you!

Where would you like to start a homestead?

homestead on adHelp me improve this resource by taking my homesteader’s survey (only 2 questions!)!

https://plus.google.com/+MaatvanUitert/posts/f3LHM1E7zNh

The deep litter method for chicken coops is pretty controversial among backyard chicken keepers.

Some owners think it’s unsanitary, while others swear by it. In this article, we’ll take a look at the advantages of the deep litter method. 

I invited my friend, Liz Martin of The Cape Coop to write an article for y’all. Liz is a deep litter method expert, and uses it in her chicken coop – and swears by it.

Take it away Liz!

What if I told you there is a really easy way to maintain your chicken coop with LESS cleaning that is actually healthier for your chickens?  

I know, I was skeptical at first, but the more I researched deep litter, the more it made sense.  Now two years after we started deep litter I am never going back!

So what is the “deep litter method”?  

Deep litter coop maintenance is all about balancing the beneficial microbe levels to allow the manure & litter to compost right in the coop.  

Done right, it allows for far less coop cleaning chores, a healthier flock, a warmer flock in the winter and rich garden compost.  Done incorrectly it can make your flock sick and your yard really smelly.  

Initially, I was concerned that allowing all that manure to build up in the coop would make it very unpleasant to spend any time outside, particularly in the hot, humid summer months.  

Luckily, I have found that properly managed deep litter only has an earthy, composty smell.  If you smell ammonia from the droppings, that is the first sign your litter is out of balance.

Deep Litter Method Advantage #1: Less Coop Cleaning Chores

This is the benefit that gets most people hooked!  Deep litter takes just minutes a week, plus one or two optional big clean outs a year.  

It really is perfect for busy chicken keepers (or anyone that doesn’t love constantly cleaning chicken poop!)

deep litter method for chicken coops

Deep Litter Method Advantage #2: A Healthier Flock

What you can’t see in that pile of chicken poop in the coop is that microscopic organisms are hard at work breaking down the droppings.  The great news is that these beneficial microbes will also eat and destroy bad bacteria that can make your flock sick.

Your job as a chicken owner is to make sure the bad guys don’t outnumber the good guys.  The presence of these beneficial microbes has been show to help prevent infestations of lice & mites.  

They also can help protect your flock from coccidiosis (a potentially deadly intestinal parasite).  

The microbes will destroy the coccidia bacteria that form, but also the slightly higher ammonia levels present in deep litter coops makes for unfavorable coccidia growing environment (common coccidia treatment includes spraying with a 10% ammonia spray).  

It is also thought that exposing young chicks to deep litter will help them form additional immunities for an overall healthier flock.

Deep Litter Method Advantage #3: A Warmer Flock

Chicken manure is very high in nitrogen, add in pine shavings loaded with carbon, oxygen you are introducing as you turn the manure over, and some hungry microbes breaking things down and all that decomposition action will produce some heat!  

Deep Litter coops are generally about 10 degrees warmer than traditional coops.  This is a plus for cold weather chicken keepers, but something you also have to be aware of during warm months so your flock doesn’t overheat.  

Having proper ventilation in your coop is vital when you are using deep litter.  Ventilation will not only keep the temperature comfortable, but it will also keep the ammonia & humidity levels down.  

Ammonia is very bad for chicken lungs, they can have (potentially fatal) respiratory complications if the ammonia levels build up in the coop.  A good clue that you do not have adequate ventilation in your coop is if you see condensation building up on the coop windows.

Click here to read my tips on designing your coop. High humidity can be particularly bad in winter months as it can leave your flock susceptible to frostbite.  

The best option is to keep a humidity gauge in your coop, aiming to keep the humidity levels at 40-70%

deep litter method for chicken coops

Deep Litter Method Advantage #4: Rich Garden Compost

Because chicken manure is so high in nitrogen, it will burn tender vegetation if you don’t let it age first.  I generally let my chicken manure compost sit 6 months before I add it to my garden.  

The tricky situation with deep litter is that at coop clean out time, you will have 6 month old manure but also brand new day one manure.  

So at coop clean out, you still need to add everything to the compost pile to age, but when you do, you are adding materials that already have a rich microbe community that has been monitored and well feed as a starter culture for your pile.  

When you add this material to your existing compost, it will enrich the whole pile, making for some great garden food!

How to Maintain Deep Litter Properly

I already mentioned the trick to deep litter is making sure the bad guys don’t outnumber the good guys. It’s really not as hard as you might think, but there is some work involved.

If you were to just let the droppings build up untouched for 6 months, the bacteria would far outnumber what the microbes can consume, everything would be damp & humid, ammonia levels would be off the charts…..all recipes for a very sick flock (and a very smelly coop!).  

To start your deep litter coop, completely empty and scrub down the coop to start with a fresh slate.  

Add a layer of pine shavings, about 3-4 inches deep.  

Pine shavings work great because they are cheap, and they decompose nicely and quickly.  Some people use straw or hay in their deep litter coops with success, but I worry about mold lingering in damp straw.  

Twice a week, use a hoe to completely stir up all the shavings & droppings.  

You can get your chickens to help with this part by tossing scratch or treats into the coop that they will have to scratch around to find.  You will still want to be in turning it yourself at least once a week so that you can access the condition of the shavings.  

The shavings should look dry & absorbent.  If they are muddy or starting to look caked on, the balance is off and you need to add more shavings.  Depending on how many birds you have and how big your coop is, you might have to add shavings once a week.  

At the very least you should aim to add at least a 1 inch layer of shavings monthly.

deep litter method for chicken coops

An optional step (but one I have found to be really helpful if the ammonia smell is starting to build up) is to add some “Coop N Compost” by MannaPro.  

Made with naturally occurring zeolites, it helps hasten composting and neutralizes excessive ammonia (and no I am not being paid by them, I just really love their product!).  

That’s it!  It really is an easy way to maintain your coop.  

When the shavings start to build up too much (this will be different for every coop, but I usually do this when they get about 6-8 inches deep) you can pull some layers off the top and put them in compost.

Twice a year, I completely empty my coop, scrub it down and start over.  

Click here to read about how I deep clean my coop.  There are lots of people that use deep litter that never completely empty their coop.  They just keep stirring up the shavings and pulling out the excess.  The thought is to keep the bottom “hot” layer of decomposition to help act as a starter culture to jump start future new layers.

About Liz & The Cape Coop: Liz is a suburban homesteader who is passionate about gardening. She is raising a dozen plus chickens, ducks, wooly Angora rabbits, two dogs, two cats and four beautiful children along with her husband on coastal Cape Cod. She also crafts a line of natural handmade soaps and natural beauty care with a touch of the ocean using local seawater, sea salt & seaweed. You can catch up with her at http://www.thecapecoop.com/

I’d like to hear from you!

Would you try the deep litter method in your chicken coop? Why or why not? Leave a comment below!

I bet you didn’t know that charcoal for chickens is healthy.

In this article, I’m going to tell you exactly what I’m talking about.

A few years ago, my husband got a wild hair to light a fire – right near our winter hay barn.

When the fire department had left, and everything stopped burning a few days later, we noticed something pretty interesting: After the charred cypress and pine beams cooled, our backyard chickens started pecking the burnt wood. 

Hmmm……

Ground charcoal in wooden spoon on marbled countertop

Why charcoal helps backyard chickens

After some research, I discovered that wild animals, like deer, will instinctively chew on charcoal after a forest fire to settle upset tummies or generally rid their bodies of toxins and other impurities they might have picked up.

Similarly, we’ve been able to use charcoal as a way to help our hens be healthier.

After a hen pecks at charcoal and swallows it, the charcoal will bind with toxins. Anything poisonous or potentially troubling can pass through your chicken’s digestive system more easily (although not necessarily 100%).

If your chicken has eaten something that’s giving her digestive system a run for its money, you might notice her start pecking charcoal instinctively as a remedy (if it’s available).

What’s the best charcoal for chickens?

Before going further, let’s talk about what kind of charcoal is appropriate for chickens.

Are you thinking of those briquettes you buy when you want to barbeque? Nope, that’s not the right stuff. Never feed charcoal briquettes to chickens –  they’re usually full of lighter fluid. Yuck!

The best type of charcoal to offer your flock is natural wood charcoal – wood such as oak, pine, ash, etc, that has been burned without sufficient oxygen until it’s covered with black, sooty material.

You also need to consider the quality of the natural wood: Has it been treated? Is it painted? Anything except plain, all-natural wood should be avoided since it likely contains something toxic (kind of counterproductive, right?)

Avoid wood ash

Ash from your wood stove won’t necessarily contain wood charcoal, and if you’ve burnt anything other than timber in your wood stove, it might contain something that can harm your chickens.

What woods should you use?

Natural woods, such as oak, maple, etc, are perfect. In studies, there’s no clear indication that one type of wood provides more benefit to chickens than another, so go with what’s readily available to you. 

Another option, if you don’t want to make your own charcoal, is to purchase activated charcoal, and mix it into their chicken feed (if they won’t eat it in their feed, then offer it separately). In several studies, chickens that ate activated charcoal with their grain were healthier and produced better manure.

In broilers it can help increase the chicken’s growth.

Other reasons to give charcoal to your chickens

Helps prevent diarrhea and coccidiosis

In the days before things like activated charcoal, commercial feeds, and probiotics, our ancestors used common charcoal to prevent or reduce diarrhea in chickens – particularly coccidiosis, a potentially deadly disease caused by an infestation of parasites naturally occurring in soil. You can read more about coccidiosis here.

Helps prevent thin, brittle shells

Often times, I’m contacted by readers who have hens laying soft shell eggs, even though they’re provided with a calcium supplement. In these cases, wood charcoal might help.

One study performed by researchers showed that chickens offered charcoal mixed with vinegar as part of their diet laid eggs with more collagen in the membranes. Not only that, but the eggshell itself was stronger and healthier.

Making wood charcoal for your chickens

Yes, you can make charcoal for your chickens right in your backyard.

Here’s an excellent video to show you how to do it:

You can offer your flock charcoal once it is no longer hot. You can scrape flakes off the wood and mix them with their feed or offer separately.

We’ve given them both the entire piece of burnt wood and mixed flakes with their feed and have not found one way is better than the other. If you find your flock isn’t interested in a block of charred wood, then mixing it with their feed is a better option.

When the charcoal you harvest is powdery, or if you use activated charcoal, then consider mixing it with water or apple cider vinegar. If you don’t, your flock could accidentally inhale the powder. This might negatively affect their delicate respiratory systems.

If you’re worried your flock will turn their beaks up at their new treat, rest assured that if your hens can reach it, they will taste-test the charcoal. Chickens are naturally curious about their environment, so they will check it out quite readily, and once they’ve realized it’s beneficial, they will return to it.

Summary

In short, the right kind of charcoal has health benefits for chickens. From reducing toxins to helping in growth…and from aiding in digestive upsets to reducing worms and worm eggs – it’s such a simple additive to your chicken coop routine it would be a shame not to try it.

Problem tomatoes with brown and black spots on the ends? Fix this by using eggshells in the garden!

These are symptoms of calcium deficiency – and your garden needs some serious first aid!

You CAN fix it – if you’re fast enough! That’s where your leftover eggshells come in. If you have chickens or eat a lot of eggs, you can repurpose your leftover eggshells to improve your garden!

Calcium is an essential mineral, and it aids plant development by helping them form healthy, strong cell walls. Without calcium, your plants will experience lags and slow growth and could die in the long run.

Beautiful tomato sitting on a counter with blurred background

Eggshells to the Rescue

As you can imagine, since we have so many ducks and chickens, we have a LOT of eggshells, and it’s a shame to just throw them away.

Eggshells, which are mostly calcium, are a perfect way to improve your tomato harvest  – and in this article, I’m going to show you how to do just that!

Stopping Disease In Its Tracks

Tomatoes can develop blossom end rot – which is a symptom of not having enough calcium. Should your tomatoes develop this disease, you can add crushed eggshells directly to the soil to help your plants.

Despite common belief, you can help a plant that’s developed blossom end rot, and the plants can produce healthy fruit once they’re no longer calcium deficient.

Before adding them to your garden, grind the eggshells in a blender or with a mortar and pestle to make the calcium more bioavailable. You can then mix the powder with water or add it directly to the soil.

Just note that adding eggshells to your garden before the planting season will help prevent blossom end rot, and it’s better to prevent it than to fix it.

A large basket full of tomatoes with blossom end rot

Preventative Measures: Adding Calcium to Your Compost With Eggshells

While you can add eggshells directly into your garden, taking the extra step to compost them is also a good idea for this extra calcium boost. As they degrade, they’ll help neutralize the pH of your compost with calcium carbonate, as well as leave rich minerals behind.

Be sure to wash and crush them before adding them to your compost so they won’t attract insects and other animals and so they break down faster. Crumbled eggshells are just the trick to avoid bad bacteria growth. If you really want to put in the effort, you can also grind them into a fine powder and sprinkle it on your garden soil. Eggshell powder is an amazing tool.

Starting Tomato Plants In Eggshells

Another idea, if you’re feeling creative or truly committed to making sure your tomatoes have enough calcium, is to start your tomato plant seedlings IN eggshells. Us an eggshell as cute little seed starting pot and line them up in an egg carton (naturally perfect as a eggshell pot holder)!

When you transplant them, you can transplant the seedling AND the eggshell (which you’ll bury directly into the soil).

Whenever you start your tomato plants, clean out eggshells, leaving most of the shell intact. Place potting soil in the shell, and then insert your tomato seed.

As it sprouts, it will get nutrients from the soil, and the shell will continue to feed it long after it’s been transplanted (you should still side-dress with compost when it flowers, however).

Eggshells with potting soil in them ready to plant seeds

Eggshell Water

It’s a thing. You can make eggshell water with your eggshells as a super-powered fertilizer! Read up on this technique and more here. This type of fertilizer contains essentials like potassium, phosphorus, magnesium, and nitrogen. Some folks call it eggshell tea.

Add Eggshells to Your Compost Pile

You can throw the whole eggshell into your compost bin (or compost heap), but it’s best if you add finely-ground eggshells. It makes for better composting in the long run. Plus it helps keeps the rodents out of your compost area.

Safeguarding Against Pests

Coarsely crushed eggshells have the ability to develop a strong and highly effective barrier against the incidence and occurrence of pests such as slugs and snails, which also happen to love chomping down on tomatoes.

Slugs and snails have soft bodies, and the sharp spiky shells can cause some deadly harm – so the pests avoid the ragged eggshells at all costs.

Simply arrange the crushed layer of the eggshells around your tomatoes, and you can rest easy that snails and slugs will find something else to eat for dinner.

Can Eggshells Help With Other Plants?

Yes! Many plants need calcium to thrive and produce. Plants like peppers, brocolli, cauliflower, and spinach will all benefit from ground eggshells in the soil.

Summary

Does this method sound promising? It is! Do you suddenly feel the urge to produce more eggs in order to accomplish this? If so, read up on some of the best egg-producing chicken breeds here. Also, be sure your chickens have plenty of calcium so they can produce calcium rich eggs. Need help, try giving your flock oyster shells for calcium!

It’s Treat Tuesday! And this week’s treat is all about deworming chickens naturally with herbs!

Now, I’m the first to say that there haven’t been too many studies about herbal dewormers themselves, particularly for chickens, ducks, geese, and the like.

Back in the day, people HAD to rely on herbs and natural resources to keep their flocks healthy. It’s only in modern times that we’ve been able to rely on pharmaceuticals to get rid of internal parasites.

But even with all the modern resources we have, there hasn’t been an overwhelming amount of studies to reveal which pharmaceutical wormers work, and there’s even less reliable products in the market. (There really aren’t any, to be precise).


WormBGone Nesting Herbs Are IN!

YES, I Want WORMBGONE Nesting Herbs!


A big reason for this is the broiler industry doesn’t need to worry about worms too much – the chickens are kept indoors and don’t live long enough for parasites to develop.

The egg industry keeps hens off of the ground – for the most part – and while there are a ton of health issues hens can pick up because of the egg industry, worms aren’t usually one of them.

There’s also the problem that pharmaceutical dewormers have withdrawal periods – and who wants a mouthful of drugs? Not me!

So, as chicken keepers, it’s kept us a bit in the dark and we need to rely on anecdotal evidence as well as the few studies about herbal dewormers available to keep our hens healthy.

That being said, there’s a long history of certain herbs “doing the trick” to expel parasites from chickens, and today’s treat includes the best of the best!

Chili pepper

Capsaicin in chili pepper, in particular, has been shown in some studies to cause worms to detach from a chicken’s intestinal tract, causing them to be expelled through the vent.

It interrupts the worm’s life cycle, making your hens healthier.

In one study, hens fed red pepper also laid healthier, bigger eggs, AND had more golden yolks

If you’re worried your hens won’t eat spicy herbs, you don’t need to worry – chickens have far fewer taste buds than people.

deworming herbal mix for backyard chickens

Wormwood

Another traditional herb used to deworm livestock is wormwood – in fact, it’s been used since ancient times to rid both people and animals of internal parasites.

In one study done on broiler chickens infected with coccidiosis, the chickens who ate wormwood were healthier and had gained weight by the end of the study.

A second study also had similar results.

So, as you can imagine, the combination of red pepper and wormwood is a powerhouse!

Sage

Sage is another herb that has shown to have some properties to help rid chickens of internal parasites, so it’s also included in this herbal mix.

Why worms are such a problem

Parasites can cause secondary issues such as:

  • Poor nutrition,
  • Inflammation, and
  • A compromised immune system

So, it’s important to also provide your flock with herbs that can help them repair their bodies and that have a lot of vitamins and other nutrients.

This recipe also includes herbs known for their anti-inflammatory properties such as:

AND herbs with lots of nutrients, such as

My hens love this herbal mix, and I know yours will too!

If you’re ready to make my flock’s favorite Herbal Deworming Mix, then here’s the recipe!

deworming herbal mix for backyard chickens

Herbal Deworming Mix

Ingredients (per chicken)

1 tablespoon each:

1 teaspoon each:

¼ teaspoon each:

Directions

Combine each ingredients in a bowl and serve to your chickens separately, or include in their daily feed. This recipe should be fed as part of a balanced diet, and not in place of a good layer or grower feed.


WormBGone Nesting Herbs Are IN!

YES, I Want WORMBGONE Nesting Herbs!