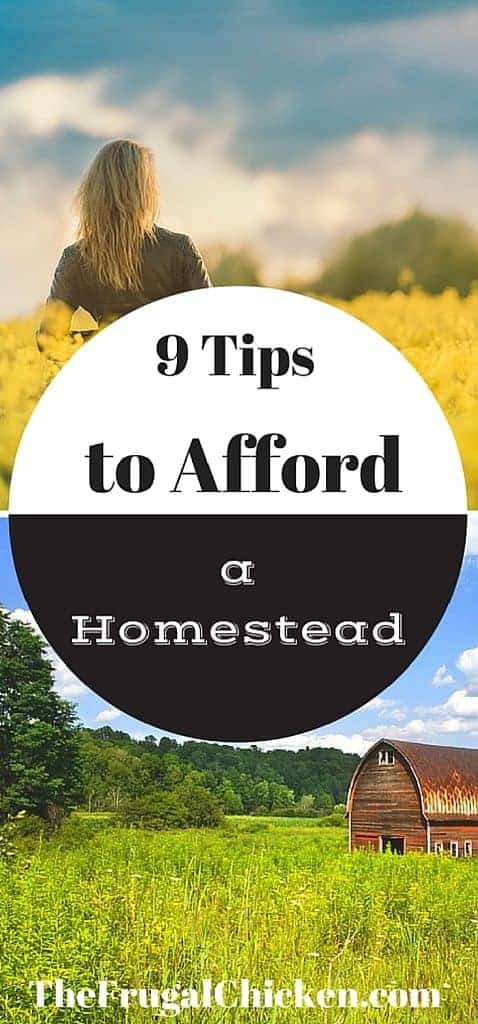
I think there’s a lot of misinformation and myths that are around regarding homesteading, namely that it’s an expensive process, or it’s too hard to afford a homestead or you have to have a lot of land to start.

While a homestead, like anything, can be an expensive process, it doesn’t have to be, and I certainly know a ton of urban homesteaders making it work in tiny apartments and 1/4 acre plots.

I’d like to share with you how we afford to homestead. And we’re regular people, like you. 

9 Tips to Afford a Homestead. Think you can't afford a homestead? Think again! Here's 9 tips! From FrugalChicken

1. Make the most of what you have

You can homestead anywhere – there’s purists out there that insist if you’re not doing it off the grid and on 50+ acres, you’re not a homesteader (I get those criticisms too).

But the truth is you can homestead in a tiny apartment in Brooklyn and you can homestead on a 100 acre plot of land.

It’s about knowing the homestead skills to produce more than you consume.

Work on learning how to make bone broth to use every bit of a chicken in your urban homestead.

Join a CSA (community supported agriculture) to assist in reaping a bountiful harvest (some CSAs will let you volunteer your time or work off some of the cost of your membership if it’s hard for you to afford). 

homestead on ad

2. Look for opportunities to buy land – inexpensively

We live in the middle of nowhere. And coming from DC, that was quite a change. 

But one reason for the dramatic move was the price of land – I bought A TON more land at 1/3rd of the price than our condo in DC cost us. 

And it meant we could afford to put down a bundle – over half the cost of the property. 

Now, before you think you can’t do the same, I have something to tell you. I’ve seen land for sale in certain states for less than $5,000 – and the owners would trade that land for a truck. 

Does that mean it’s glamorous? No. Affordable? Yes. And I would have snapped it up if it wasn’t 3 hours away.

The deals are out there, if you look.

READ NEXT: GET STARTED HOMESTEADING TODAY WITH THESE HACKS

3. Add what you can, when you can

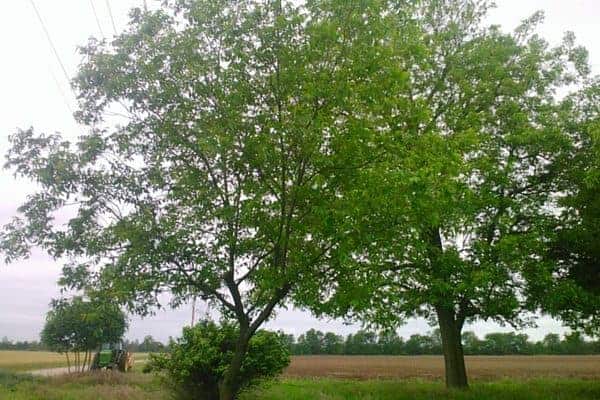
If you have a bit of land, add fruiting bushes and trees, and harvest what you can. Plant as much as you can afford (hint: we only buy 2 trees at a time. You don’t need to spend a ton at once to start an orchard.)

Grow as much as you can. If you’re able to keep rabbits or chickens, do so for the meat and eggs, and make fodder on your homestead to reduce the feed costs.

Think you can't afford a homestead? Think again! From bartering to making the most of what you have, anyone can afford a homestead. From FrugalChickenIf you live in an area that doesn’t permit chickens, perhaps city statues don’t mention rabbits. Perhaps they don’t mention quail. 

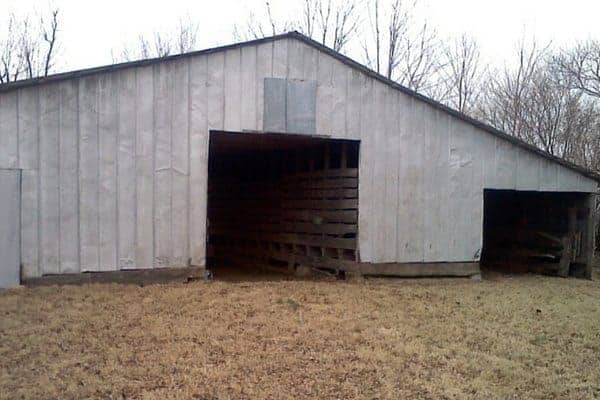
We have 10 acres. There was nothing when we got here except the house and two run down machine sheds.

We’ve started transforming the barns (mostly for free) and added dairy goats, chickens for eggs, and a small orchard.

Realize it’s a process.

Take tiny steps, no matter your living situation, to become more self-sufficient, and you’re well on your way to having a homestead.

4. Earn money through homesteading activities

Let’s say you own your home (even with a mortgage). Take a look at your expenses and your income. Are there activities you can do that will help pay for expenses so you can build a homestead?

This year I’m looking into hay and straw investment. It’s a little risky because I’ll have to store it, but since we have our own animals, we always have a need for it.

I know I can buy hay between $2 – $2.50 a square bale, and I can sell it over the winter for $5 or so a bale. The straw I can produce myself from a local source, and sell for around $2 a bale.

I know plenty of women who have a homestead and make soaps, beauty products, and other goods to afford their dream.

I’m working on my soap making ability, and might sell goat milk soap in the future if it seems like something for me.

5. Cut expenses where you can

Look at your budget – are there expenses you can cut?

One way we cut costs on our homestead was by selling a financed truck.

We could afford the payments – but we wanted to downsize our expenses. 

We switched it for older trucks that we can resell. We then purchase another truck, and sell that one. Rinse and repeat.

This brings in a healthy amount of money every month.

By producing veggies, cheese, and meat, you’ll save a ton on groceries and also eat healthy, real food. We save A LOT by raising our own groceries.

Think you can't afford a homestead? Think again! From bartering to making the most of what you have, anyone can afford a homestead. From FrugalChicken

You know how big corporations increase their quarterly earnings by decreasing their costs? Well, it works for us too.

That’s how our homestead began producing income – by cutting the expense of groceries.

To afford a homestead, I suggest this is where you begin, because it’s easy and accessible.

We’re able to partially feed our pigs from produce a local grocery store would otherwise toss.

It’s a win-win situation – they can get rid of their unsaleable produce without having to toss it, and I can feed my pigs fresher food than just hog grain. 

And now we can afford sustainable pork.

READ NEXT: 11 SECRETS OF SAVING MONEY ON THE HOMESTEAD

6. Become a DIY expert

Ok, maybe expert is a little too lofty of a goal. But you get my point.

Both my husband and I have had really bad experiences hiring out work, so we do everything ourselves, and it’s helped us afford a homestead.

Yes, sometimes that means hard work and things move at a snails pace.

But instead of spending thousands, we’ve spent much less to transform our homestead to afford what we have.

Think you can't afford a homestead? Think again! From bartering to making the most of what you have, anyone can afford a homestead. From FrugalChicken7. Look at certain expenses as investments

At this point on our homestead, there’s not one animal or machine that doesn’t produce.

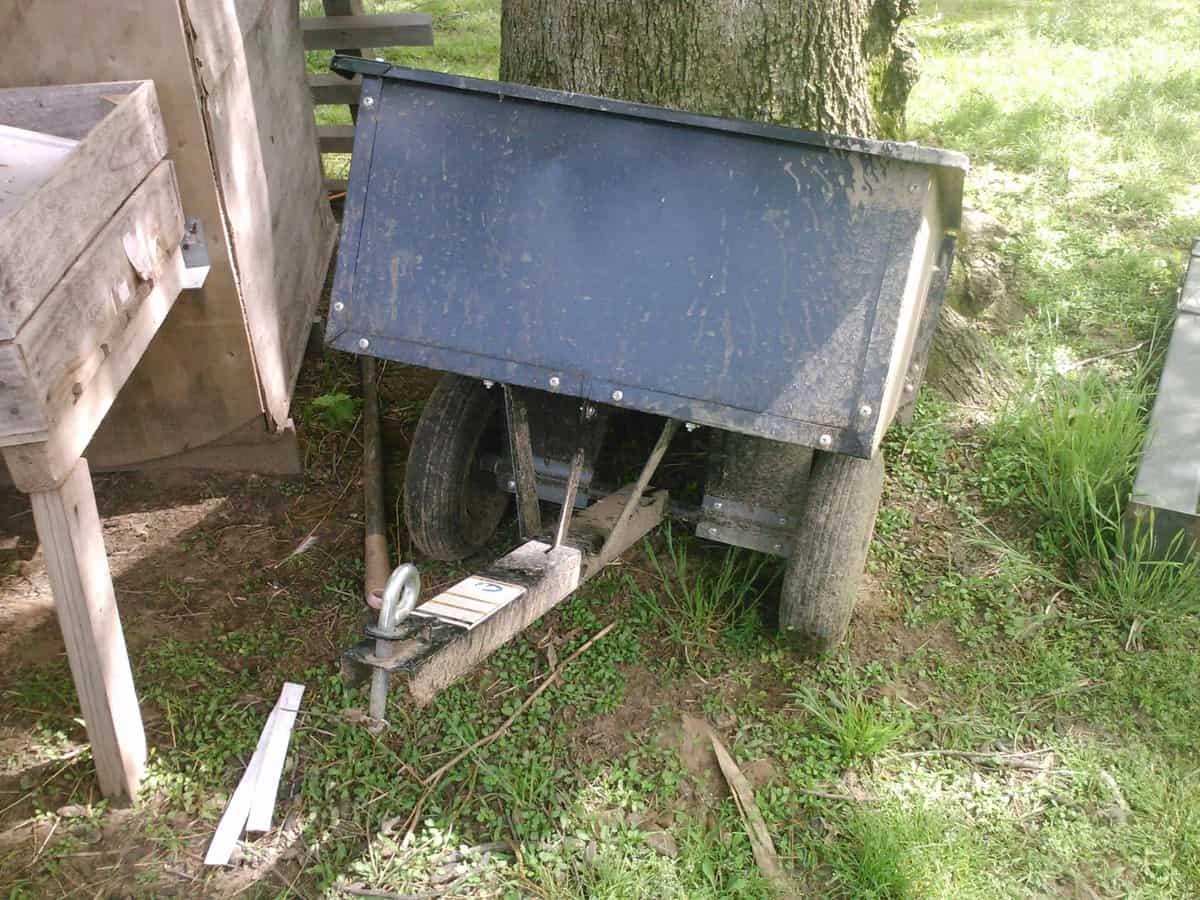
The one time I’ve allowed a monthly payment this year is on a new tractor (well, new to us).

Why did I break my rule about monthly payments?

Because it allowed us to add a new piece of equipment that would make us money – and the payment is extremely low, with no percentage on it. We can completely afford it.

9 Tips to Afford a Homestead. Think you can't afford a homestead? Think again! Here's 9 tips! From TheFrugalChicken.com

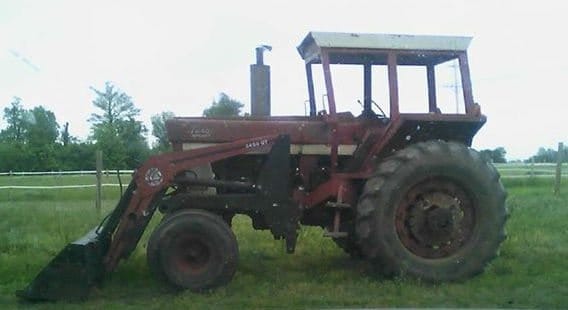
Remember that straw I talked about?

Without the tractor, we wouldn’t have a prayer of producing straw.

The benefit we will get, and the money we will save and be able to bring in, made me reconsider my otherwise very hard and fast rule.

The more we run our farm like a business, the more we can afford, because no expense is a waste.

8. Look for deals – and wait until the right one comes along

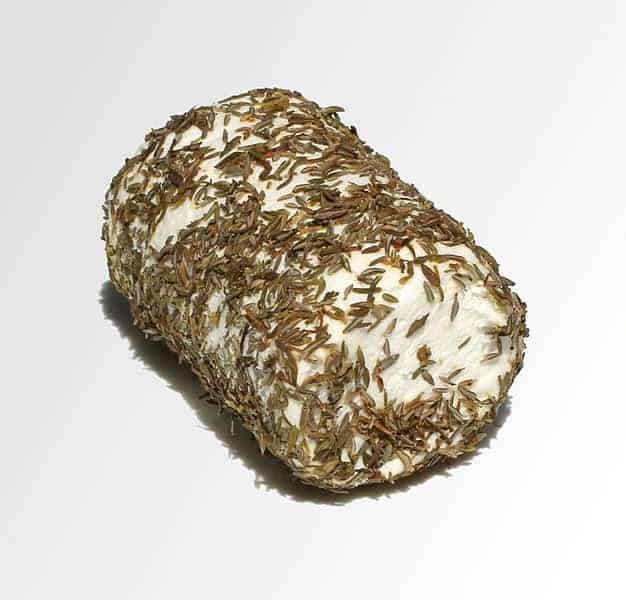
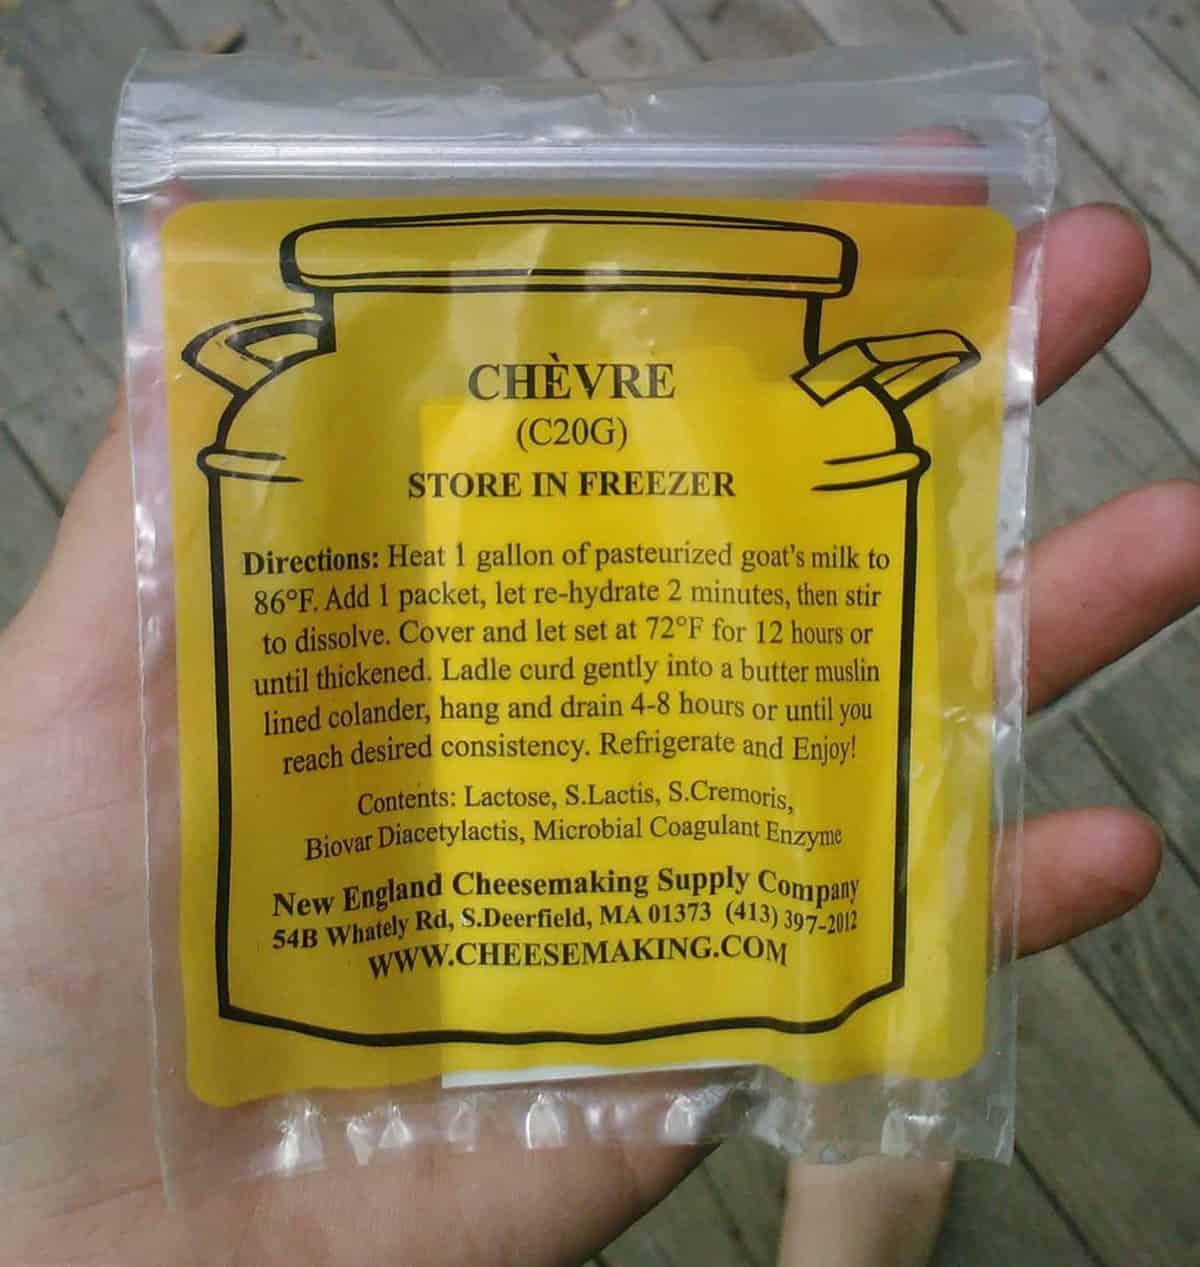
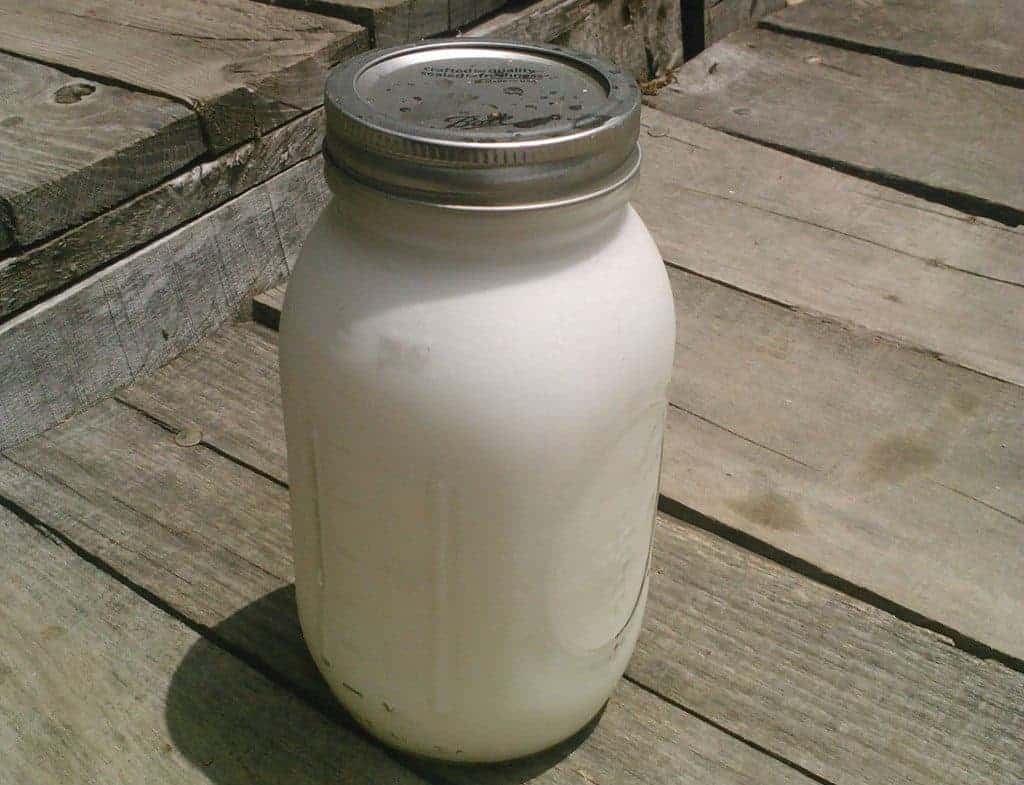
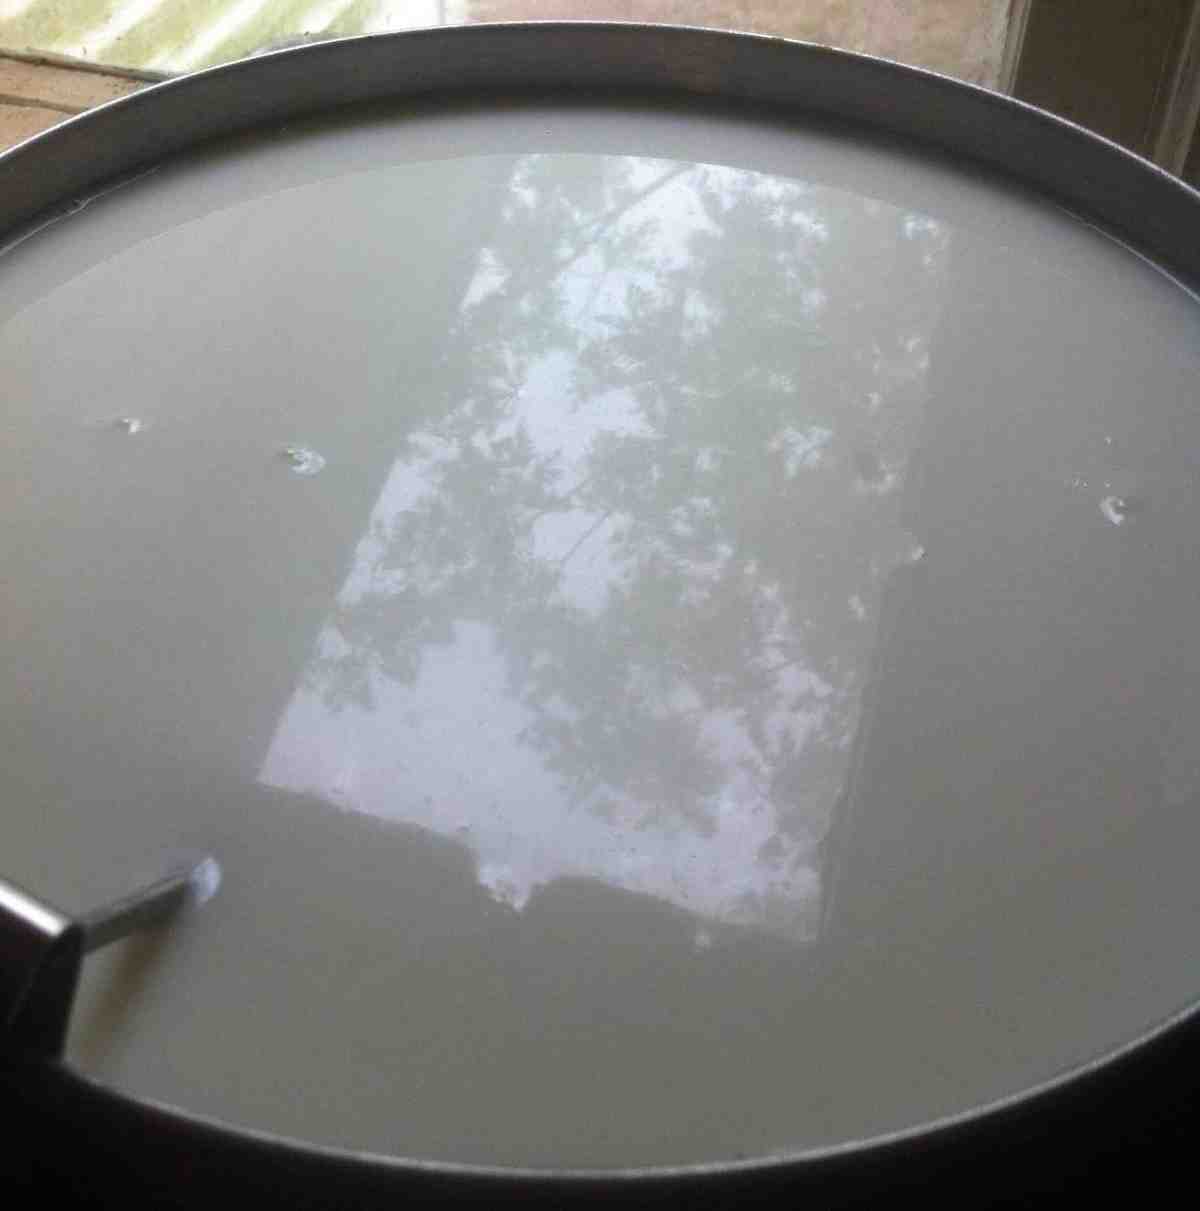
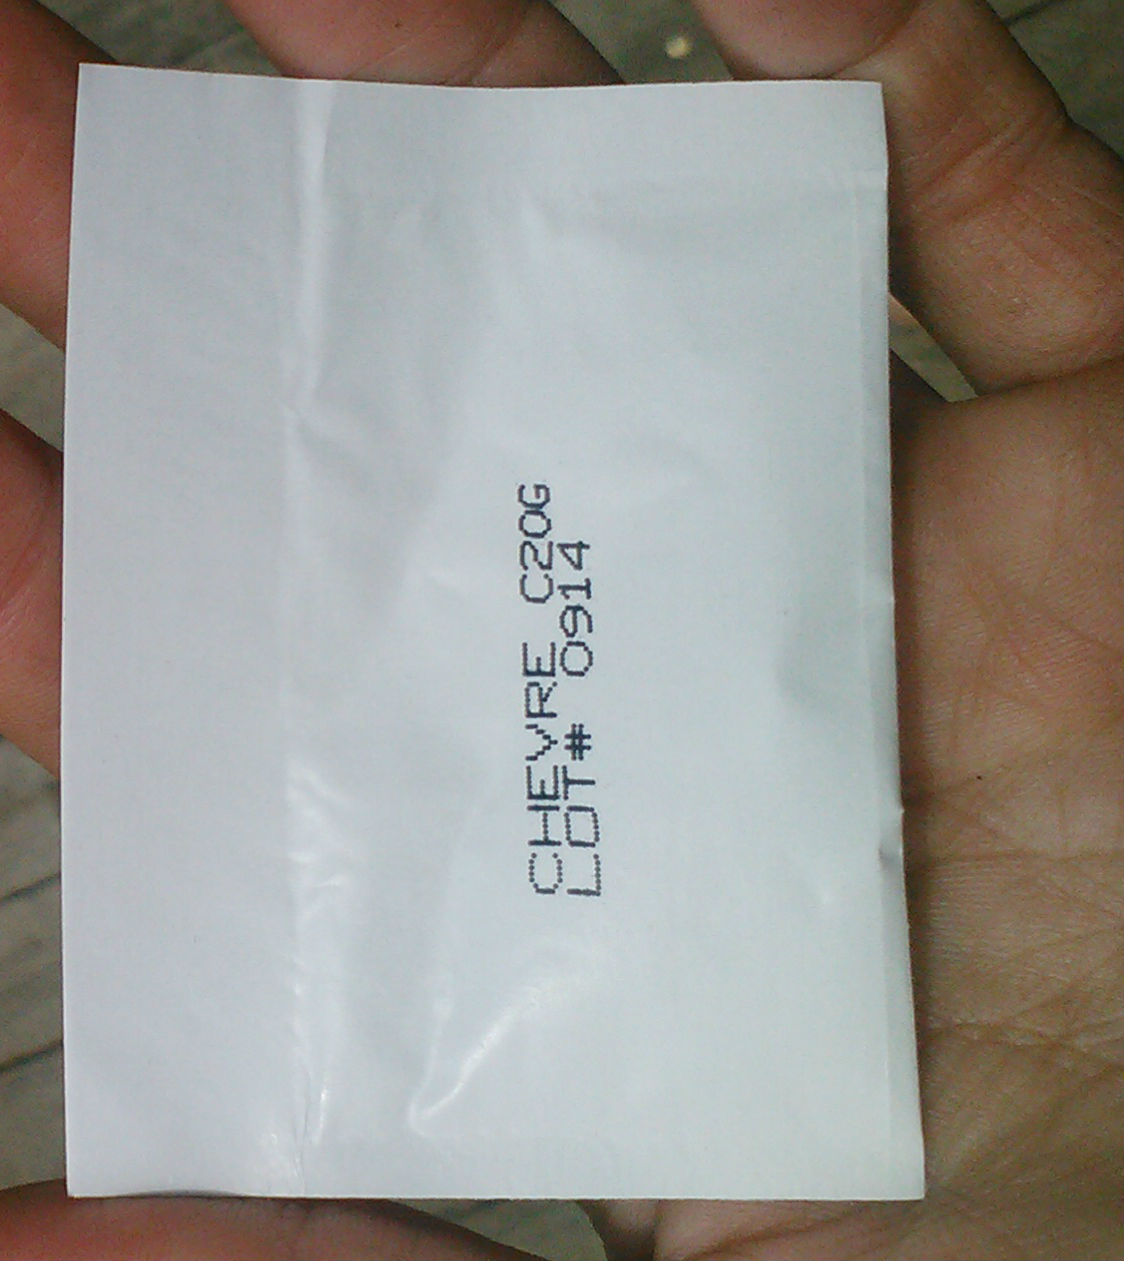
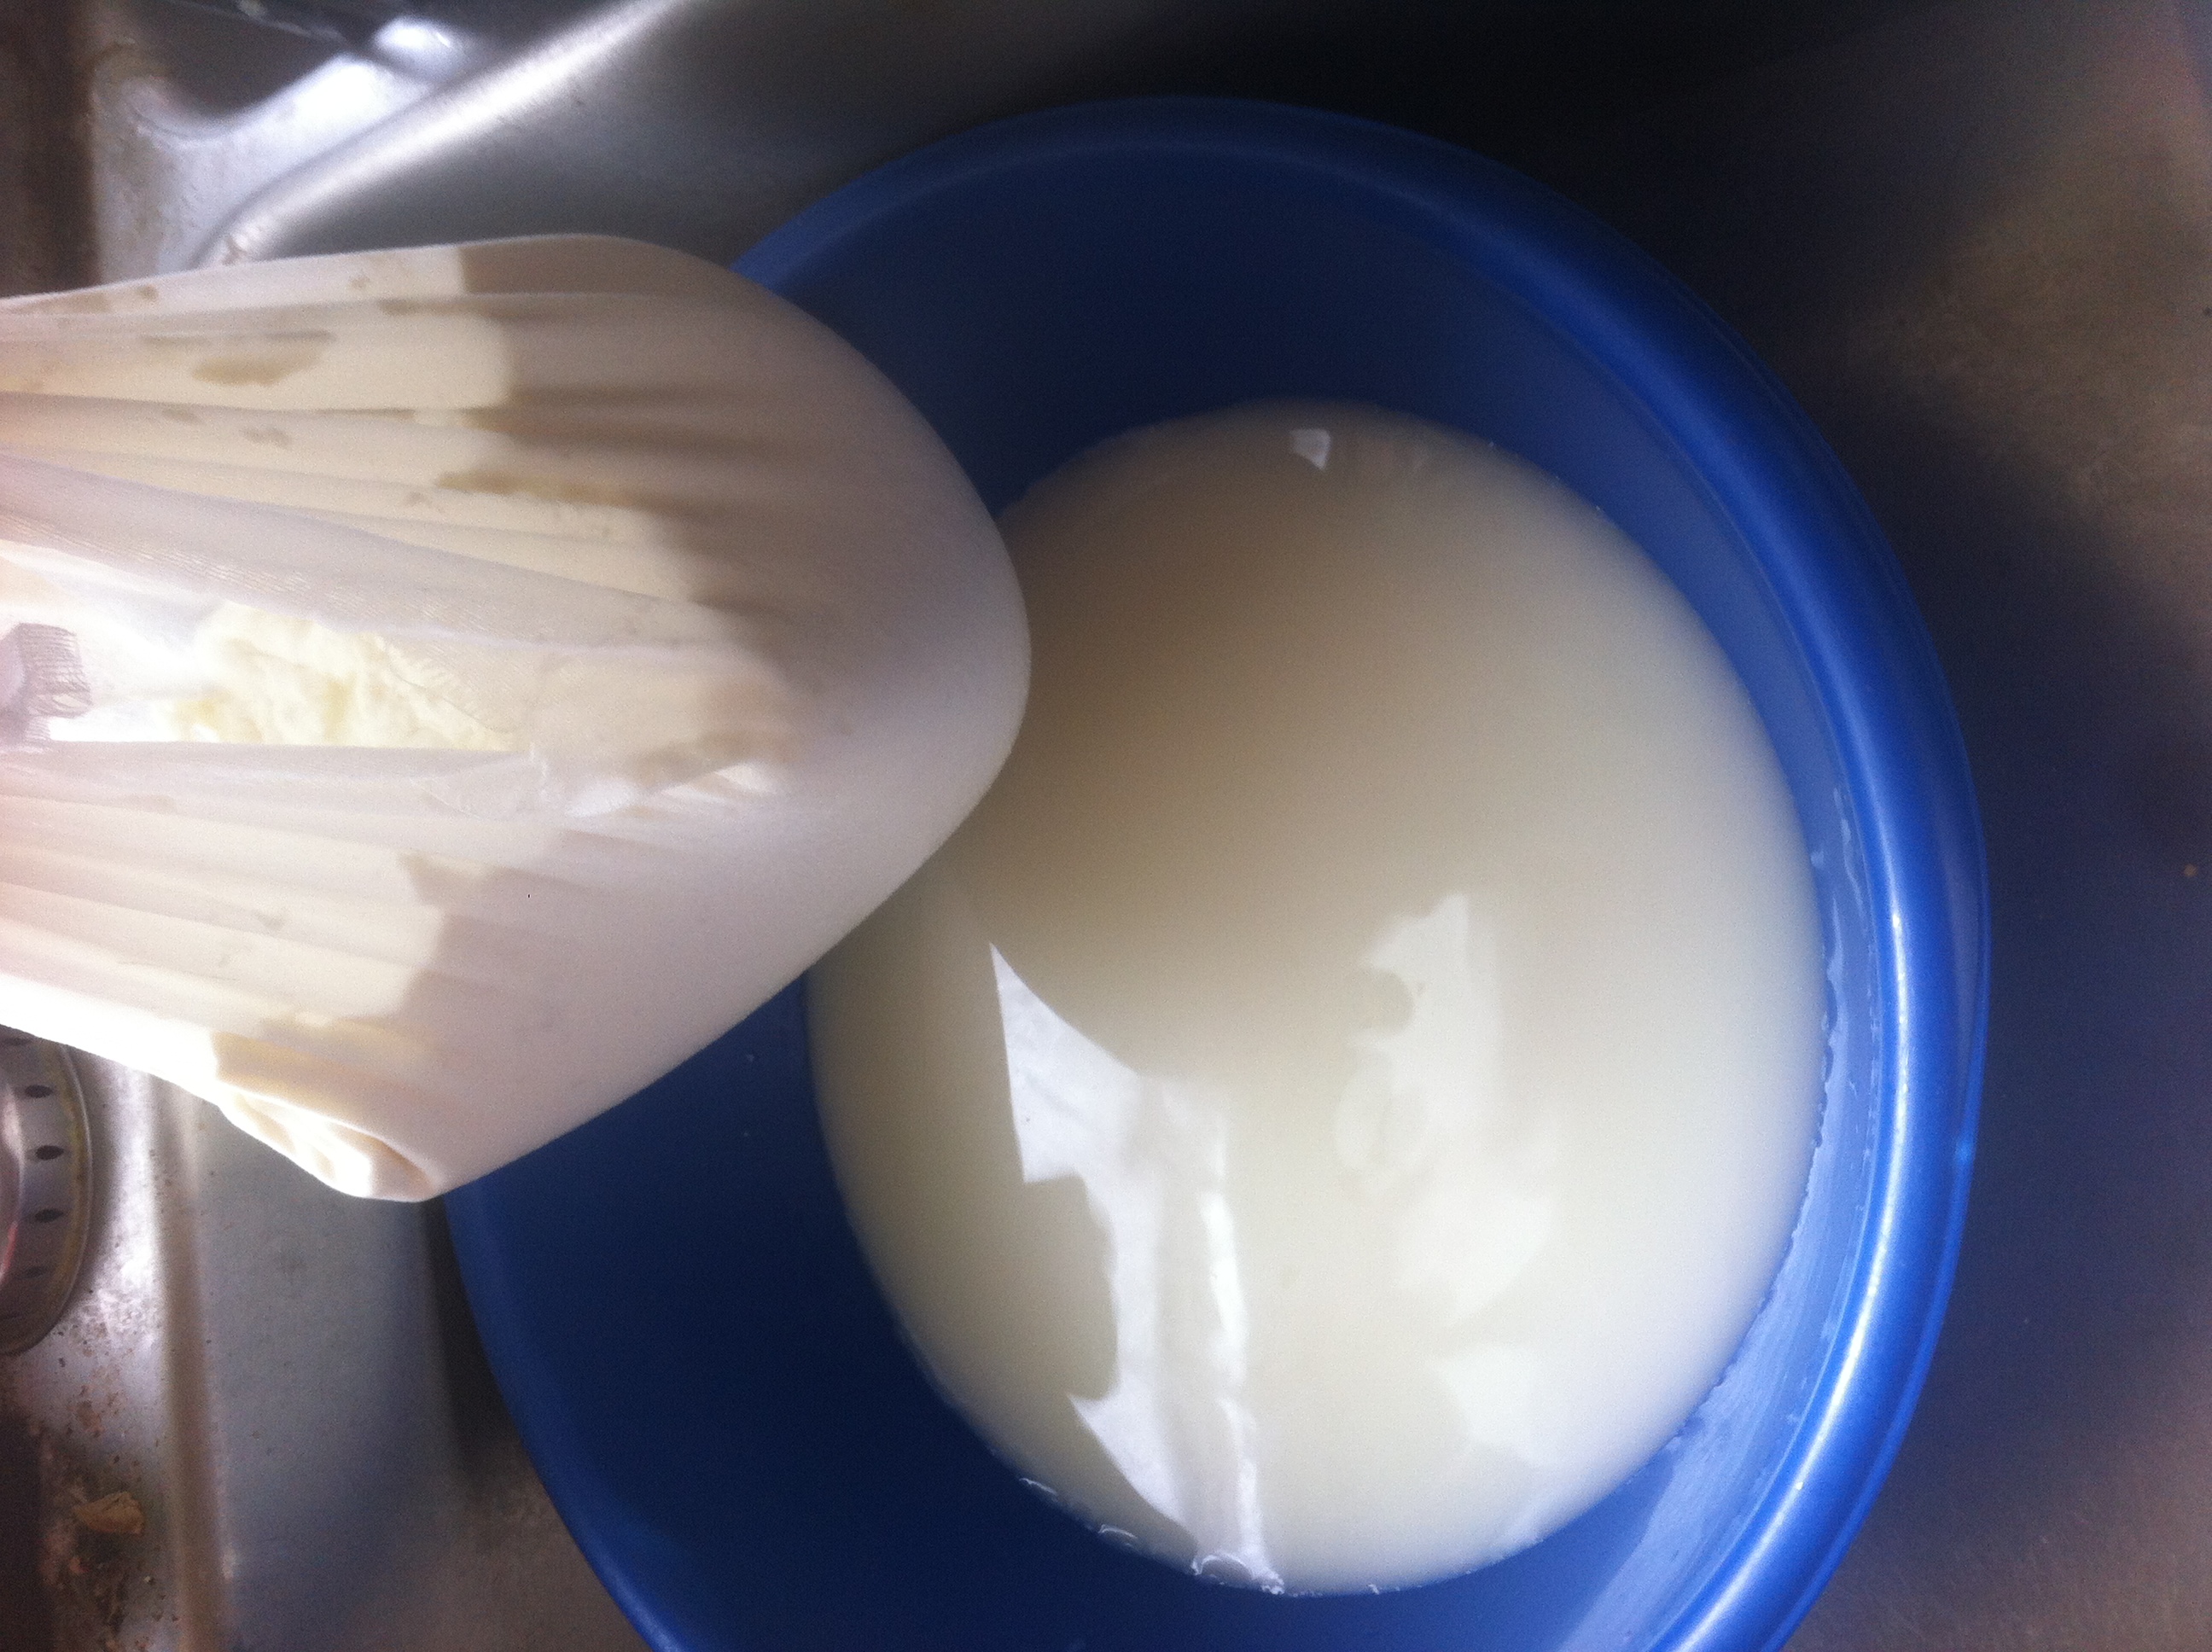
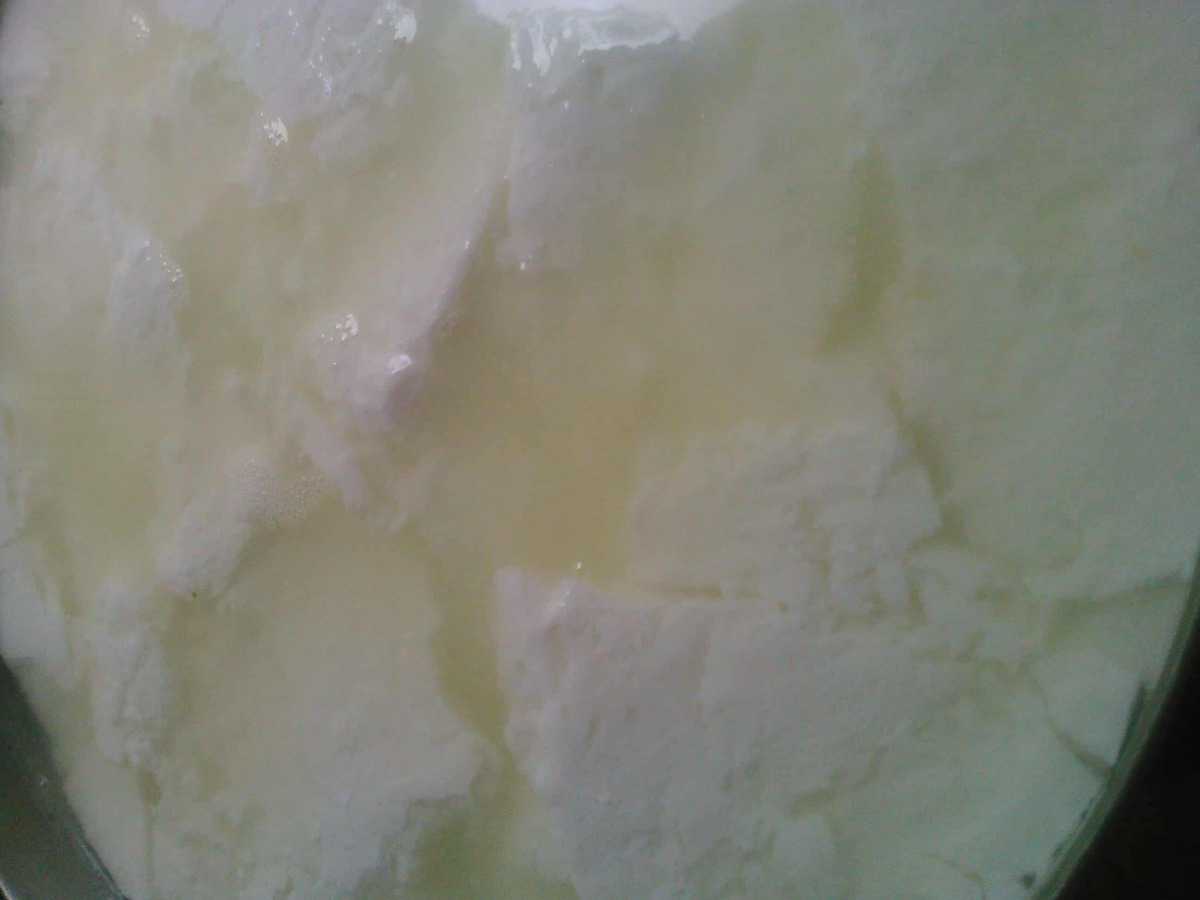
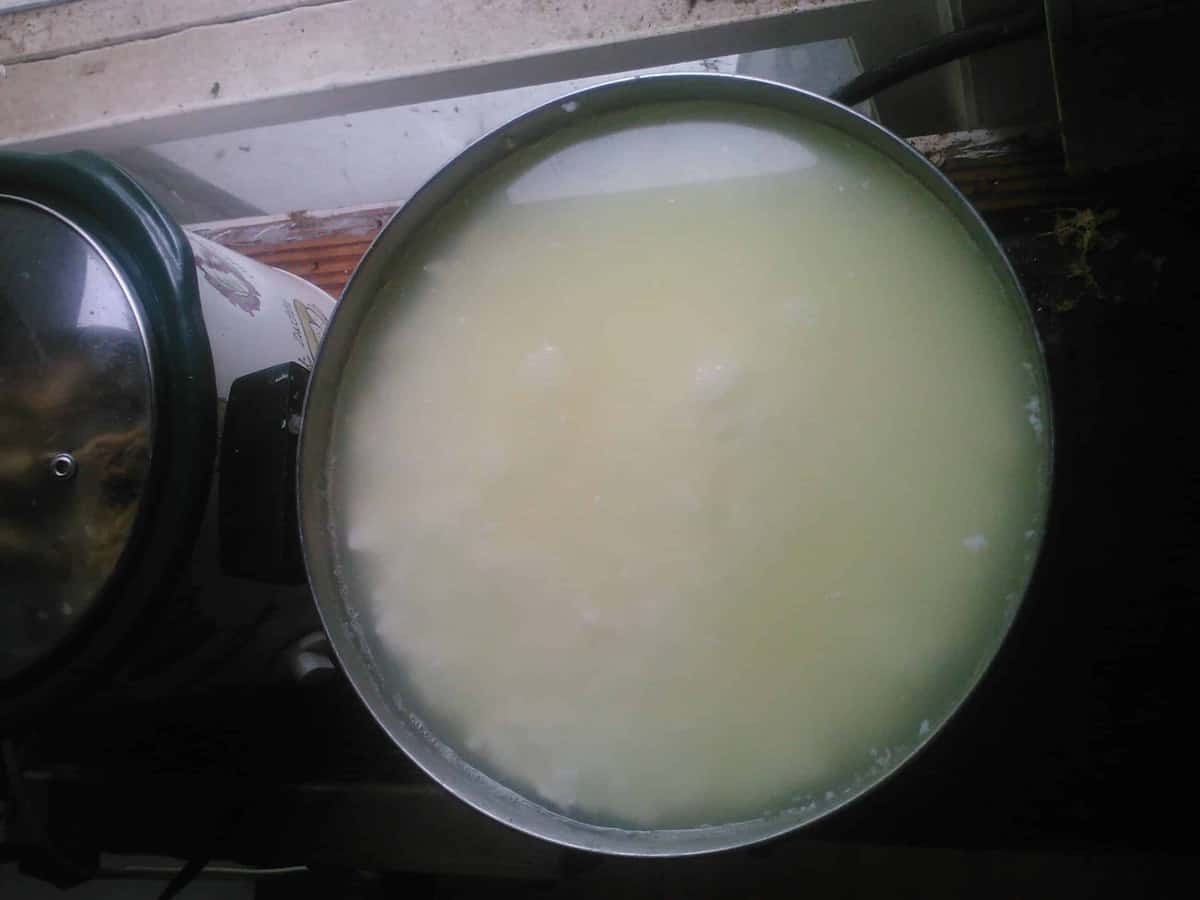
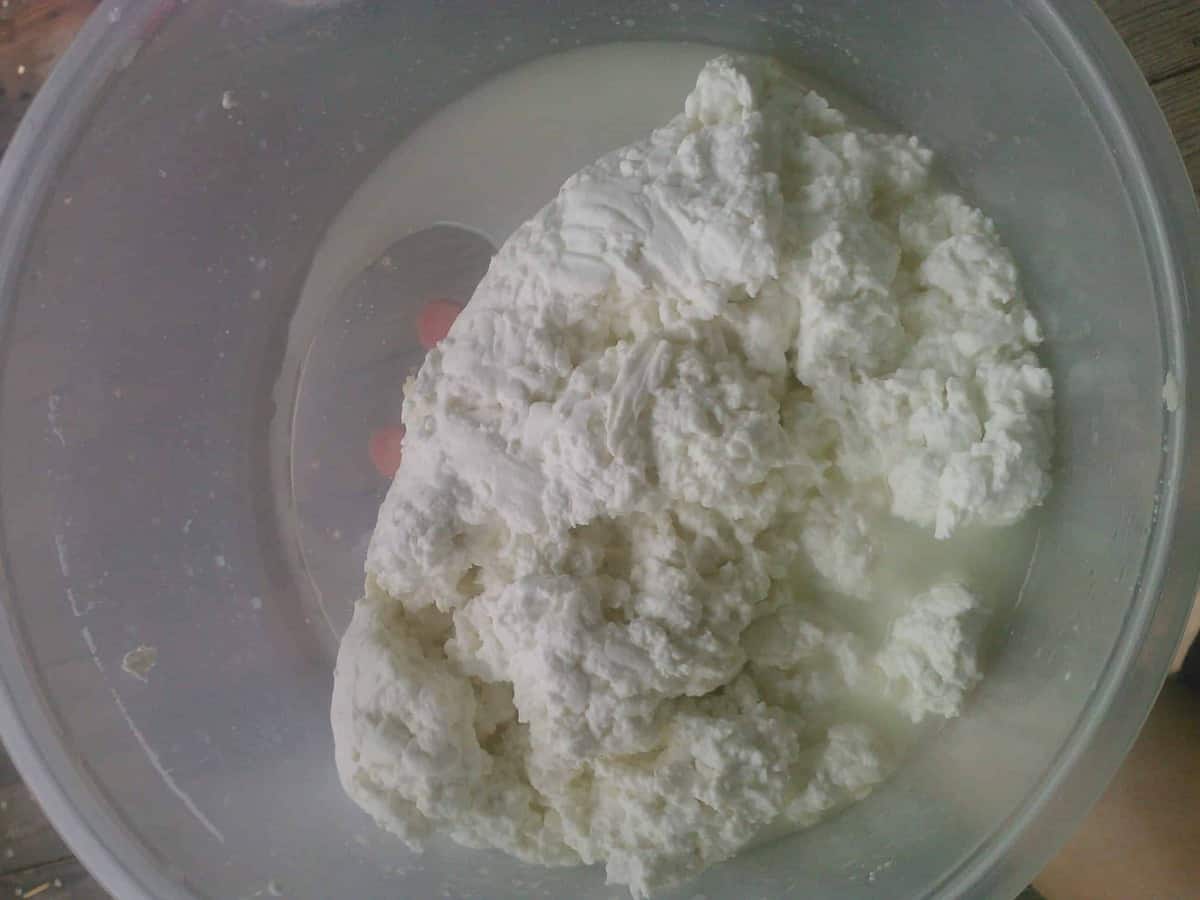
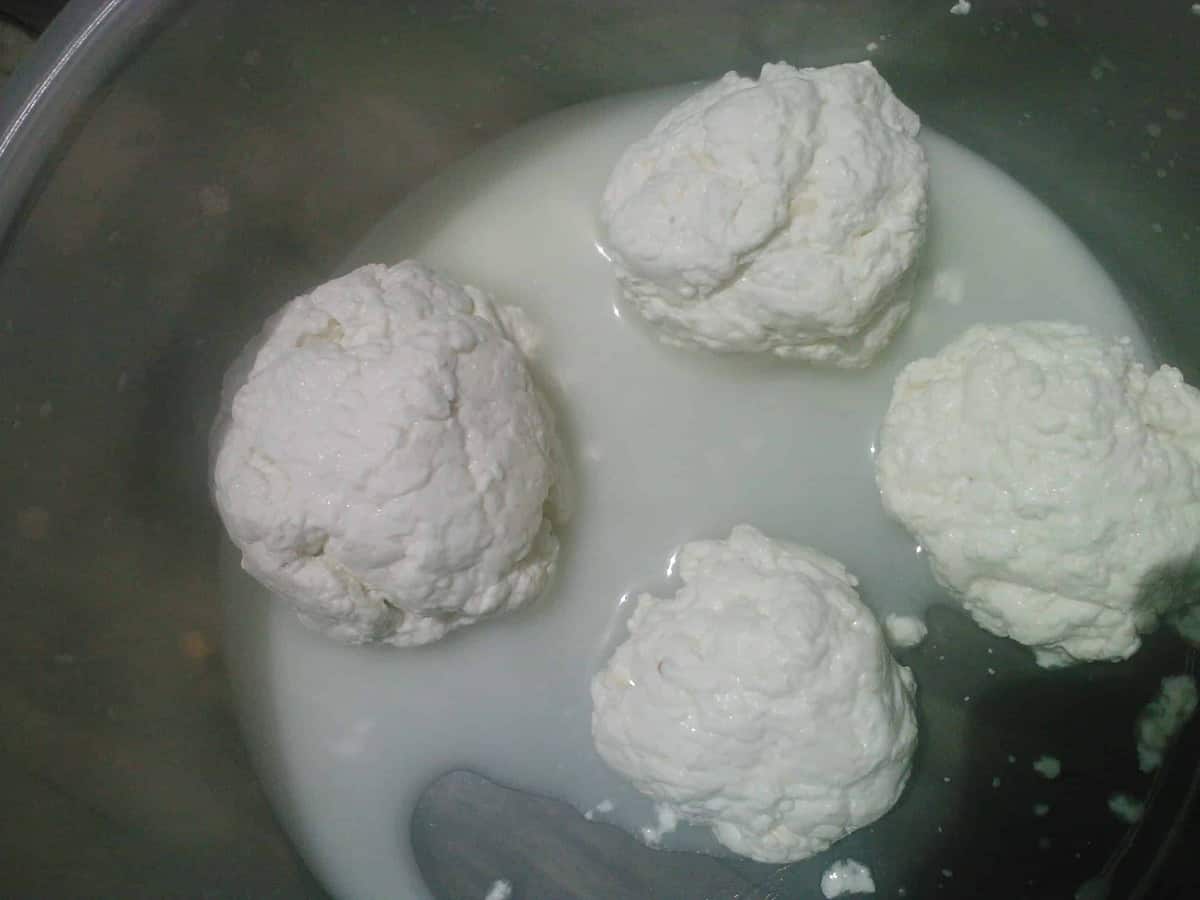
I spent 2 years dying for a goat for our homestead so we could produce cheese and yogurt from a sustainable source (remember, you can produce cheese from store bought milk too!).

Every opportunity was just a little too much money or not exactly what I wanted – the wrong breed, not in milk, you get the point.

Then along came Dahlia, who was perfect – a great breed, a good age, in milk and very affordable. And healthy!

Next, we’re looking for a cow.

The advantage to waiting (and to having a tight budget) is that it gives you time to consider whether what you want is actually what you need. In other words, I was dead set on getting a dairy cow.

Now that we have Dahlia, and we have lots of milk, I’m wondering if a meat cow might work better for our homestead. (We’ve already decided against a bull – this is one situation where I’ll use artificial means to produce calves).

READ NEXT: YOU CAN RAISE MEAT CHICKENS (AND ACTUALLY GO THROUGH WITH IT!)

9. We barter

My famous phrase around our house is, “can you trade something for part of the cost?” and I make my husband crazy at times with it. 

But you know what? Sometimes it just works, and we’ve been able to knock the price off items because of it. 

As a concrete example, earlier this year, we purchased a certain car part at an auction.

We got a really good deal (which is why we took the chance), but when we got home, we realized it wasn’t going to work for anything we needed it for – until one day we needed an engine.

We were able to trade our “useless” part to reduce the price of what we needed.

My husband is color blind, so welding is difficult for him. When we need something welded, we have a friend we can call for help, and we usually trade services. 

Yes, cash is usually king, but sometimes a trade works just as well.

Do you still think you can’t afford a homestead? I sure hope not! As you can see, it’s a goal that’s easily within your fingertips!

I’d like to hear from you!

Which of these tips will you try to implement today? Email me at [email protected] or comment below!

homestead on ad

One way I’ve increased my independence is by learning new homesteading skills.

And what’s an easier way to learn than by video?

Here’s 40 essential (and easy) homesteading skills for you to master!

40 Homesteading Skills You Can Learn By Video From FrugalChicken

Make laundry detergent

Making your own laundry detergent is probably one of the easiest homesteading skills to master on this list.

All it takes is a few ingredients to master this homesteading task. These ingredients are safe, and it’s exactly how I make my detergent.

If you’re a reader, check out my article about this homesteading must!

Snag them on Amazon here:

Graft fruit trees

When you graft trees, you increase your yield (over time) without having to wait for new trees to grow and produce fruits.

You can also graft your best trees on to healthy and hearty root stock for healthy trees that will last.

It’s one of many traditional skills our ancestors used to survive!

Kill a chicken humanely

Warning: This video is graphic.

She’s humane and very kind and her method is simple and straight forward without need for any specialized equipment.

To learn how to kill your own chickens to improve your homesteading skills, I recommend this guide. But fair warning.

Here’s a great article on 9 Knives for Homesteading Women. My favorite in the article is the Kershaw Chive.

Dehydrate vegetables off-grid

When you have too many peppers, you’ll wish to start preserving them. Learning how to dehydrate them off-grid is one of the best skills to learn – you can do it without any special equipment!

Can food

Canning food is one of the most essential homesteading skills to learn, and when your up to your ears in squash, it becomes pretty important.

Why?

Because you’ll want a way to save all that produce you harvest.  

Here’s the exact mason jars I use!

Milk a goat

Milking a goat isn’t hard as far as homesteading skills go, but it can be tricky if you haven’t done it before.

The key is to not pull, but squeeze.

Be sure to use a stainless steel milking pail – much easier to sanitize!

Milk a cow

Milking a cow versus milking a goat are slightly different skills – but equally important.

Be sure to be safe as you practice. Like any large animal, cows can do a lot of damage to a person accidentally simply because of their size (speaking as a person who gets kicked by wayward colts a lot).

Light a fire in the rain

If you plan to preserve your produce by canning outside over a fire, knowing how to light a flame in the rain is one of those homesteading skills you should learn.

You don’t always get to choose the days you have available to preserve your harvest! 

This is essential if you live off-grid as well.

Make butter

Making butter is one of those essential homesteading skills that’s super easy to try and master.

I don’t use a blender when making butter, but if you want to speed up the process, a blender will do that in a snap.

Make yogurt

I’m going to be honest, I use a Yogotherm to make yogurt, but learning to do it without a yogurt maker is one of those frugal homesteading skills to have.

Of course, using a yogurt maker is perfectly fine too.

When you have a dairy animal, you’ll want to find new ways to preserve all that milk!

Here’s the exact yogurt maker I use:

Make beeswax candles

One of the simplest skills to learn!

If you’re electricity goes out, or if you’re off grid, you’ll be glad to have this homesteading skill.

You can order beeswax and other candle-making supplies:

Make tallow candles

Using tallow is another way to produce candles for your homestead, and to use up the extra fat if you raise and butcher your own cattle (great skills to learn too!).

It’s easy, and way to use the whole animal, which is important when homesteading.

Here’s where to snag supplies:

Hatch chicks

If you want a sustainable chicken population, consider incubating eggs. It’s not one of the more difficult skills to learn, but it does take some knowledge and experience.

If you’re shopping for an incubator, I recommend one with a turner. It’s a little more pricey, but it pays off over time.

If you work all day, or if you have children, you don’t always have the time to turn eggs 3 times a day.

This is the exact model I use, and I’ve had great success.

https://www.youtube.com/watch?v=xGTaUIe-GZ4

Make soap using all-natural ingredients

Making soap safely is one of the easiest skills you can try at home, no matter where you are.

I do recommend using molds, since it will make the process smoother. 

Be sure to take safety precautions – you will have to use lye, since it’s essential to this homesteading activity, but plenty of people successfully use it.

Use your best judgement.

Make a quilt

Once you decide on fabric and a pattern, quilt-making is a snap – it just takes time and patience. 

Given the prices of quilts these days, if you have even a smidgen of sewing talent, you can put together a quilt, learning how to block and sew it, and save a ton with these homesteading skills.

Candle an egg

Candling and incubating are homesteading skills that take some experience to master, but once you get it, it’s super simple. 

This video is on Day 10 of the incubation process – the day when you start to know pretty much which eggs are developing, and which are duds. 

You can use any flashlight, but this is one I’ve had success with:

Save seeds

Seed saving is one of those skills essential to building a sustainable homestead.

You’ll produce fruits and vegetables that work well for your particular soil and year after year, your harvest will be better and better. 

Ferment foods

For centuries, our homesteading ancestors fermented foods to preserve them, and get the most nutrition possible from their harvest.

It seems intimidating, but it’s one of those skills that will make you proud to be a homesteader. If I can do it, so can you. You just have to be sensible, and if anything looks or smells off, toss it. 

Here’s 2 books I like:

Make sauerkraut

As an introduction to fermenting, consider sauerkraut. It’s pretty foolproof – and an easy homesteading skill to start with!

This kit is one I use, and it makes fermenting simple. 

Sprout seeds to check viability

Let’s say you come across a packet of seeds, but they look pretty old. You don’t want to toss them, but you can’t waste garden space either (been there, done that!). 

Here’s how to test those seeds for viability.

Grow fodder

If you’re looking for an easy way to reduce your feed expenses while raising the nutritional value of your grain, try to growing fodder.

This is one of those homesteading skills that’s easy to learn, and it increases the nutritional value of your feed up to 600%.

Preserve foods by making jams

You don’t just have to preserve strawberries, you can preserve any sort of fruit.

I have a guide about these homesteading skills, too, and this video is a great introduction.

If you plan to use pectin, consider finding a deal and buying in bulk – some recipes call for a whole packet. This is the brand I use:

Render lard

You’ll need to know how to render lard if you’re big into baking or have purchased a pig (or half a pig) to butcher.

Rendering lard is one of those homesteading skills that you can learn anywhere.

Make homemade apple cider vinegar

Homemade apple cider vinegar completely smokes store bought vinegar. When you taste the difference, you won’t go back. 

Read my step-by-step guide about this essential homesteading skills!

Make organic lip balm

This is one of many very frugal homesteading skills that’s simple to master.

It’s pretty luxurious, being able to concoct a year’s worth of delicious, organic lip balm in the span of an afternoon.

Here’s what to buy:

Make lotion bars

Interested in another easy DIY project made with organic ingredients? Lotion bars are an easy option!

Although not specifically homesteading skills, these are still frugal options for beauty products (and a great way to spend an afternoon!). Here’s what to buy!

https://www.youtube.com/watch?v=4ofcAyXbkBE

Butcher a pig

If you’re going to have livestock, butchering them is one of those skills that will save you a ton of money.

This video is graphic (although you don’t see them actually killing the pig in this video), so be warned.

Build a compost bin

If you decide to save money on fertilizer, or want to use your manure productively, building a compost bin is a must. You don’t need specialized tools, either. 

You can build a compost bin with pallets (make sure they’re safe for this kind of homesteading project!) or you can use new wood (make sure it’s heat treated, and not treated with chemicals).

Pasteurize milk

There’s lots of reasons to pasteurize your milk. Here’s an easy guide to doing it without any specialized (or expensive!) equipment.

Make cheese

Making cheese is a simple homesteading skill to master, and one that will increase your independence.

Try mozzarella first – it’s easy and requires few ingredients.

Right now, you can snag my free ebook about making cheese! Be sure to hop on my mailing list!

Clean a fish

Now that we’re building an aquaponic system, these are homesteading skills I need to get better at!

Whether you fish or raise fish to harvest, this tutorial is for you.

Give a goat an injection

When my goat was attacked by my dog, I relied on this homesteading tutorial to give her antibiotics, since I didn’t even know where on my goat to give an injection! 

Before doing anything, though, I would talk to a vet (which is what I did).

Give a chicken an injection

Chickens are actually very easy to give injections to if you’ve never done it. I’m able to do it with my chickens without using the towel, but if you have a scared, flighty chicken, then you’ll definitely want to use a towel.

Break new ground for a garden

We established several new gardens this year, and breaking ground can be tough! Follow these steps to make it easier.

Make sausage

Just like anything homemade, sausage from scratch tastes so much better than anything store bought. Freshness just can’t be competed with. You can use any recipe, but here is a basic step-by-step guide.

Use a pressure cooker

You can use a pressure cooker to can homesteading goods such as bone broth, and you can use it to cook as well. While pressure cookers might have blown up a few years ago, now they’re pretty safe, as long as you use good judgement.

I’d love to hear from you!

Which homesteading skills are you working on? Which do you want to learn? Email me at [email protected] or comment below!

Easy Homesteading Skills

Cheese is glorious. I’m sure I’m preaching to the choir. And it’s much simpler to make than you think. Chevre, like most cheeses, seems difficult to make, but is actually very simple.

So why am I on such a cheese-making kick lately?

Snag my FREE ebook! Visit TheFrugalChicken.com for details!Because I’m coming out with a new book, “Cheesemaking for Beginners”, which is completely free to email subscribers. If you’re not on my email list, you’ll want to hop on it right away!


With this simple recipe involving just 2 ingredients, you can have fresh, homemade chevre. It's really so easy you won't believe it. I show you how to make it, what to buy, and where. From FrugalChicken

Making Chevre is Easy – Start Simple

Fresh chevre doesn’t taste “goaty” at all, as long as you use fresh milk from a reliable source (meaning the milk is medicine-free, and from goats that eat a nutritious diet). All you’ll need is chevre culture (easy to acquire), a non-reactive pot, and butter muslin.

You don’t even need a chevre mold, although if you want to use them, you can.

In this article, we’ll focus on making a simple fresh chevre, similar to Queso Blanco. Once you get the hang of this, you can try advanced techniques, such as incorporating different bacterias and ripening the cheese for a period of time, but for now, we’ll stay simple.

goat cheese with thyme

What is Chevre Culture?

Chevre culture is necessary to make your cheese. It’s the correct combination of good bacterias with a splash of coagulant that will turn your goat milk into glorious chevre.

If you’re a cheese geek like me, the chevre culture contains lactose, lactococcus lactis subsp. lactis, lactococcus lactis subsp. cremoris, lactococcus lactis subsp. biovar diacetylactis, and a microbial coagulant enzyme.

chevre package

If you’re new to cheese making, don’t let these names turn you off – they look scary, but they’re just the scientific names for good bacteria you’ll find in any cheese (remember 6th grade science – genus and species?)

The chevre culture is inexpensive, and you’ll get 5 packets, which is enough for 5 batches. This is the exact chevre culture I use.


From one packet of chevre culture, you’ll be able to make 2 pounds of cheese.

Pretty nifty (and frugal), huh?

How to Make Chevre From Scratch

You’ll need to start with a gallon of goat milk. I keep my goat’s milk in quart-sized jars, so I need 4 of them.

goat milk
Thank you, Dahlia!

Place your goat milk into a non-reactive pot, and warm it to between 68—72 degrees. You can warm it by placing the pot into another pan of warm water (being careful to not get any water in the milk), or you can warm it on the stove.

milk

If you warm your milk on the stove, be careful, because the milk warms faster than you think. Although your cheese will turn out ok if you heat it higher than 72 degrees, it will be more rubbery than if it was kept below that temperature.

Once the milk is at the correct temperature, remove the pot from the heat, add the chevre culture, and stir gently.

chevre culture

Let your milk mixture sit for 6-12 hours to let the culture proliferate and create the cheese curds. I start my cheese in the evening, then let the chevre culture do its thing overnight. You don’t need to to anything else – the culture does all the work for you.

The cheese curds will separate from the whey during this time. The longer your culture sits, the more tangy your cheese will be.

Once there’s a good separation between curds and whey, transfer your mixture to a colander lined in butter muslin. Here’s the exact butter muslin I use.


photo (53)

Tie up the ends of the muslin, and hang the curds to let them drain into a bowl. I hang the butter muslin from the kitchen faucet or from a hook in the kitchen. The longer you let drain, the more solid your cheese will be.


photo (57)

Draining can take anywhere from a few minutes, to a few hours, depending on your desired texture.

Once your chevre is drained, put it into a bowl, and keep refrigerated. Or, if you like, you can put your chevre curds into molds to solidify. Eat within 10 days.

Add Herbs!

Want to dress up your chevre? Add herbs!

It’s up to your imagination. I like adding fresh oregano, thyme, and sage. You can also add dried herbs. It’s great to add to a salad, eat with crackers, or to top spaghetti.

Want to try something different? Use your chevre to make ice cream!

photo (59)


Now, that was easy, wasn’t it?

Got the hang of Chevre? Try Mozzarella! Here’s one of my favorite sandwiches using chevre!

[amd-yrecipe-recipe:9]


This time of year is super busy for anyone homesteading, and any little thing we can do to making homesteading easier, save some time and frustration, and increase our overall productivity is paramount.

I’m even pressed for time to write this article (seriously, I have goats trying to eat my blueberries and squash, and watermelons, among other items, that need to be planted).

I’m sure you can relate.

Here’s 10 items I use for homesteading. I’ve found them to be huge time savers, and they make life easier.

They’re not anything earth shattering, but they’re the small things – like hoses that don’t kink and hose splitters – that can turn a laborious task (like lugging a hose EVERYWHERE) to something super-efficient and relaxing.

Even though they cost a little (they’re not expensive, I promise), they will save you time and make homesteading easier and smoother.

And you can snag them all on Amazon, for very little cost (since I live in the middle of nowhere, 30 minutes from any store, Amazon has become one of my lifelines). (These are affiliate links, and I personally use these products and love them. If you do buy, it’s at no extra cost to you. Thank you in advance).


1. Diatomaceous Earth

From chickens to garden, diatomaceous earth is one of those items that has myriad uses for homesteading.

So, what is diatomaceous earth? It’s a naturally occurring, soft sedimentary rock that’s crumbled into a fine powder.

It’s an effective pest control, especially for chickens, and can be mixed in with dirt for your garden. One great use in the garden is for controlling slugs, and it can make pest control much easier.

diatomaceous_earth
This is what diatomaceous earth looks like

For chickens, mix it with their feed, and let them peck at it at will. Be sure to keep it dry in storage; if it gets wet, it won’t decrease the effectiveness at all, it will just be harder for chickens to eat.

This is the diatomaceous earth I use.


2. Indoor Temperature/Humidity Monitor

I’ve depended on this little gadget for the past year for homesteading everything, from making sure my incubator is the right temperature and humidity, to determining if my potatoes are stored in the right conditions.

It’s cheap and indispensable, and it saved my butt when we lost electric and I had an incubator full of eggs (not the time to be guessing the temperature).

It hasn’t failed me once (even during the day I accidentally scorched it under a 120 degree heat lamp). It also lets me know if the temperature fluctuated when I’m not around.

Here’s the exact one I use:


3. A No-Kink Hose

There’s nothing worse than dragging a hose 200 feet only to have to walk the line to figure out why no water’s coming out. Ask me how I know.

Seriously, kinking hoses stink, and when homesteading, where water is pivotal to success in the garden and with livestock, you’ll be spending a lot of time with one (and if you’re like us, and don’t have all your water lines in yet, you’ll be dragging it everywhere).

Get comfy with a no kink hose, and homesteading will get easier.

Here’s what I like:

The one pictured above is 25 feet. This one also comes in 50 foot and 75 foot options.


4. Pruning Shears

These shears are great for pruning bushes and small tree limbs. I found them indispensable when I wanted to prune back rose bushes last year to try and get bigger blossoms this year. They just made cutting easier.

We planted blueberry bushes this spring, and I plan to use them over the winter to trim back the bushes (if necessary). I’m also using them to prune back a big honeysuckle bush.


5. Lady Bugs and Mealworms

ladybug

Yes, you can buy bugs on Amazon. Kind of goofy, huh?

Since no gardening center near me sells either ladybugs or mealworms, I’ve ordered them off Amazon. It’s kind of gross, but the ladybugs are SO good for my garden and the mealworms are a favorite treat and protein boost for the chickens (and they’re easier to find online than in a feed store).


The ladybugs I set free, but I want a continual supply of mealworms, so they’re not just fed to the chickens, but put into a mealworm farm to breed them so I can increase my farm’s self-sufficiency and lower my homesteading costs.

They both come with a live guarantee (I love this!).


6. 8 Spray Pattern Hose Nozzle

This is one of those things that’s completely boring to talk about, but these are so handy when homesteading. Yes, you can just hold your thumb over the end of the hose, but I like having other options.

For some homesteading activities, having nozzle options just makes things easier.

For example, the “mister” can be used to water seedlings. The “flower” setting can be used to water bigger plants without displacing dirt. And there’s a stronger setting for cleaning out super dirty stuff, like feed buckets.


7. Dump Cart

While a dump cart is a little bit of an investment, the amount of use you’ll get far outweighs the cost. We use ours for everything from lugging dirt or compost from one area to another, to dumping manure, to cleaning trash in the yard.

Life (and homesteading) just got a little easier.

The possibilities are endless, and not having to lug everything by hand is priceless.

IMG2195
My own, very used dump cart

I have one I pull behind an ATV, and it’s sturdy. It just attaches to the hitch using a rod and pin, and it’s super safe.


8. Digital Thermometer

A digital thermometer will save your butt on the homestead in a few ways. I use one when grilling or roasting a chicken, and I also use it when making cheese or yogurt, since the milk has to be heated to a certain temperature.

Nothing is worse than cheese that won’t set, and guesswork won’t help. Make things easier with a thermometer.

It’s also about safety, since you don’t want to do is eat chicken that hasn’t been cooked to the right temperature.


9. Hose Splitter

It’s the little things like a splitter that makes homesteading easier. My horses live on one side of the property, while the goats, chickens, and garden live on the other side.

Having a splitter means I don’t have to lug a hose everywhere, since I can have two going from the same spigot.

This one comes with a 2-year guarantee, which makes it even better.


10. Headlamp

You’ll laugh at this one, but when I need to check on things in the middle of the night, a headlamp is a dependable way to prevent tripping (or stepping in chicken poop). 

Keeping your hands free to fix a fence that escaped animals ripped down or a water line that’s decided to burst in the middle of the night (both have happened here!) is priceless. I also use it when I need to go into dark barns during the day, or if I’ve dropped something in our forest.

It was so useful last winter, when I had to hand out hay at 7 pm, but it was pitch black. It made feeding hungry horses easier

I like this one because it has 2 red settings and 4 brightness levels. The different levels are important because some allow you to see things brighter, while some allow you to see wider. 

If you’re into doing projects with pallets (and really, around the homestead, who isn’t?), you’ll love the first chapter in my upcoming book (Chapter One will be available for free!), which is about saving money on the homestead.

A big part of saving money is using pallets for homesteading projects. But how do you know if your pallets are safe? Is your pallet wood treated?

I’ll tell you how, in this excerpt from Chapter One!

Make sure your pallets don’t contain dangerous chemicals!

Producers used to regularly use a chemical called Methyl Bromide (MB) on pallets—a chemical which has been shown to do a lot of damage to human lungs, even if just inhaled a little bit. MB is an insecticide, and its used on pallets to kill any wood-eating insects that might damage the wood.

Nowadays, pallets aren’t treated regularly with MB anymore. They’re usually heat treated, except in certain cases.

Knowing how to read the stamps on your pallets before you start your projects could literally mean the difference between life and death (can you imagine using dangerous chemicals in your gardens or projects in the home? I can’t, but if you accidentally use a Methyl Bromide treated pallet to grow lettuce, you could run into some trouble.)

Different Stamps, and Their Meanings

To tell if your pallets are safe for projects, look for a stamp. If you see an HT, your pallet is safe. If you see MB, stay away from it, because it contains Methyl Bromide.

IMG2186

Depending on the type of wood, the pallets these days are heated to a certain temperature in a kiln to a minimum core temperature of 56°C for softwoods and 60°C for hardwoods for 30 minutes. There’s no chemicals used on them, and they’re safe to use for projects or in your garden.

Information about unmarked pallets is conflicting. If it’s unmarked, there’s no telling if it’s safe or not. While it’s standard to stamp all pallets now, some companies don’t if the pallets won’t be shipped internationally. If there’s no stamp, the pallets might be old, and chemicals might have been used on it.

Pallets shipping internationally require an IPPC (International Plant Protection Convention) logo, which certifies whether the pallet was heat-treated or fumigated with Methyl Bromide.

Pallets from Canada are considered the safest for projects, since that country has never allowed harmful chemicals to be used; instead, they’ve always heat treated their pallets. To tell if it’s from the United States or Canada, there should be a country stamp.

How to Read the Country Stamp

You can see the 2 letter country code (US, for example), a unique number assigned to individual producers, then an HT for Heat Treatment or MB for Methyl Bromide.

Pallets intended for international shipping are required to be made of material that won’t carry invasive insect species or transport disease. To meet IPPC standards, a pallet must be made of wood that’s been treated.

These pallets aren’t appropriate for projects, so if you see one, pass on it.

Determining if your pallets are safe for projects is of utmost importance not only for your health, but for your childrens’ and animals’ health!

Not sure how to take apart a pallet?


Want to be a homesteading rockstar? Check out my tutorial on how to make your own apple cider vinegar.


Enjoy these DIY Pallets Project Ideas:


This mozzarella recipe can really be made in 30 minutes.

If you’ve never tasted fresh, homemade mozzarella, you’re going to love, love, love this article. It seems intimidating and time consuming, but really, it’s so simple you can do it in an hour.

Before you start, make sure you have citric acid on hand (I use lemon juice, but you can buy citric acid tablets at Amazon) and animal rennet (or vegetable rennet).

Here’s where you can buy animal rennet (here’s where you can snag vegetable rennet). As far as functionality goes, there’s no difference between the two.

Citric acid is the same stuff that makes lemons mouth-puckering sour – it’s completely natural, and not dangerous in any way.

Animal and vegetable rennet accomplish the same thing: they allow the milk curds to coagulate into cheese. Don’t be intimidated by this – it’s no more involved than measuring out any other liquid.

How to Make Fresh, Homemade Mozzarella

Start with a gallon of milk – make sure it’s not ultra-pasteurized (there will be a UP on the label, or it will say ultra-pasteurized).

Ultra-pasteurized milk has been heated to a very high degree to kill off any nasties, but it’s also had the good stuff killed off, so it won’t coagulate properly.

For this recipe, you can use 1%, 2% or whole milk. I used 2%. I don’t recommend low fat milk for any cheese or yogurt recipe – I’ve just not had good luck with it.

Pour your milk into a large pot, and add your 1/4 teaspoon citric acid.

Heat your milk to 90º, stirring slowly. Once it’s reached 90º, remove it from the heat, and add 1/4 teaspoon rennet. Count to 30, stirring slowly.

Let the milk mixture rest. Sometimes it takes 5 minutes for it to coagulate, sometimes it takes 1/2 hour. You’ll know it’s done when the milk has solid chunks in it (these are the curds).

IMG2154
The cheese curds have separated from the whey .

Cut the curds into chunks (still in the pot) using a knife. There will also be liquid (this is the whey).

Return your pot to the stove, and heat the curds to about 105º. (I’m not going to lie, when I did this recipe for this article, I accidentally let the curds heat to 140º, and it still turned out ok, so don’t sweat it if you go a little over 105º).

As the curds are heated, the separate more from the whey. This is important, because the curds are what will create your cheese.

Once the curds are heated to 105º, remove the pot from the heat, and let rest so the curds separate even more from the whey. The curds will start to sink to the bottom.

IMG2159
The curds are sinking as they separate from the whey.

Next, you’ll want to separate the curds from the whey. You can use a slotted spoon, or butter muslin.

I personally use muslin because it’s more efficient. I just place my muslin over a bowl, add the curds and whey, and lift the muslin to allow the whey to drain off.

Place the curds into a microwaveable bowl. You’re going to heat them to 135º, 30 seconds at a time. The curds need to reach this temperature so they become flexible and able to be molded into balls.

IMG2160
The curds are firmer, and ready to be stretched and molded.

Soon you’ll find the curds get more rubbery and solid. Wearing gloves, stretch the curds, and form them into balls.

You’re done! You can either eat your mozzarella fresh, or refrigerate and use for a week.

IMG2165
The mozzarella molded into balls.

You’ll be left with a lot of whey after you’re done – in my next article, I’ll tell you what to do with all that whey (more cheese!!)

[amd-yrecipe-recipe:8]