Table of Contents (Quickly Jump To Information)
One of our goals this year is to expand our herb garden, and try to establish it as a true perennial herb garden.
I’d like it if, year after year, we got as many plants as possible to voluntarily grow and produce aromatic herbs and seeds.
Our hens love herbs, and it’s one of those small luxuries that’s easy to produce, and easy to impress other people with. And it doesn’t even take a lot of space.
Have chickens that LOVE herbs? (Who doesn’t?!)
Yes, my hens love herbs!
For this project, we chose a shady plot in the garden, since many herbs do well in the shade, and it’s a good use of otherwise limited land.
Cilantro, in particular, is one herb I want to establish since I like to cook with cilantro and coriander.
Some herbs are hard to find in the store (like super fresh coriander) or you have to buy a TON just to get a tablespoonful (who uses a half pound of dill, for example?).
Your own herb garden solves both those dilemmas.
If you also want to plant a perennial herb garden, here’s some tips.
1. Decide which herbs to grow
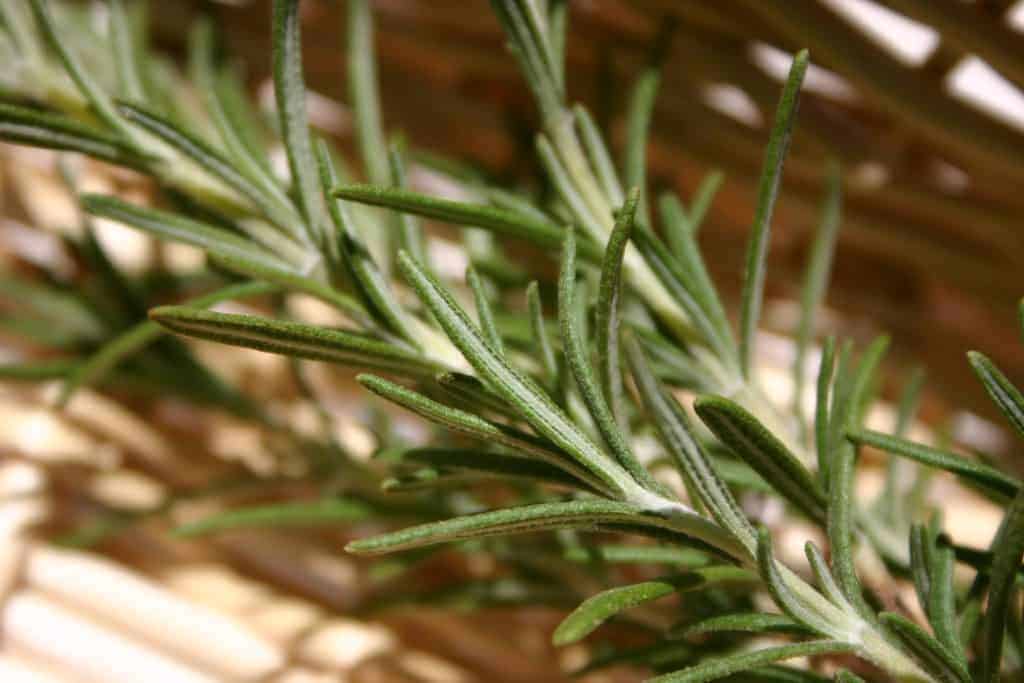
If you’re just starting your garden, decide which herbs you’ll most likely use and enjoy, and plant those. If you use a lot of rosemary in bread baking or as a savory for steak, it’s a great bet to include in your garden.
You’ll end up using it frequently, and feel fulfilled after stepping just outside your door to snag a handful of fresh rosemary.
Don’t just focus on only herbs you can cook with – if there’s a particular herb you love for the scent or just to look at, plant it!
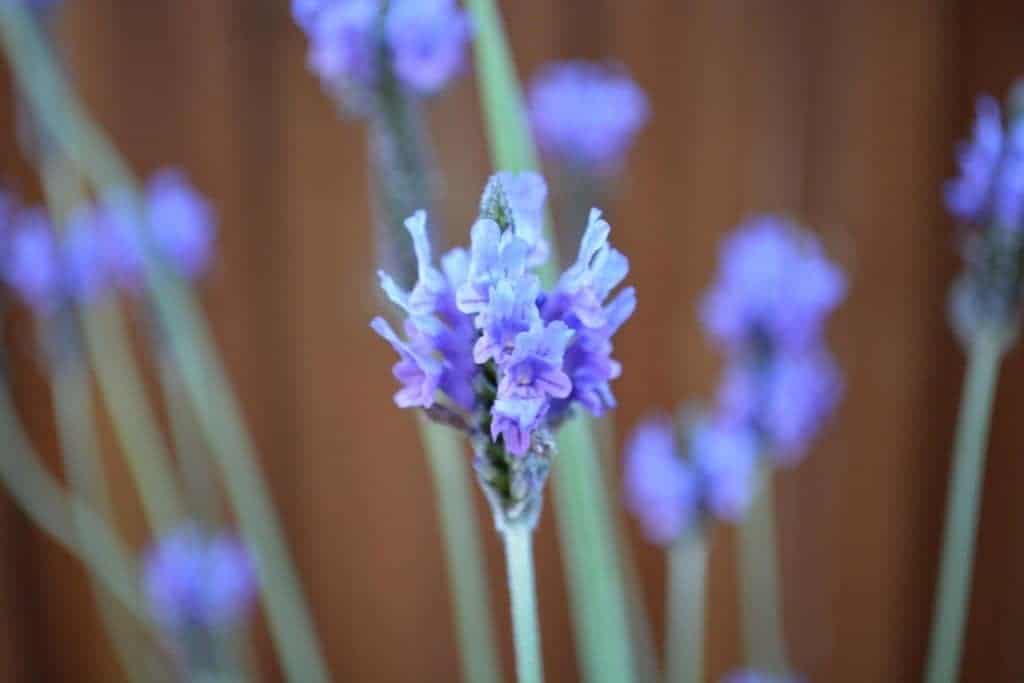
For example, if you love lavender, but don’t necessarily see yourself using it a ton, you should still plant it. You might end up trying to use it, and discover a new flavor.
Just remember to plant herbs according to their needs – are they ok in full shade or do they need 8 hours of sun? Do they need only 4?
Will some grow so tall they’ll shade out others? Does your herb need to be 12 inches from another plant or 2 feet?
You get the picture.
2. Choose herbs that are likely to establish themselves in your area
Not all herbs will survive all climates, so do your research and figure out which herbs will survive your local environment. An herb that can survive in the extreme cold of Minnesota might not live in the extreme heat of Arizona.
Rosemary, mint, parsley, and oregano are some herbs that will survive winter, although you might have to use a cold frame around your herb garden. Lavender and yarrow are two that do well in hot environments.
If there’s an herb you want to grow that won’t continue to reseed itself year after year, it’s better off in a container. You can bring your plant inside as needed to keep it growing.
3. You can start from seed or buy established plants
Some herbs are tough to start from seed. Or perhaps you started a bunch from seed but a wayward goat ate them or a chicken scratched up the seedlings.
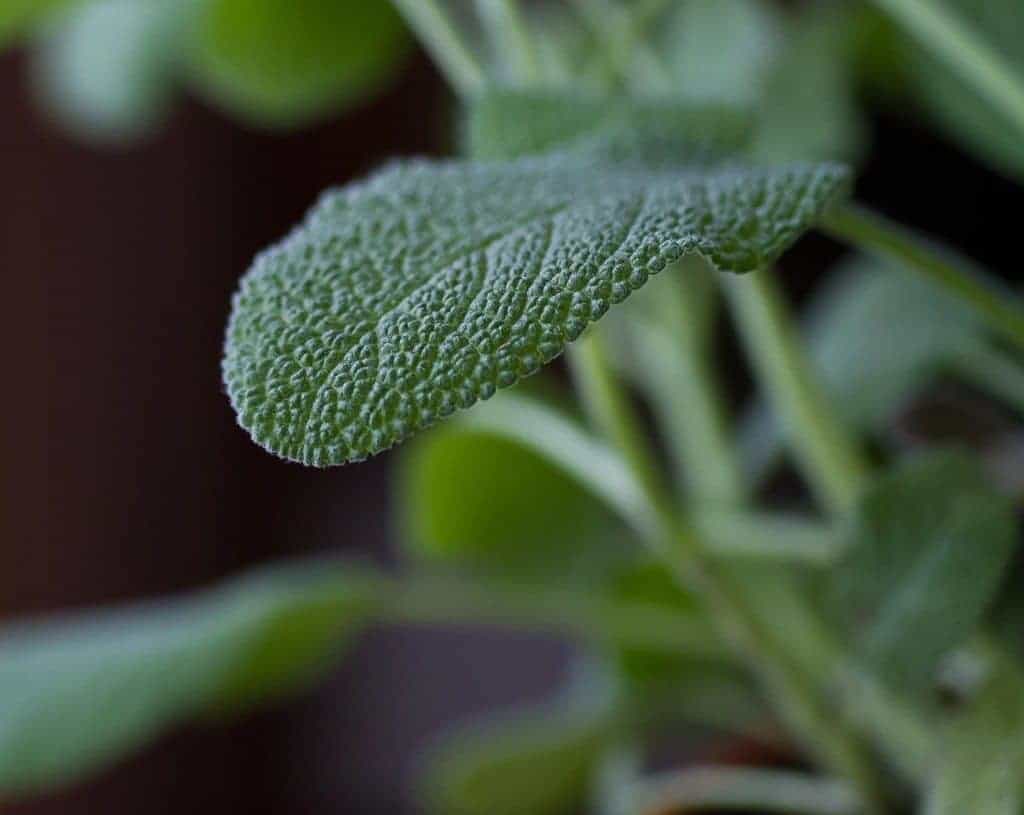
I’ve had luck raising some plants from seed. Sage in particular has been easy to start, and – surprisingly – so has dill.
Others…let’s just say I’ve struggled with some.
I struggled with cilantro for years, and couldn’t keep even potted plants alive.
After some research, I learned that cilantro has a long tap root for an herb, which means in order to survive, the tap root (or main root) needs to dig deep into the earth to provide nutrients to the plant.
It’s one herb I purchased as an established plant, and transplanted into my garden. Finally, I’m having luck, and eating a ton of salsa!
Basil, on the other hand, is an herb I’ve always had an easy time growing even in containers. It grows wonderfully in a garden, and can grow large and bushy.
4. Consider different varieties of the same herb
If you have an established garden, or just want to try a bunch of different herbs to test your homesteading skills and your pallet, try different varieties.
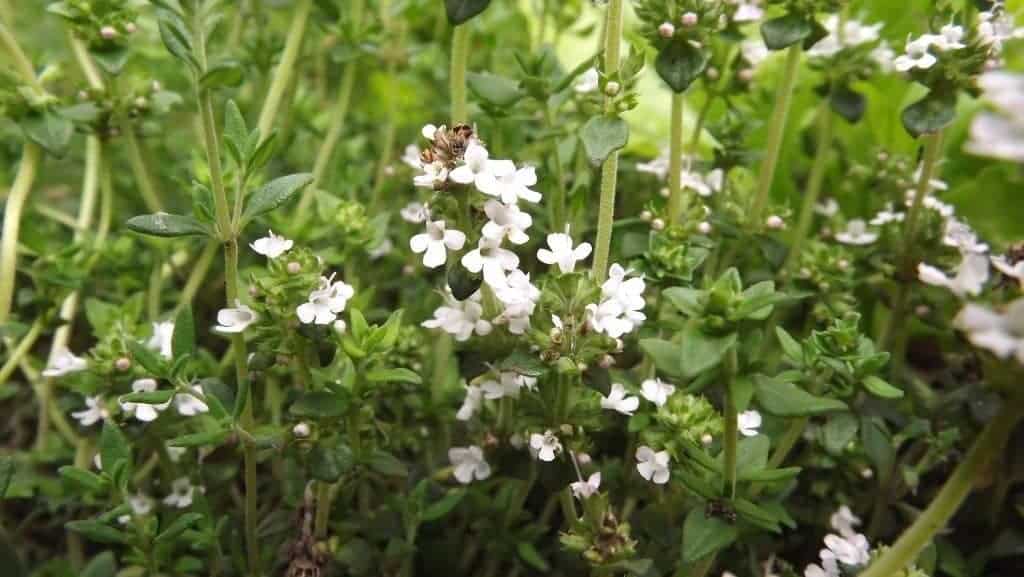
Try a boxwood basil next to a traditional, large leaf basil. Try lemon mint next to peppermint. There’s also a ton of varieties of thyme!
Different varieties of the same plant species bring different flavors to the table, and are a great way to diversify your garden.
They also bring a different visual texture to your garden, since some might be large and leafy, while others might be short with tiny sprigs going out every direction.
5. Prepare your soil
Once you decide what to grow, it’s time to prepare the soil. To get rid of any grasses or weeds that might be growing, I use a spade to remove an inch or so of soil, leaving only fresh dirt exposed.
I add a couple inches of composted manure, and mix it with with the soil by chopping it together with a hoe. Next, I use a metal garden rake to flatten the area so water doesn’t collect. A flat area is also easier to work with.
Using a hand trowel, I either dig a hole for an established plant or loosen up dirt to plant seeds.
I use a hand rake a ton in my garden to dig around stubborn weeds to yank them by the roots.
I love leaf scoops to remove mounds of pulled weeds from the garden quickly. They make a super tedious job quick and simple.
You definitely want to get good, sturdy equipment – I’ve bent many a trowel digging up a stubborn root.
6. Help the plants establish themselves
Whether you’ve started your herb garden by seed or used purchased transplants, give them a while to become established. Water regularly in the morning or evening (not during the day to prevent sunburn).
Keep pests, chickens, and small hands away from your garden to help your plants establish themselves.
Keep your herb garden weed free by removing any unwanted plants and laying down mulch or garden fabric to kill any potential weeds.
Steer clear of putting down hay – I’ve found that seeds from volunteer weeds like to hang out in hay, and can be hard to destroy once they’ve gotten their claws into your healthy, nourishing soil.
Make sure there’s a lot of branches on your herbs by regularly trimming the top of the plant an inch or so for the first few weeks – this will help the plant grow healthy and increase your yield.
It also keeps the herb from shooting straight up and going to seed by prompting the plant to put energy into creating strong, healthy roots.
Don’t harvest until your herb is least 6 inches tall to give its roots time to grow and spread into the soil.
7. Harvest, then allow for reseeding
Harvest your herbs continually throughout the spring and summer so they don’t immediately go to seed. Simply cut a couple inches off the top every now and then.
Not only does going to seed deprive you of their herbal lusciousness throughout the season (because they’ll stop producing), but once they start going to seed, it can change their composition.
Cilantro, when allowed to go to seed, gets thinner and a little bitter. To keep the leaves large and fresh-tasting, pinch off any flowers.
When the season is over, though, let your herb plants go to seed – they’ll first bloom flowers, then drop their seeds. Your garden will hopefully be established when your plants grow voluntarily next year.
Which herbs will you try to create a perennial herb garden with this year? Leave a comment below!
Maat van Uitert is a backyard chicken and sustainable living expert. She is also the author of Chickens: Naturally Raising A Sustainable Flock, which was a best seller in it’s Amazon category. Maat has been featured on NBC, CBS, AOL Finance, Community Chickens, the Huffington Post, Chickens magazine, Backyard Poultry, and Countryside Magazine. She lives on her farm in Southeast Missouri with her husband, two children, and about a million chickens and ducks. You can follow Maat on Facebook here and Instagram here.

![12 Vegetables You Can Start Now In Cold Frames! [Planting Guide!]](https://thefrugalchicken.com/wp-content/uploads/2017/02/what-vegetables-can-be-started-in-cold-frames-feature.jpg)

![What Seedlings Can You Start In February? [Planting Guide]](https://thefrugalchicken.com/wp-content/uploads/2017/01/what-seedlings-can-you-start-in-february.jpg)
A herb garden is always a lovely idea, and it making a perennial herb garden is just genius idea! As you said, it’s solves many dilemmas in the kitchen. My sister just started a small herb garden in her backyard and your tips and advises will be of a great help for her. I’m sure she’ll be very glad to read this post, so I’m recommending it to her. Thank you for sharing all this lovely info! Happy gardening!
Glad you like it! Thanks for stopping by!