Table of Contents (Quickly Jump To Information)
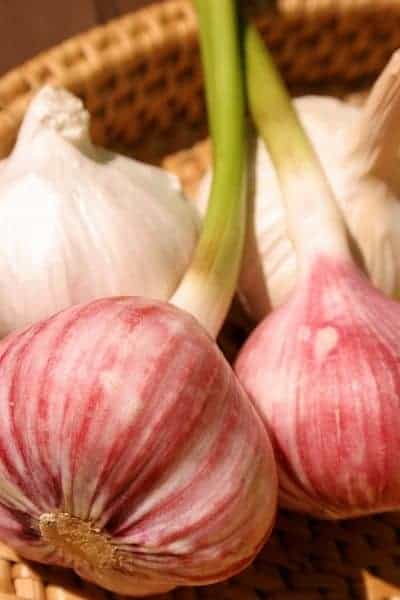
Planting organic garlic is one of those autumn activities that can make you feel like a real homesteader.
During a time when most gardeners are shutting down their patches for the season, you can create a 4th season with organic garlic, and get a head start on next spring.
For years, I didn’t plant garlic. I didn’t see much point.
Organic garlic, especially in urban areas, is pretty cheap and pervasive. I had no trouble sourcing it (you can even get it shipped to you by Amazon.)
But there’s something about planting and harvesting your own organic garlic that screams independence.
Maybe it’s because as homesteaders, we tend to have the gardening itch year round, and, with our autumn crop choices being fairly limited, planting garlic lets us continue to live self-sufficiently during even the coldest months.
And, as it turns out, planting organic garlic is also fairly simple.
So, let’s dive in to the basics!
Sourcing Organic Garlic
There’s plenty of places to source your organic garlic for planting, but here’s a (short) list:
- Amazon
- Baker Creek
- Peaceful Valley
I’m sure there are others out there, but these are the only companies with which I have experience.
The number one thing when sourcing your organic garlic is to look for a reputable dealer (like those above) that will sell seed garlic that has a high likelihood of growing.
I’ve purchased seed garlic from big box stores, and there’s a measurable difference.
The garlic from the big box store was dry, brittle, and probably a few years old.
The garlic from a reputable source, however, was clearly harvested this year, robust, and could be used in cooking (a tell-tale sign of quality).
Since your organic seed garlic will be in the ground for a few months, you don’t want it rotting, and an inferior product has a higher likelihood of trouble.
You get the picture.
Do yourself a favor and go to the right source. You probably won’t even pay any more than you would at a big box store.
When to purchase your organic garlic
It’s never too early to get your order in for your garlic. Most companies don’t ship until late summer/early fall (another sign of quality).
Why?
Because they sell seed garlic from the same year’s crop, meaning you have to wait for the seed garlic to be ready.
To ensure you get the type of garlic you want (more on that later), getting your order in around July is a good idea.
They ship based on when your order was received, so if you wait until the last minute, you might be waiting in line.
Reputable organic garlic dealers will also send a set of planting instructions with the garlic, and might even have some sort of guarantee.
When is the best time for planting garlic?
The ideal time for planting organic garlic is September and October, depending on your location.
In the South (where we’re at), October is a perfect month. Up North, where October might mean snow and frost, September is a better option.
Planting well before the first frost date in your area will ensure your garlic is able to set roots before the winter freeze comes on.
Either way, planting your garlic in the fall for a summer harvest is best – a spring planting rarely yields satisfactory results.
How much organic garlic should I purchase?
Well, that depends on how much garlic you want to harvest.
Bear in mind that each individual clove in a head of garlic will be planted and should grow into it’s own head.
Generally speaking, 1 pound of seed garlic is enough for a 25 foot row.
So, to determine how much organic seed garlic to order for planting, guesstimate how much garlic you will use in the next year, then reverse engineer.
Bear in mind, also, that different types of garlic will yield different amounts.
One pound of Elephant garlic does NOT equal one pound of Siberian garlic in terms of the amount of organic garlic heads you will eventually harvest.
In one pound of Elephant garlic, you might only receive 10 cloves, while you might receive 50 cloves of Siberian garlic – so the amount of organic garlic you will harvest in spring will differ.
Something to keep in mind while gazing wistfully at those catalogues.
Planting Organic Garlic
Once your organic garlic has arrived, you’ll want to plant it as soon as possible, when the seed garlic is freshest.
You want to ensure the garlic can establish itself after planting, and before winter sets in.
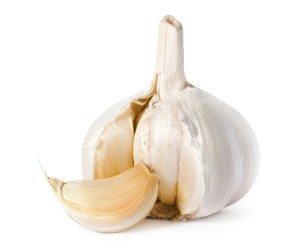
When you’re ready for planting, separate the garlic into it’s cloves.
(note: some organic garlic might already be separated. I learned this one the hard way after crushing a couple cloves when I wasn’t paying attention).
Leave the papery skins on! Don’t remove them – they provide a necessary barrier so the garlic doesn’t rot in the ground.
If some skins are removed by accident, don’t sweat it, but don’t intentionally peel your garlic at all.
Next, dig a trench about 4 inches deep – deep enough so you can plant your garlic 2 inches or so below the frost line.
Where the frost line occurs will depend on your location. When in doubt, go for 4 inches, and be sure to pile straw on top of the planting location (more on that in a minute).
Planting below the frost line is necessary to keep the organic garlic from dying off during the cold weather.
next…
Plant your organic garlic cloves pointy side up – the pointy side is what produces the green scapes, while the bottom is where the roots will shoot out from.
I like planting my garlic first, then going back to fill in the soil.
Once you have each clove buried, top with a 4 or so inches of straw or hay, and leave it there throughout the winter, adding as necessary.
The straw will act as an additional barrier against the cold, making sure your garlic cloves are in a great position to start growing bulbs.
When to harvest your organic garlic
Your garlic will be ready for harvest several months after planting, usually in July or August.
The good news is that in the meantime, you will have other garlic goodness to harvest, such as early shoots and scapes.
When June rolls around, snap off any scapes to harvest them – this will help the bulbs will grow to maturity before you harvest.
I’d like to hear from you!
Which garlic will you plant this year? Contact me at editor@thefrugalchicken.com or comment below!
Maat van Uitert is a backyard chicken and sustainable living expert. She is also the author of Chickens: Naturally Raising A Sustainable Flock, which was a best seller in it’s Amazon category. Maat has been featured on NBC, CBS, AOL Finance, Community Chickens, the Huffington Post, Chickens magazine, Backyard Poultry, and Countryside Magazine. She lives on her farm in Southeast Missouri with her husband, two children, and about a million chickens and ducks. You can follow Maat on Facebook here and Instagram here.


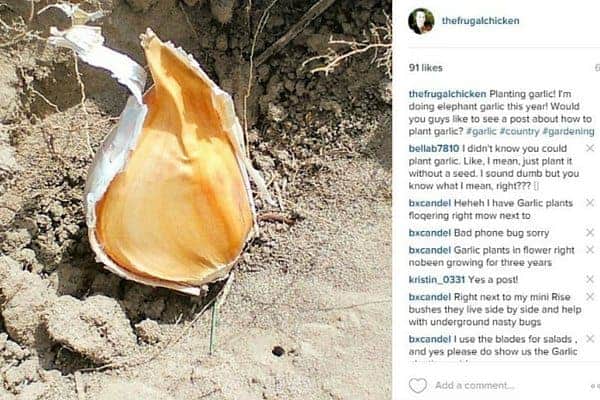

Phew! I just planted garlic the other day and I was pretty sure I remembered how to do it, and thankfully I was right. Thanks for the refresher! I just bought it from the grocery store, hopefully it’ll grow alright. I’m off to check out those seed company links you have right now! Awesome 🙂
Great! Glad the article helped! Let me know how they do!
Missed the window of opportunity to plant my garlic this past fall. Any chance if I plant in the spring I can harvest by fall? My home is in Lawrenceburg ky.
Thank you
Here in Ct the frost line is 36inches I doubt we would plant below that.
Last Fall I found some 3 yr. old garlic in my mud room that was starting to sprout. I decided to plant them. To my amazement, every clove sprouted is doing great!! A neighbor had given me a huge bag full. Some were eaten, some were planted and I forgot about the rest. I’m so glad I took a chance and planted them.
I just planted my elephant garlic which was harvested this July.
And bought some organic garlic too from my local super market.
In London the temperature is 16 to 20c at d moment .
So it’s petty warm for Autumn .
Love growing garlic coz I also give garlic to my chicken in their water.
It smells so fresh and they love it too?
And thank u again for ur advice mast for ur wonderful advice.
Sorry I was ment to type Maat?
Do you recommend removing the mulch after the last frost in the spring, or just leave it there?
I remove it. I use straw, so by the time spring rolls around, it’s ready to be blown away by the wind anyway!