Microgreens for chickens? You bet! They are easy peasy to grow and packed full of nutrients. Learn the scoop on microgreens here!
Sunflower microgreens are a delicious addition to your recipe collection, and they’re so easy to grow in your kitchen. You can grow them for yourself (because they are full of nutrition for humans and chickens) and then share them with your flock.
Once “mature,” you can harvest your sunflower microgreens, and their rich, nutty flavor and crunchy texture fit into every meal of the day. They pair particularly nicely with eggs at breakfast, soups, sandwiches, and wraps at lunch, and meats and grains at dinner.
Chock full of vitamins, protein, minerals, calcium, and lecithin to break down fatty acids, sunflower microgreens are not only delicious, but they also pack quite a nutritional punch. Growing them yourself is economical, satisfying, and fun. It’s an easy crop for children to plant and grow and makes a great addition to their favorite meals, including pizza, tacos, and alphabet soup.
As an added bonus, your chickens, ducks, other poultry, and rabbits will also jump at the chance to down some sunflower microgreens as part of their diet (and you might even save some money at the same time!)
Are you ready to exercise your green thumb by growing your own sunflower microgreens this planting season? Follow these super easy steps!
Table of Contents (Quickly Jump To Information)
Step 1: Purchase Quality Seeds
Start by purchasing quality sunflower sprouting seeds. You don’t need to purchase the most expensive seeds, but you do want the black oil sunflower seed variety.
Make sure the seeds you purchase are for sprouting – organic seeds are best so you can be sure they haven’t been sprayed with harmful chemicals.
Click here to buy organic sunflower sprouting seeds on Amazon
Then purchase a growing pad, organic soil, seedling tray, and plastic cover, and set them aside for later use. (You can make your own organic soil as well).
Step 2: Soak Seeds
Grab a mason jar and pour in enough seeds to cover your grow tray. Because we’re growing microgreens, space isn’t as big of an issue so be generous. You want a large enough harvest to make the effort worth it.
Be sure to keep the seeds covered as they soak to keep dust and bugs out of the jar. This will speed up germination, and let you harvest the sunflower microgreens faster. You’ll also waste fewer seeds.
Soak seeds in clean, cool water for at least 12 hours.
If you don’t want to go through the soaking process, then you can just plant the seeds directly in the grow tray. It’s a faster process if you soak the seeds.
If you want to soak your seeds, then…
Step 3: Drain and Rinse
Drain and rinse the seeds thoroughly with cool water, then repeat the soaking process.
Again, use cool water and soak for an additional 12 hours. It’s very important to rinse the seeds thoroughly so they don’t get moldy.
At this point, you should start to see the seeds begin to sprout. It will look like they’re growing tiny tails.
Step 4: Plant Seeds
Pour potting soil into your grow tray and spread the seeds very thickly. You can cover the seeds very lightly with additional soil, but it’s not strictly necessary.
Cover the tray with the plastic top so moisture is retained – make sure there is some ventilation, and remove the top if the seeds begin to mold.
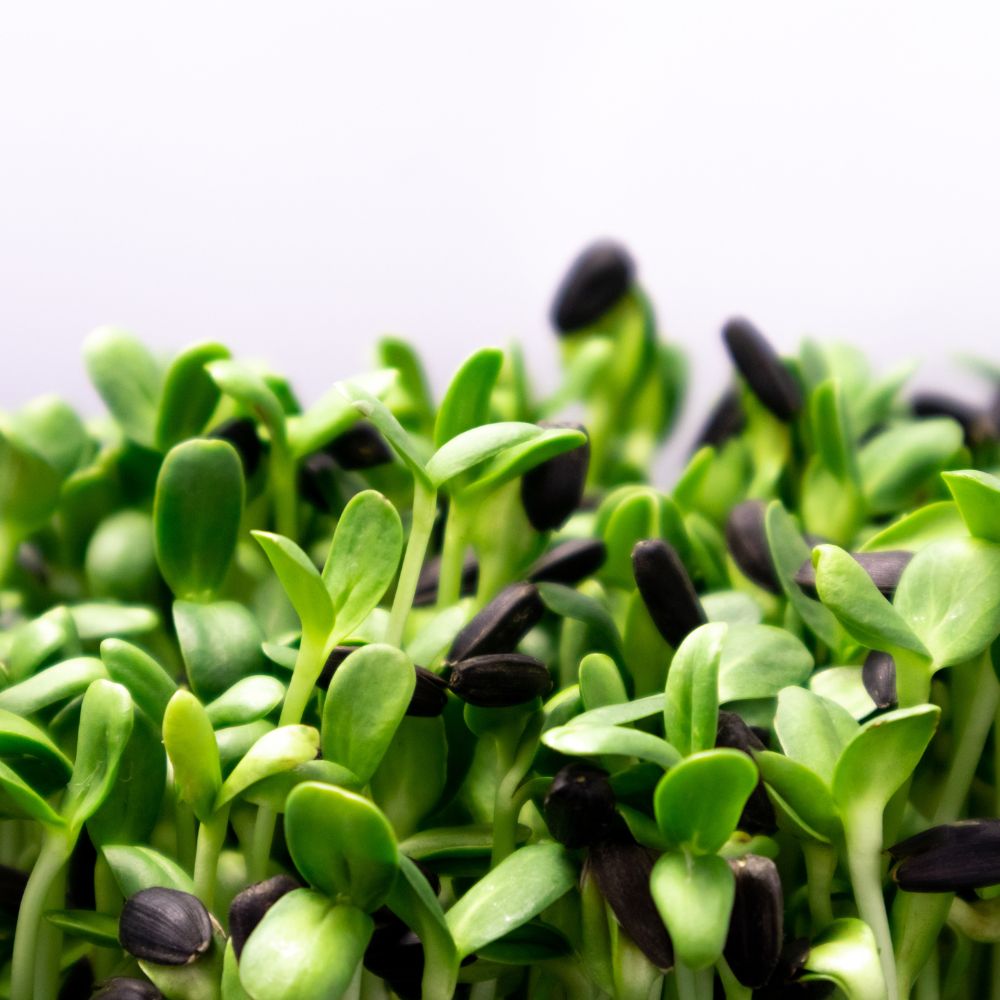
Step 5: Water Sunflower Microgreens
Water your sunflower microgreens by placing the tray inside a larger tray or tub.
This allows the seeds to receive water from the bottom without disturbing them from the top. You don’t want to displace any of the dirt or disturb the teeny tiny little seedlings’ root structure.
Step 6: Give Them Light
As the seeds grow and start to push up, move them to a sunny spot (like a bright window) and continue to water them regularly.
You CAN use a grow light if you want, but it’s not absolutely necessary, since your sunflower microgreens will be harvested in a few days.
In a week to a week and a half, the sunflower shoots should be about 4” tall.
Step 7: Harvest
It’s time to harvest your sunflower microgreens!
Once they’re about 4″ tall, it’s time to harvest the fruits of your labor. Cut your sunflower microgreens right above soil level and store them in a sealable plastic bag. They should last 4-5 days in your refrigerator.
To use them, pull out the amount you need for each recipe, and rinse them carefully under cool, running water.
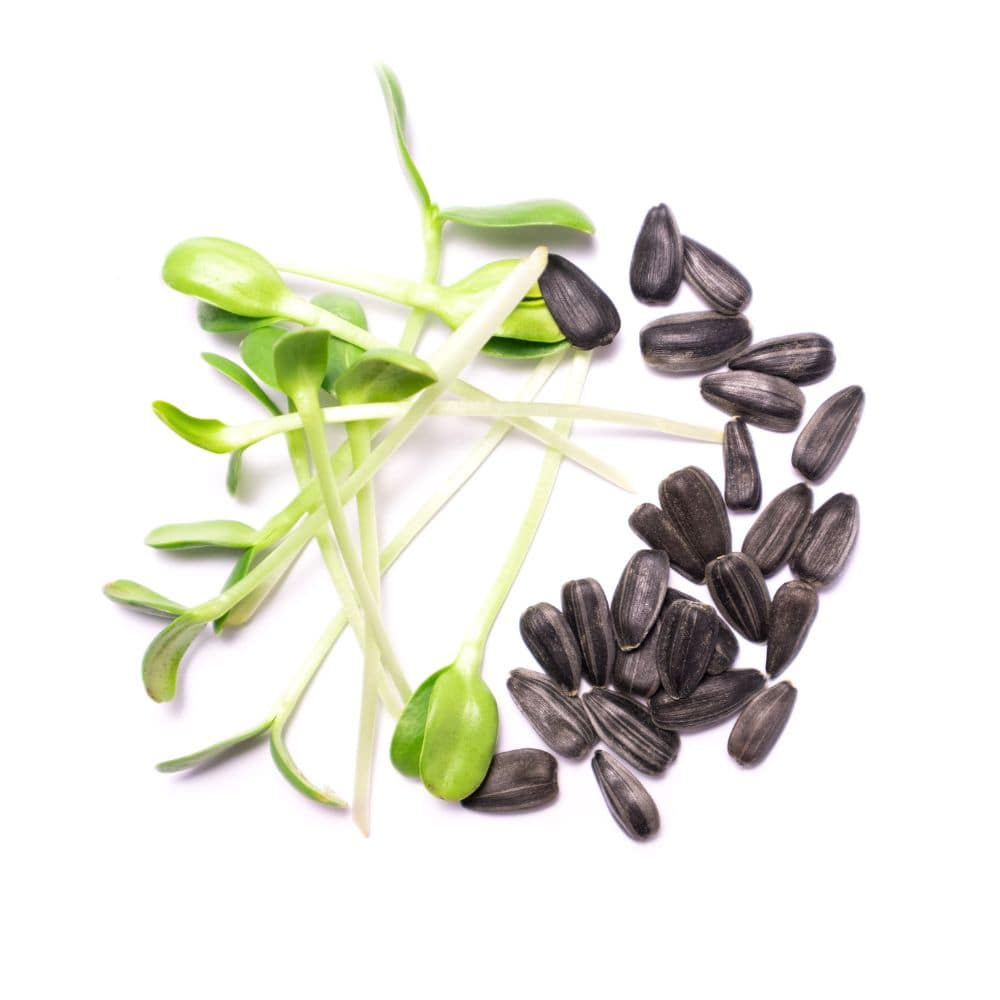
Use this easy method to grow these tasty greens whenever you want them. Because they’re ready to harvest so quickly, they don’t require a ton of planning ahead, and because they last for 4-5 days when refrigerated, they can also be ready to use when you’re ready for them.
Feed your flock
Now you are ready to toss some microgreens to your hens to supplement their diet. You will enjoy watching them eat these sweet little greens with delight. You can rest assured that your backyard buddies are getting a treat PLUS excellent nutrition.
Feeding microgreens to your feathered friends is fast and easy but with great rewards. Plus if you start your own microgreens you will save a lot of money (in comparison to buying them from a health food store). These power packed snacks are great for your overall health (as well as your critters overall health).
Sunflower Microgreens Salad Recipe
Try your first harvest in a simple summer salad:
Mix sunflower microgreens with peeled and cubed blood oranges and avocados, peeled and shredded carrots, and chopped walnuts or pecans. Dress with a light vinaigrette dressing and add slices of crusty, homemade bread for a delicious summer meal.
Note: You can use any microgreens in this, and other, recipes.
What About Other Types of Microgreens?
Can you and your chickens eat (and benefit) from other types of microgreens? Yes indeed! Here is a short list of some things you can easily grow as described in this article.
- Mung beans
- Barley
- Lentils
- Kale
- Alfalfa
- Radish
- Millet
Summary
Growing your own sunflower microgreens (or other types of microgreens) is a fun and useful project. It provides the joy of watching something grown, nutrition for your family and critters, plus they are tasty. If you have never tried growing microgreens, why not give it a shot and see what you (and your chickens) think!
Other Chicken Nutrition Articles
- Alternative Feed for Chickens
- What to Feed Your Chickens for Better Tasting Eggs
- What Can Chickens Eat
- Can Chickens Eat Grapes
Maat van Uitert is a backyard chicken and sustainable living expert. She is also the author of Chickens: Naturally Raising A Sustainable Flock, which was a best seller in it’s Amazon category. Maat has been featured on NBC, CBS, AOL Finance, Community Chickens, the Huffington Post, Chickens magazine, Backyard Poultry, and Countryside Magazine. She lives on her farm in Southeast Missouri with her husband, two children, and about a million chickens and ducks. You can follow Maat on Facebook here and Instagram here.




So excited to try this
Rnsing them but not over soaking.
My two yrs doing it made me want to vomit at restaurants who wouldn’t buy them from me because they are all fake and worse.