I’m writing something of an obligatory spring post, probably along with every other blogger in the northern hemisphere, but this spring is different.
This is my first real spring in a while.

Before 2014, we lived in warmer states, and I hadn’t suffered experienced a winter in a while. This spring brings a sense of independence and accomplishment I haven’t yet experienced. A sense that we made it to the other side and somehow survived.
This winter was even harder than past winters. It was our first winter in a turn-of-the-century house that sorely needed updating. It was our first crack at a house that was drafty, who’s pipes inexplicably froze.
Our winters are milder compared to other areas of the country, but we still had pretty cold days and our fair share of frozen pipes. We spent quite a few days unfreezing pipes to provide water to the animals.
I wondered what winter would have been like here in the 19th century, when it was settled. We at least had the pleasure of creature comforts, a warm shelter, access to food if we ran out of homegrown canned goods.
I moved south particularly because I was tired of winter. I hate the cold. I hate the ice. I hate everything about winter. I can do without that first snow that covers everything and makes the world look beautiful.
Because I really hate cold weather that much.
Homesteading in the winter has its pluses and minuses. On the one hand, you can’t grow anything. Scratch that, we had a garden inside, but you get my point.
Winters in the south provided ample time to continue the growing season, and in South Florida, winter actually WAS the growing season. June, July, August, and September was our winter, when it was so hot everyone took a break.
During this time, I tried growing tomatoes, but they didn’t take off, lettuce wouldn’t even grow a few leaves before withering in the heat. My eggplants grew robust, and the sweet potatoes did surprisingly well, though!
Watering was necessary constantly, and in order to have a proper raised bed, we had to bring in our own organic dirt. Otherwise, our dirt was just sand with ZERO nutrition and a mountain of red ants.
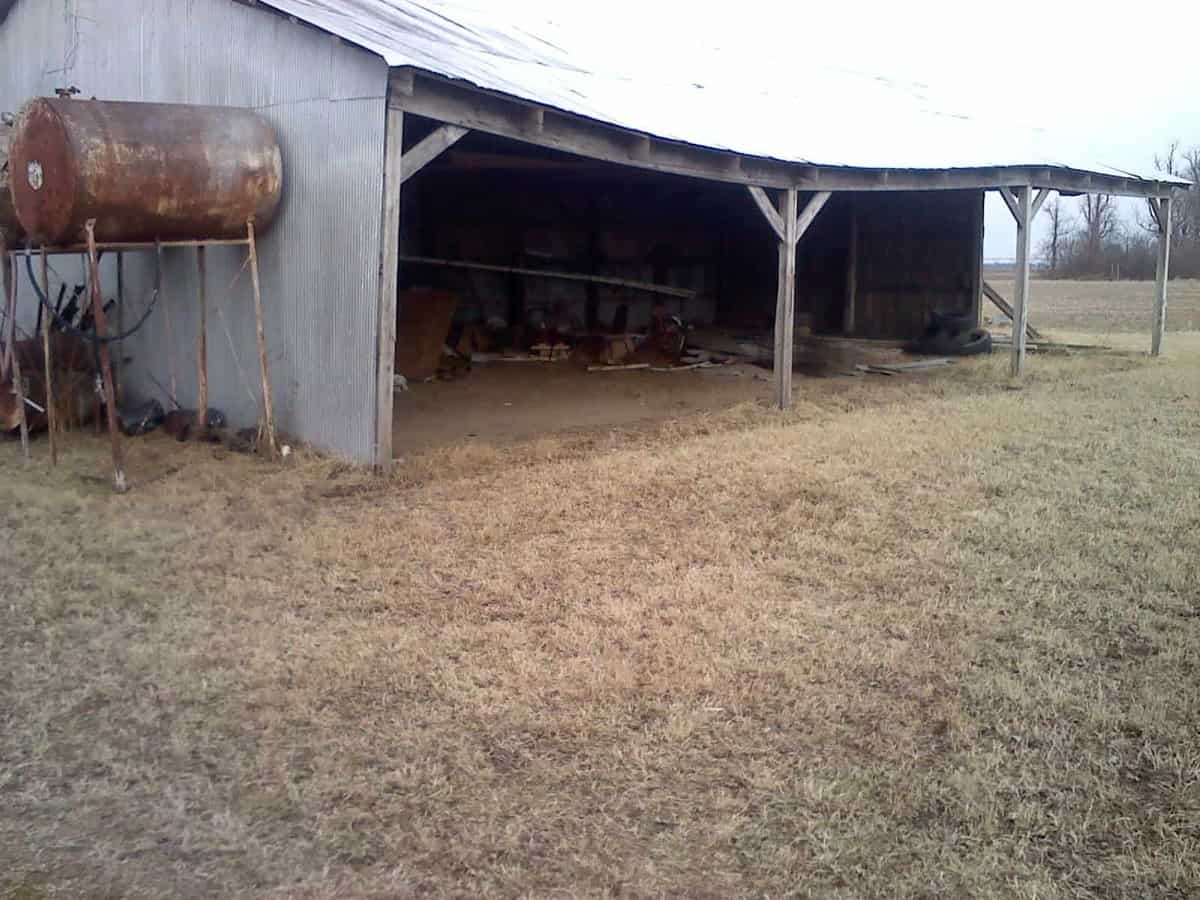
In cooler regions, though, winter means time away from the madness of growing and harvesting, so we had time to focus on longer term projects, building, repurposing, and planning. It’s a time to repurpose old buildings.
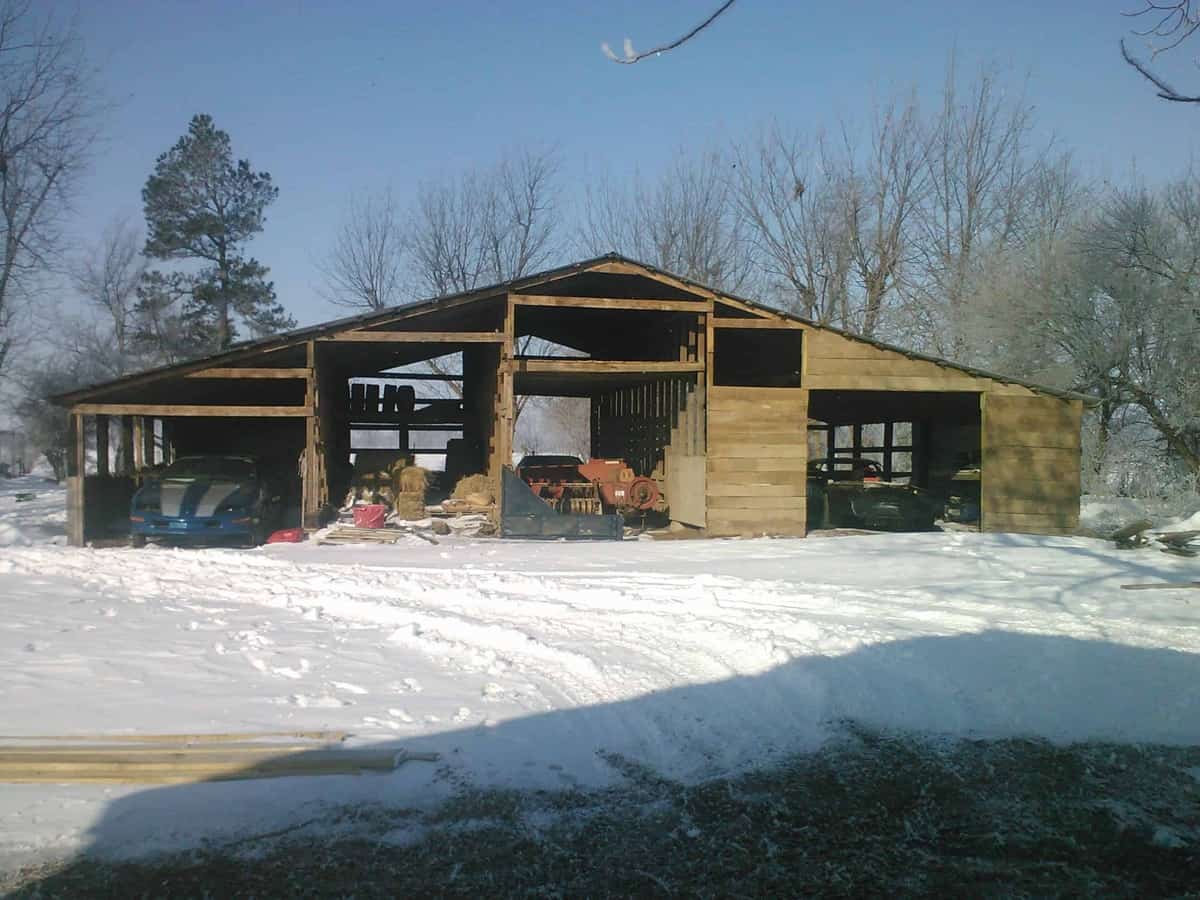
We began repurposing several barns, which were useful only as storage sheds before we restructured them.
If you’ve followed along this blog for a while, you’ll know that our homestead had 2 abandoned structures – a barn and a shed, when we moved in. Clearly, neither had been used in many, many years, and I’m betting they were built in the early 1900’s and maintained and used until about 1960’s or so.
They’re structurally sound, but they were so full of trash, old corn cobs, old fertilizer bags, and long-forgotten items that I didn’t know if we would ever get them clean. It took the better part of a year to decide how to repurpose them.
In fact, the first time I saw our property, I actually cried, because it was so ugly and there was so much trash everywhere.
So, once we decided what to use these building for, how did we go about actually repurposing them? Since we are still in the process of reconstructing the barn, I can take you inside for an in depth look!
1. Before you do anything, decide what you’ll use the building for, and why you want to repurpose it.
Like I said before, this took us the better part of a year, and we waffled back and forth about how to repurpose old buildings on our homestead. We knew we wanted one barn for a horse barn, and my husband knew he wanted a structure to work on his race cars. We also knew eventually we would need a storage shed for farm equipment, like our wonderful haybaler.
This should have been pretty clear cut, but the problem was the big barn wasn’t obviously set up for anything we needed it for. It was an old grain silo, and constructed in a pier and beam fashion. It also has a dirt floor, and the pier and beam construction makes it difficult to add concrete for a cleaner floor.
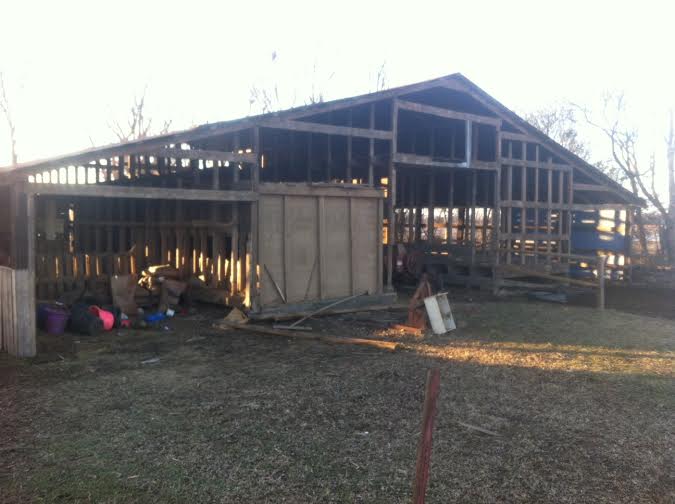
In addition, the pier and beam structure doesn’t use headers, but instead studs every 2 feet connected to a ground beam, so deconstructing the barn wasn’t as simple as knocking down some studs to open it up.
There were days when I wanted to burn it down, and start all over.
Luckily, lack of money to build a new structure, made that move impossible.
It’s really important to think through why you want to repurpose old buildings on your homestead. It will save you from work you’ll just have to undo later on. Even if it takes you 2 or 3 years, it’s better than wasting time and money.
2. Check if your idea will work – is it built for that? If not, how can it be?
Let’s say you want to turn your building into a workshop. Double check if it can be repurposed as a workshop. Is the ceiling high enough? Is it sound enough? Does the floor lend itself to your purpose? Is there enough air circulation? What will it be like in all seasons?
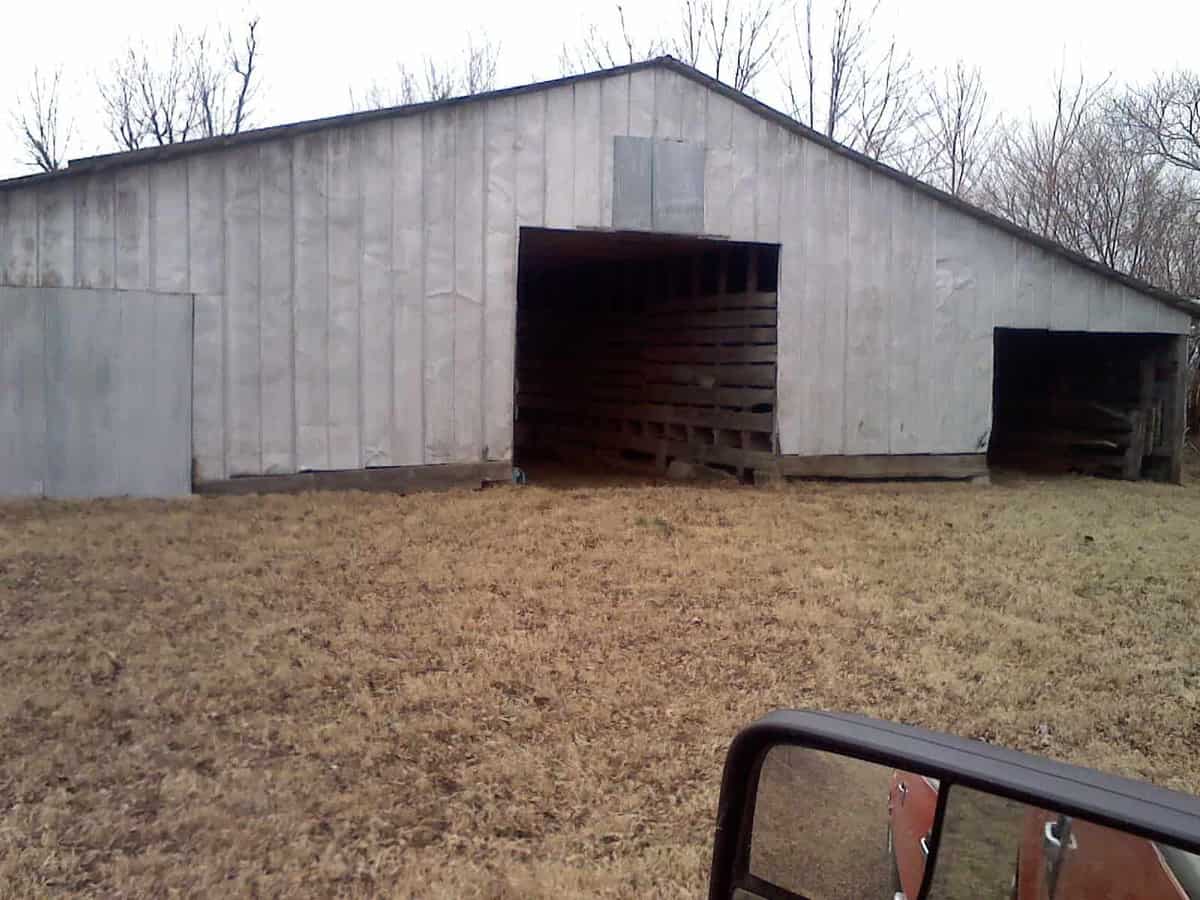
Our now-horse barn, which was a shed, easily lent itself to a new life as a horse barn. It was super simple to construct some stalls, and break down some existing walls and adding new walls to repurpose it. One thing we didn’t bank on, though, was needing to add a 4th wall and a rain gutter.
Whenever it rains, the rain flows off the roof, and into the barn. A 4th wall keeps the flooding down, and the rain gutter re-routes the rain away, keeping everything dry.
Repurposing our barn for horses was easy, but we had to have some flexibility in our plans to make the overall construction work well.
3. Check for structural soundness
Is your building even worth saving? We had an old chicken coop on our property that I would have loved to save, but the wood was so rotted, all we could save was the tin roof.
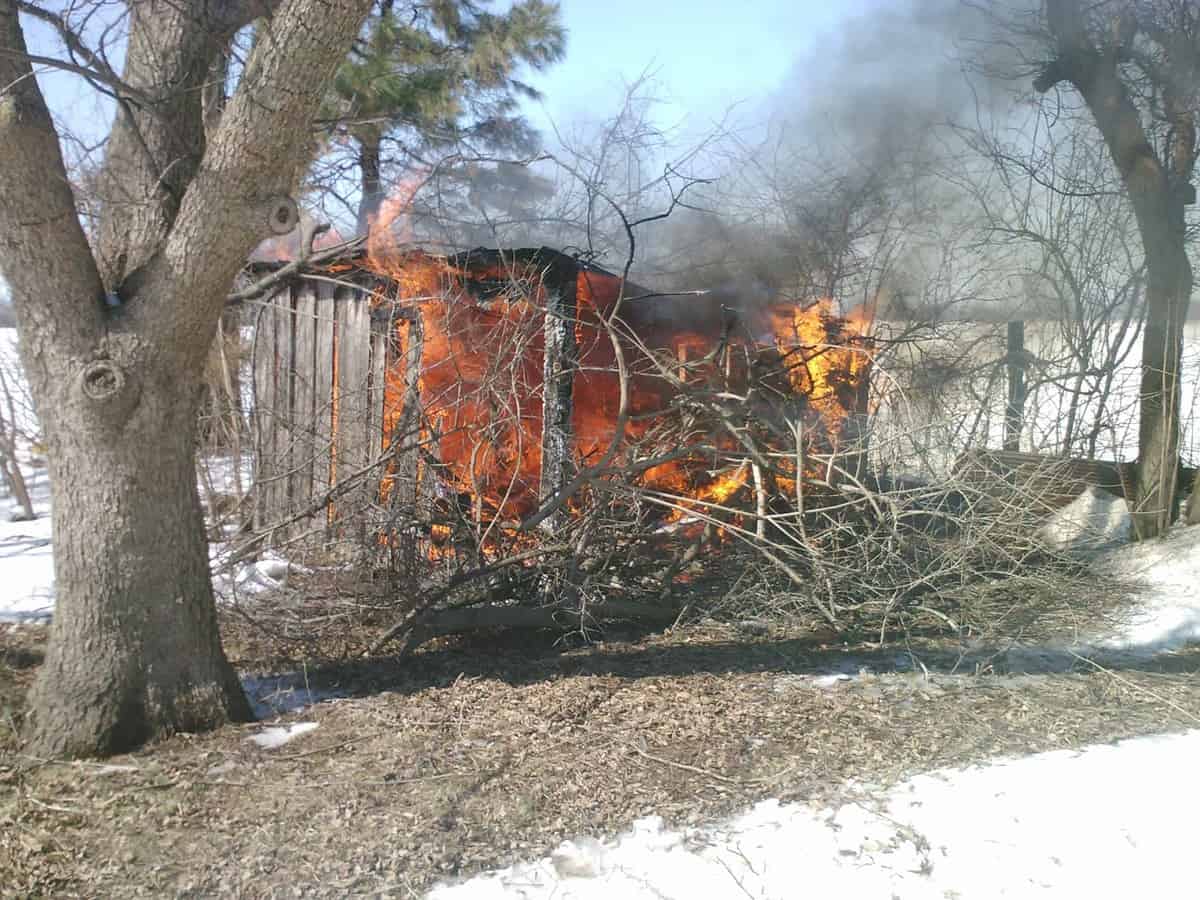
We ended up burning it to make way for a pig habitat.
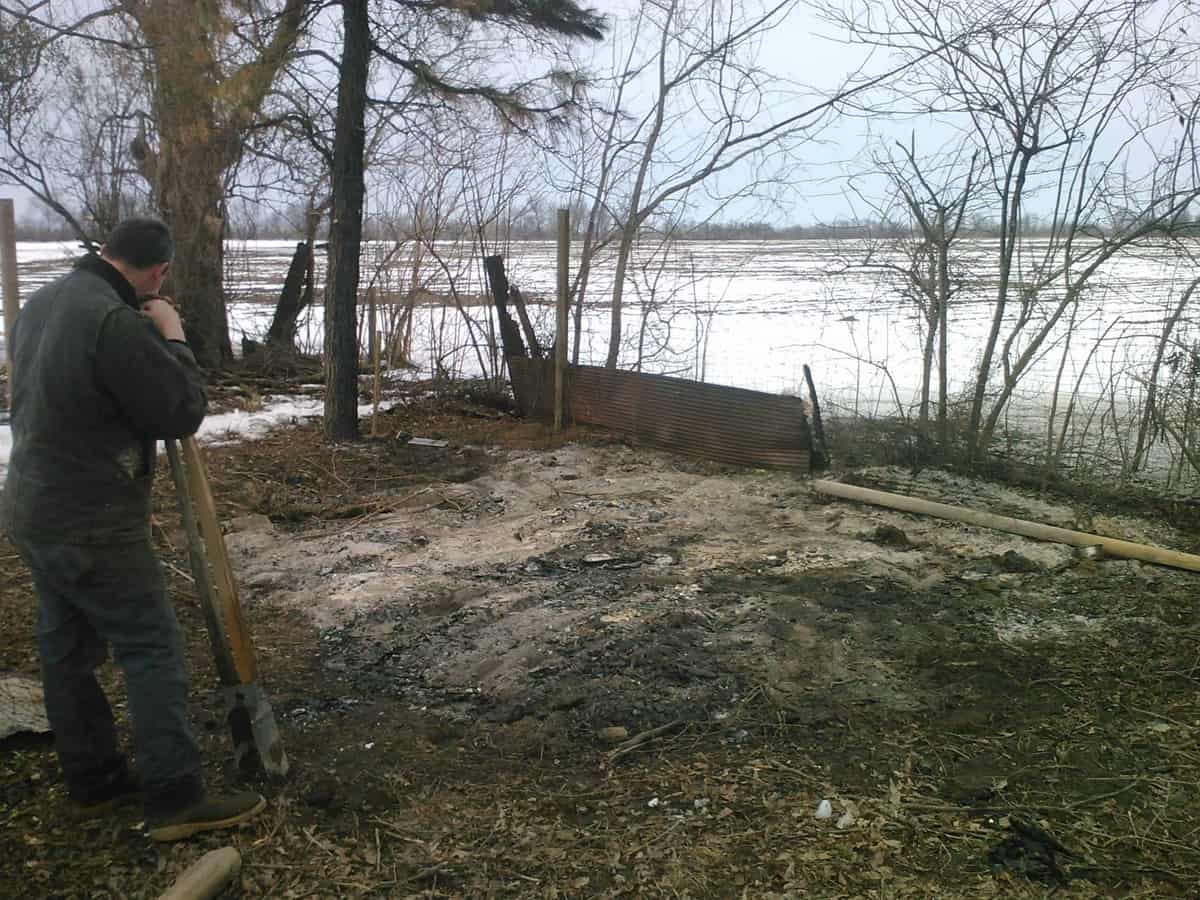
If your building isn’t structurally sound, check to see how you can make it structurally sound, and if it’s truly worth the effort to repurpose old buildings on your homestead. In our case, the main structures were very sound construction, so we needed to decide how to support the structure in a way that made them useable.
The shed was pretty simple – when we moved here, there was a terrible sag in the roof from a support beam that had broken below the ground. We purchased 2 4×4 beams and first attached them temporarily to the roof to support it while we dug out and replaced the broken beam.

We dug out the broken part of the beam, then used a jack to support the remainder of the beam for a couple days to ensure the building wouldn’t inexplicably collapse on us, and to make sure the weight redistribution didn’t effect other areas of the structure.
Keep in mind, we aren’t structural engineers, so we did our best, but we didn’t exactly do the math a structural engineer would do. So we elected to wait and make sure the changes we made wouldn’t haunt us later.
That’s the thing when you repurpose old buildings yourself – you just try to do your best. In our area, a contractor isn’t needed, especially for rebuilding barn structures.
After we fixed the sag, we decided where to put our doors. We knew we wanted a barn with a lot of airflow, so 2 doors across from each other were necessary.
On one side of the barn, there was a big gap between the siding and the 4th wall, so we replaced the siding and created a door where we wanted it. We moved a beam that was in the middle, where we wanted our door, that wasn’t a structural support. We replaced it with a 4×4 that could act as additional support.
Where we wanted to place the 2nd door, there is a beam that provides structural support, so for now we’ve left it there.
4. Reuse as much as possible
Because we didn’t have a lot of money to pour into our adventure to repurpose old buildings, we tried to reuse as much as possible. Not only did this save us money, it also kept our yard from looking too much like a construction zone, since it lowered our trash output.
We were able to replace siding on our reconstructed shed with siding from the old barn. We were able to build our horse stalls out of repurposed pallet wood.

This saved us thousands of dollars. With a little creativity, it was easy to figure out how to reuse and repurpose items we came across for free.
This is a lot to cover, so I’ve broken it up into 2 different posts. Stay tuned for How to Repurpose Old Buildings, Part II!
Until next time!
I participated in Simple Saturdays Blog Hop!
Join other happy homesteaders for free updates today…..Learn More
Maat van Uitert is a backyard chicken and sustainable living expert. She is also the author of Chickens: Naturally Raising A Sustainable Flock, which was a best seller in it’s Amazon category. Maat has been featured on NBC, CBS, AOL Finance, Community Chickens, the Huffington Post, Chickens magazine, Backyard Poultry, and Countryside Magazine. She lives on her farm in Southeast Missouri with her husband, two children, and about a million chickens and ducks. You can follow Maat on Facebook here and Instagram here.


important to note:
If the wood you are repurposing has lead paint on it, it will do more harm than good.
It’s important to remember that! Luckily, none of our wood is painted!!