Table of Contents (Quickly Jump To Information)
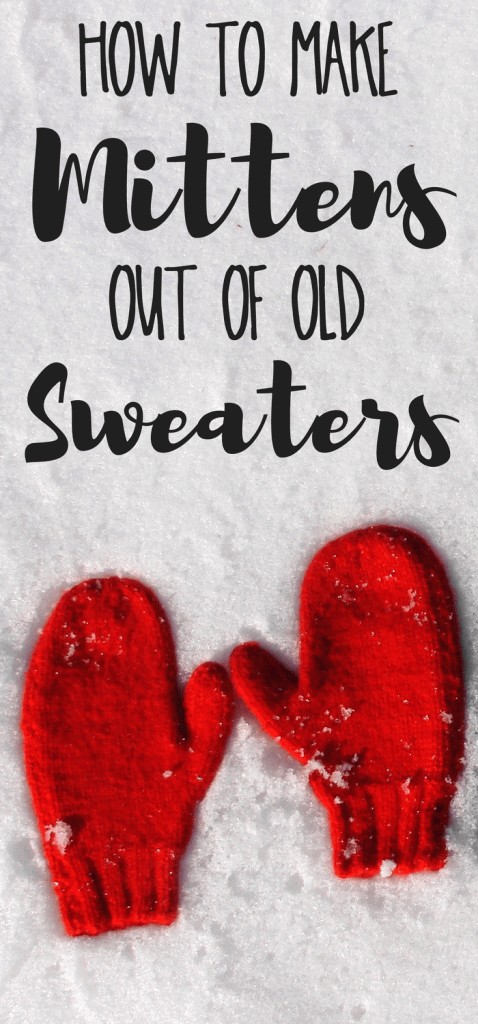
When my husband shrank one of my cashmere sweaters, I decided to use an old sweater mitten pattern to breathe new life into an item of clothing I would otherwise have to discard.
During winters on our homestead, the winds can get pretty chilly, particularly from the North, and a good, sturdy set of mittens can mean the difference between a miserable time filling water buckets and being able to complete tasks without freezing fingers.
While gazing at this ruined sweater, I remembered an old sweater mitten pattern I had used in my childhood, and decided now was a good to put it to use.
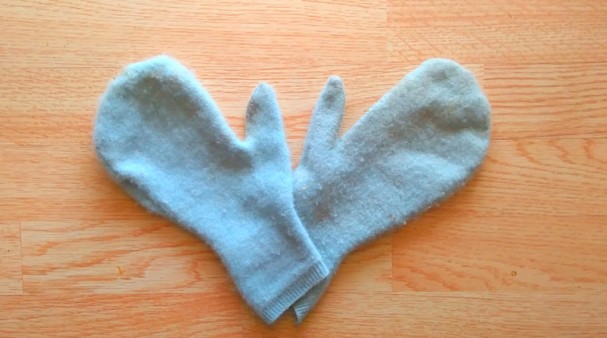
The pale blue sweater itself was in good condition, there were no holes or stains, so it would have been a shame to just toss it.
Winter was settling in, and since I needed new gloves anyway (and you can’t get much warmer than cashmere!), I settled on making new mittens.
Since I love reusing items I might otherwise toss, I was happy to try making myself a new item of clothing. I’m always game for saving a bit of money, too!
Making yourself new gloves using this old-timey sweater mitten pattern is easy. As my husband puts it, you just “draw a turkey and sew it together.”
Here are more specific instructions to help you out!
Trace Your Hands Using a Marker
To make life easy on myself, I chose to make mittens with the sweater, rather than gloves with individual fingers. Although I’m sure eventually I will tackle gloves with fingers, I needed mittens quickly since I had to fill water buckets in whipping 30-mile per hour winds!
Tracing the shape of my hands on the sweater was easy enough, and since the marker would be on the inside of the finished product, I didn’t worry too much about using a marker that would dissolve in the wash.
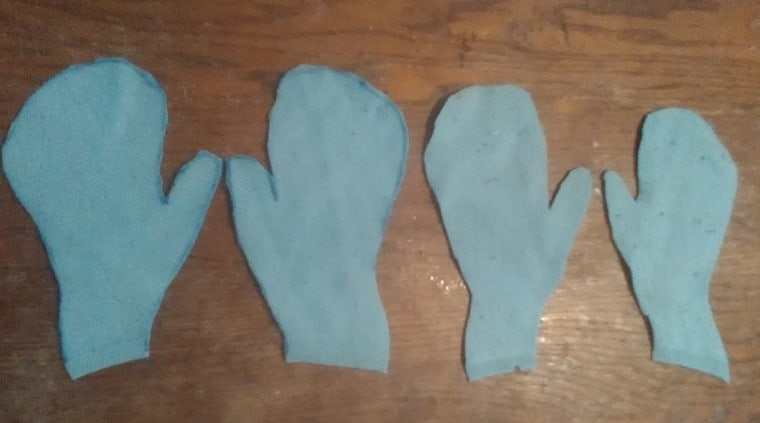
When tracing my hand, I left about a ½-inch of extra space between my hand and the line drawn with the marker. This ensured that when I sewed the mittens, there would still be enough room for my hands, and the mittens wouldn’t be too tight.
This is particularly an issue for your thumb, since it will end in a tighter space than the rest of your hand. I suggest leaving a good ½-inch or ¾-inch space to give your thumb a comfortable amount of space.
Here’s a little pro tip:
For these gloves, I chose to make the opening of the glove commence at the manufacturer’s hem of the sweater. That way, I could prevent the mittens from unraveling. It just seemed easier.
I repeated “drawing the turkey” four times, so I ended up with a front and back for each mitten. I’m right handed, so of course, the left pieces were more precise than the right, but this dilemma is easily resolved if you can get help with tracing your hands.
Sewing the Mittens
To stitch the mitten pieces together, I first mocked up a mitten by pinning two pieces together, making sure to line up the ends as closely as possible.
Pinning them together also made it easier to stitch later, and I made sure to line up the tops of the mittens, figuring if the opening of the gloves was uneven, then I could always just sew a hem.
When you’re mocking up your mittens, remember to keep the marker lines on the outside, so they will be hidden when you invert the gloves after sewing them.
I also made the gloves a little longer so they could cover more of my arm during the cold weather. This has kept drafts out of my sleeves during the windstorms that plague our farm during the winter.
To actually sew the mittens, I used a blanket stitch to ensure the mittens would stay intact as I worked around the farm.
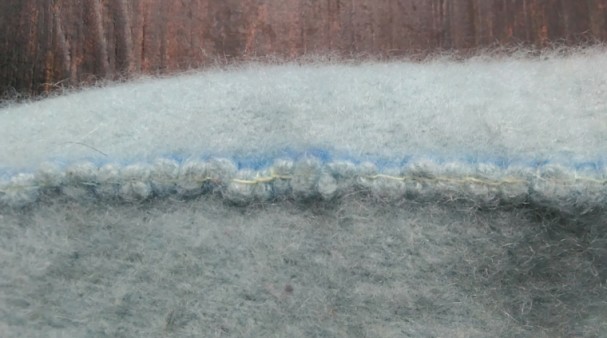
This type of stitch also allows the thread to expand without breaking, I’ve found, and the mittens don’t let in any cold air through the seams, so I know this type of stitch is doing its job.
Once the stitching is finished, just turn the gloves right side out, and they’re ready to wear!
I chose to hand sew the mittens because the project was fairly simple, but you can probably save a bit of time by using a sewing machine.
I kept the mittens the same pale blue color the original sweater was, but if I want to, in the future, I might dye them, especially since, thanks to the pale color, they’re starting to look a little dirty.
Goldenrod and onion skins are two natural dyes for wool I might consider testing out in the future.
Using this sweater mitten pattern, not only was I able to save some money and reuse a ruined sweater, but I was also able to provide myself with a new item of clothing to keep me warm!
Maat van Uitert is a backyard chicken and sustainable living expert. She is also the author of Chickens: Naturally Raising A Sustainable Flock, which was a best seller in it’s Amazon category. Maat has been featured on NBC, CBS, AOL Finance, Community Chickens, the Huffington Post, Chickens magazine, Backyard Poultry, and Countryside Magazine. She lives on her farm in Southeast Missouri with her husband, two children, and about a million chickens and ducks. You can follow Maat on Facebook here and Instagram here.


Good Work!
Cool, I mean warm!
Great idea and simple, too!!!!! Wish I’d thought of it first!!!
You can also use your old sweaters to make slippers. Don’t think I can add a picture here, but it was great fun with my grandsons. They are scuffs and as easy as the mittens. You use cardboard for the sole and a different material for the sole of the shoe, something that would not be slippery. Just like the mittens, draw a line around your foot leaving a half inch at least for stitching Then cut out your sweater for the inside of the foot of the slipper. Since I can’t show you the pattern, the easiest thing might be to then lay the sweater over your foot, as high up your foot as you like and then pin it in place. Trim around to match the sole, then blanket stitch around all the pieces including the top part. Kids love this project. We did double some of the top parts if the sweater was too thin. We used felt,old jeans, and sweaters that had been shrunk. I used jean material so I embroidered a flower on the toe of each.