Hi I’m Jenn! Last month I shared a rustic welcome sign and I’m back this month to share another rustic home decor project for you to build and enjoy in your home.
When you build furniture and work with wood, one of the side effects is scrap wood. I end up with odd shapes and sized pieces of wood. These pieces of wood were cluttering up my work area so I knew it was time to create some chevron pieces using scrap wood.
I recently updated an area of my family room and I felt like it needed something small to hang on the wall. These chevron wood pieces were going to fit perfectly.
We’ve lived in our home for 15 years and it’s taken me that many years to figure out what to do with our home.
Now that I know exactly what I want, I want to change everything at once which is hard on the pocketbook.
I don’t have an open budget so sometimes I really need to think outside the box and make sure that I’m not wasting anything. Which allows me to really get creative with things.
Since I have so many pieces of wood that are less than 12” long, I need to find creative ways to use them because furniture and shelves usually use pieces longer than that.
I had a bunch of leftover 1×3 pieces so I thought they’d be perfect to use. So if you’re like me with leftover wood, then here’s a project made for you.
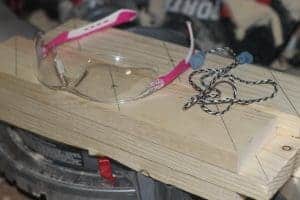
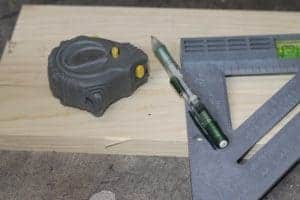
The supplies you’ll need for this project are:
- Scrap 1×3’s at least 6” long
- Pencil
- Tape measure
- Angle square
- Miter saw or hand saw
- Wood glue
- Straight bracket
- Stain
- Craft paint
- Wall mount hardware
- Ear and eye protection
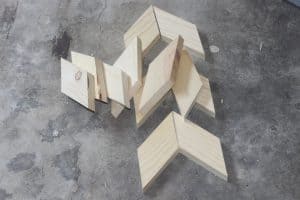
Once you have all of your supplies ready it is time to measure. The pieces are going to be cut at a 45-degree angle so you’ll need a little extra wiggle room for that.
I made 3 chevron pieces so you’ll need 6 pieces total for this project.
I started off by measuring the pieces. The chevron pieces are 4.5” each. I used an angle square to make sure I was getting a precise angle as you can see below.
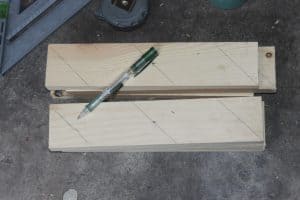
Once the measurements are made it’s time to make the necessary cuts. If you’re using a miter saw, set it to 45 degrees. If you are using a hand saw, cut along the line you made.
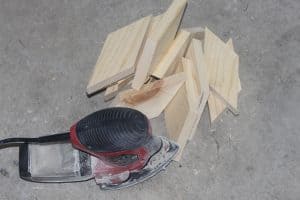
Now that you’ve made all necessary cuts it’s time to sand each piece so it’s smooth and ready to take stain.
It’s time to stain each piece. I didn’t stain the back because no one will see it, so I stained the top and each side. One thing to consider before you start staining is to remember to put the pieces together, so you are staining the correct sides. I didn’t do that so I had to cut more pieces…
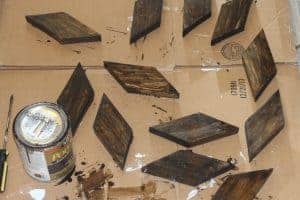
Allow the pieces to dry for about 2 hours.
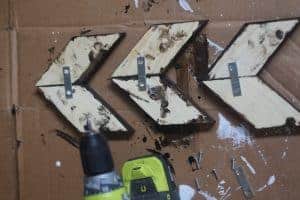
Once your pieces are dry it’s time to attach them. I used straight brackets and wood glue to attach the pieces together.
Add the glue and then add the brackets to the back. You can see in the photos below.
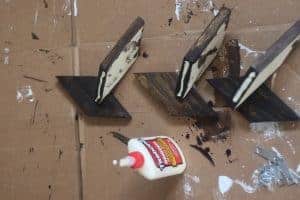
Allow the pieces to dry overnight so the glue has time to set.
The next step is to add craft paint. I wanted to add a little color to the corner so I decided to paint them 3 different colors.
- White
- Dark blue
- Light blue
I added a coat of paint to each piece and allow to dry for about 2 hours. I wanted the pieces nice and dry.

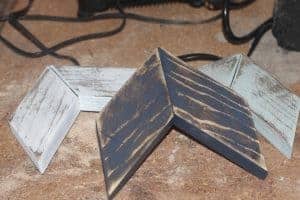
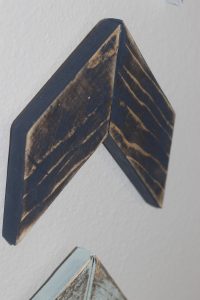
Once the pieces were dry I wanted to give them an aged and rustic look so I sanded them down. The original dark stain was able to come through after I did a little sanding. Each piece looks a little different as you can see.
Once they were done I added some picture hanging hardware to the back and attached them to the wall and here’s the final product.
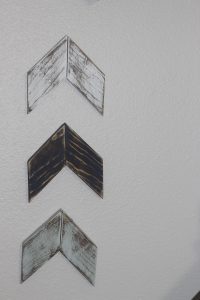
Now I feel like this corner is complete. I have my blankets on display, some extra storage for my family room in my console table and I feel like these chevron pieces really helped give it a rustic feel.

If you wanted to try a woodworking project then this is a perfect place to start. You don’t need to purchase new equipment for this project and if you don’t have extra lumber laying around, no problem, you can pick up a 1×3 for about $2 or $3, so this project will not break the bank. You can also customize this to your liking. You can use larger pieces and you can use different colors allowing you to make this your own.
I’d love to know if this is something you’ll be trying soon!?
Jenn is a mother of 2 daughters and a wife of a very patient man. She loves to build furniture, create home decor, and develop creative ways to organize different areas of her house. When she isn’t crafting up her new blog post at Home by Jenn she is enjoying the outdoors with her family and training for the next marathon. You can learn more about her at HomebyJenn.com.