So, you want to incubate duck eggs but don’t know how? We have the answers to get you started on this grand adventure.
If you’ve ever incubated chicken eggs, you know how exciting it can be. But now you want to try ducks. Duck hatching can be quite different from chicks, but have no fear – with a little information and the right tools, you can do this!
After reading up on the subject, I was so nervous the first time I ever tried hatching duck eggs. There seemed to be so many methods and tons of warnings. I was shaking in my mud boots for sure. But I’m here to tell you that my first attempt went surprisingly well and I have the ducks to prove it! 😉
Without further ado, let’s get to it. Here are the 7 easy steps to incubate duck eggs.
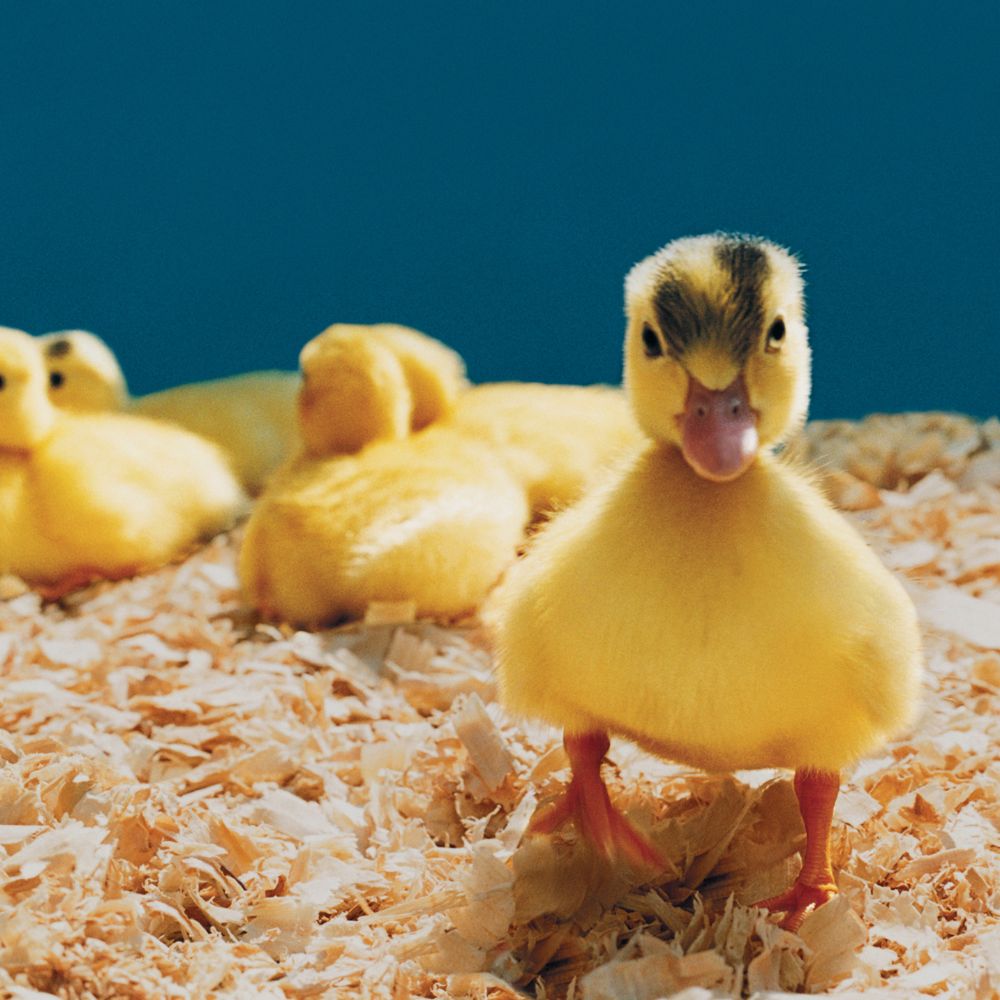
Table of Contents (Quickly Jump To Information)
7 Steps To Incubate Duck Eggs
First, let me encourage you. It’s true that hatching chicken eggs is a bit easier. But hatching duck eggs isn’t exactly rocket science either.
Take a deep breath and get ready to write down a few notes. I know firsthand it can be a bit scary to try something new like incubating duck eggs, but it’s very rewarding and lots of fun. There are always risks when trying to learn something new, but that’s just part of it. You can do this!
Secondly, I want to be sure you know up front that duck eggs take longer than chicken eggs to hatch. While chicks take 21 days, ducks take 28 days (Muscovy ducks take 35 days). So you cannot easily hatch chick and duckling eggs together – just so you know.
Step 1 – Incubator
The first step is to get all your ducks in a row (but not your literal ducks…they haven’t hatched yet). You need to be sure you have an incubator that works.
There are many incubators out there to choose from. Some are strictly for chicken eggs and some are more versatile. The one I use has different trays you switch out depending on which species you are hatching. I will admit that I only have the chicken tray, but I have hatched quail and ducks using that chicken tray and had great success. However, I don’t recommend it simply because it added stress to the process (because I was more nervous about the outcome).
Here is an article about incubators if you need help: Best Incubator: Reviews & Buyer’s Guide
Once you have an incubator be sure to test it out. Turn it on for several hours and be sure it holds the proper temperature and humidity level.
I personally recommend having an incubator that is self-turning and has both a temperature and humidity gauge. These are the features that I believe make the process simpler and less stressful (and ultimately most successful).
Step 2 – Choosing Hatching Eggs
Choose your eggs wisely. They should not be odd-shaped or have cracks or imperfections of any kind. Cracked eggs are not going to incubate successfully. It’s recommended to choose eggs that are not exceedingly small or large as well.
Do not wash eggs because it will damage the outer membrane and allow bacteria to enter the eggs. You can simply dry wipe them to clean them a bit.
You can even candle the eggs at this point to be extra sure they don’t have hairline cracks or anything else that is weird. I candle them to be sure the ducks haven’t been sitting on them without me knowing (in other words, to be sure they aren’t already partially started in the incubation process as a fertilized egg will do).
It’s best to collect fresh eggs because each day that passes decreases the hatch rate. I will say that I once hatched eggs that were 10 days old, because my son was gifted them by a neighbor, and had a really good hatch rate. However, I still claim it’s best to use fresher eggs.
I number the eggs with a pencil to keep a log of activity and so that I can see the eggs are being turned (as the egg rolls the numbers move and it causes peace to my soul to know the egg turner is working properly).
If you don’t want to keep a log of the progress of each egg (talked about in step 5 if you want to know why) then at least put an X on each egg so you can see that they are turning (or so you know you turned them if you are doing it manually).
Step 3 – Regulate and Egg Placement
Turn your incubator on and wait until the temperature and humidity are consistently stable. For duck eggs, the temperature should be 99.5 F and the humidity should be at 55%. Be sure you open vents to the incubator according to your specific incubator manual.
You should allow your eggs to reach room temperature before putting them in the incubator.
Once your eggs are room temp and your incubator is stable, place your eggs in the incubator. The way you place them in the incubator will depend on what incubator you are using. If you have an incubator that holds each egg upright, you will want to set the eggs with the small end down.
In the case of my incubator, my eggs just lay down in the little tray that has dividers that help them turn with the automatic turning process. The pointed end of the eggs point inward toward the center.
Step 4 – Turn the Eggs
Turn the eggs at least 4 times a day. This is absolutely necessary in order for the ducklings to grow properly and not get stuck to the inside of the shell.
This is where an automatic egg turner comes in handy. Automatic turners have a timer and they are consistent and they never forgot (uh hum…like some of us humans can do).
Step 5 – Candle the Eggs
At about 7 days into the incubation process, you should candle the eggs with a flashlight to be sure you see a developing embryo. Otherwise, they will rot and stink to high heaven. They can even explode, and trust me when I say you don’t want to have that on your bucket list. Remove any eggs that are not developing.
Here is a guide to candling eggs: Miracle In a Shell – All About Candling Eggs
You can candle the eggs quite often without causing any problems (except for the last 3 days, more on that in the next step). I love candling eggs along the journey to see the changes and monitor the eggs.
I personally number the eggs with a pencil and keep a log of activity, growth, and movement. On occasion, I will see an egg stop developing later on in the process and I remove them once I’m 100% sure.
Step 6 – Stop Turning and Hatch
The number of days of incubation is different for ducks than it is for chicks. It takes 28 days for ducks to hatch (unless they are Muscovy ducks in which case they take 35 days). It can take longer depending on how stable your temperature is, among other factors. So you should not give up on all the eggs if they don’t hatch exactly on day 28 (wait at least a couple of days past that, maybe even up to 5 days).
On day 25 (for ducks other than Muscovy) the turning of the eggs should stop automatically or be stopped manually. The ducklings need to settle and get in position and find the air cell for pipping their way out of the shell.
If you have a turning tray, that needs to be removed at this point.
The temperature should be changed to 99 F and the humidity level to 65%, and the ventilation openings should be opened up more (again, according to your manual).
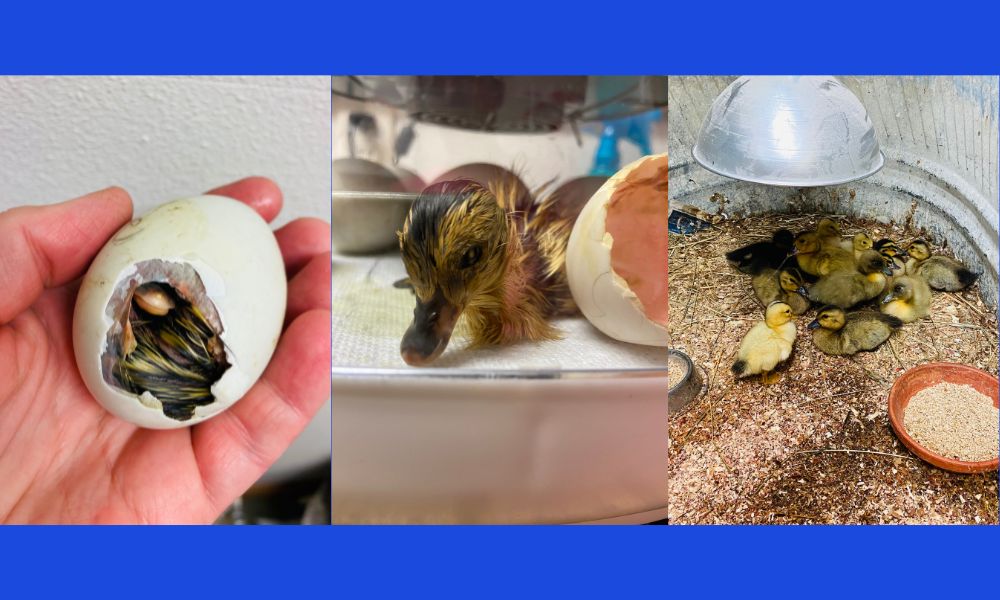
Once the ducklings begin to pip you should increase humidity to about 80% and open the vents up fully (or as directed by your manual).
Step 7 – Brood
Remove the adorable ducklings after they hatch and are at least 90% dry and place them in a brooder area. Enjoy watching your new baby ducks waddling around.
Ducklings are a bit different than chicks when it comes to brooding as well. They need to be able to clear out their nostrils in the water. This means they need fresh water more often because they make a total mess out of the water all.day.long.
Don’t be fooled, it’s not just dirty water that you’re facing. It’s water all over the place. I don’t know how they accomplish it, but the entire brooding area will get wet quickly and needs to be cleaned often. It can be aggravating but their cuteness makes up for it by landslides.
Now that you have hatched ducklings you can read more in-depth about how to raise them up here: How to Raise Ducklings
Tips
- The temperature and humidity levels are ultra-important. You need to follow those rules as closely as possible. I will say that I had trouble regulating the humidity on my last hatch. I think it was because I decided to put a paper towel under the eggs to make it easier to clean up – I regret that. It was very stressful. I still ended up with a good hatch rate, but I also lost two fully developed ducklings that drowned in the shell because of too much moisture. The time of year, and the location you keep your incubator can change the humidity level – so you have to keep that in mind from hatch to hatch.
- When you open the incubator to candle the eggs (or for any other reason), be sure the lid of the incubator is shut properly (if there is even a tiny crack that isn’t sealed it will affect your temp and humidity).
- Don’t rush to help a duckling out of a shell. Most of the time they are going to be fine. It’s VERY hard to help a duckling (or chick) out of a shell without killing it. They need to absorb the yolk and it simply takes more time for some ducklings. If you find yourself needing to help one (after 48 hours of the first duckling pip), you have to go VERY, VERY slowly – picking tiny little pieces of shell off bit by tiny bit. You have to ensure they stay warm and moist as well (which is a challenge). If you see blood, stop! They aren’t ready.
- If your first attempt doesn’t go as well as planned, try again. Don’t give up. Pay attention and even take notes so you can refer to them to help you troubleshoot and do better the next time.
Where To Get Duck Eggs
If you don’t have ducks yet, you won’t have eggs to hatch (obviously). I personally get mine from a neighbor or friend. But you can also order them from hatcheries or find a local farm in your area to buy them from. Facebook has a lot of duck related groups and it’s likely there will be a group that is in your area.
Summary
If you are thinking of hatching ducks – just do it! But before you do be sure that ducks are a good fit for you. You can read this article to help you decide: Pet Ducks – Good or Bad Idea?.
Duck Related Articles
- Khaki Campbell Ducks – An Amazing Duck Breed You Will Love
- Pekins – The Most Popular Duck of All
- Call Ducks – Adorable, Miniature, Irresistible
- Ducks for Pets

A happy wife, mother, teacher, writer, hobby farmer, lover of chickens, and contributor to Pampered Chicken Mama!