Table of Contents (Quickly Jump To Information)
If you love pizza, and having friends over, this no-fail pizza dough recipe is for you.
https://instagram.com/p/5qOqb9C8y7/?taken-by=thefrugalchicken
And I swear, if I can do it, so can you.
I used to be the worst at baking – really. While my breads came out perfectly cooked, they were heavy and way too hard, even pizza dough.
Not even the chickens would bother – and that’s saying something because they’ll eat anything.
I’m a good cook, so it seems natural that I would be a good baker, and I can be precise when it comes to measurements, so the problem wasn’t that I couldn’t follow a recipe.
So the reading began, and I finally cracked the code on making good breads.
And I’m sharing two secrets with you today.
What are those two secrets?
Well, read on.
Now, making pizza dough is a snap, and I can have pizza whenever I want – without the questionable ingredients.
Here’s my secrets to no fail pizza dough!
What you’ll need for No Fail Pizza Dough:
7 1/2 cups bread flour
3 cups water
1 tbsp salt
1/4 tsp instant yeast
Secret #1: Use Bread Flour
For years, I just used all purpose flour for pizza dough, and while the results were okay, they weren’t consistently great – and definitely not “no fail.” Then I switched to bread flour.
Bingo.
What’s the difference?
Bread flour has more protein than all-purpose, and that helps gluten content. You’ll want to use bread flour for pizza dough because it produces a chewier crust.
Even if you’re like my husband, and hate the crusts (we make our pizza crustless), you’ll still love the consistency.
Secret #2: Yeast needs to ferment
After making terrible bread for years, I finally figured out what I was doing wrong.
I realized I can’t just let the dough sit for a few minutes or even a couple hours and expect the live yeasts to do their job. Like other ferments, it takes a little time to produce something great.
Now, I allow the yeast time to “wake up” for 1/2 hour or so before adding it to the dough.
Not just that, but now I allow the dough to sit overnight and ferment properly. This produces a crust similar to a sourdough, but with an amazing taste.
And it has much more flavor than store-bought pizza.
How to make No Fail Pizza Dough
Combine your yeast with 2 tablespoons or so moderately warm water – between 90-97 degrees, if you have a thermometer. (If you don’t, here’s the one I use)
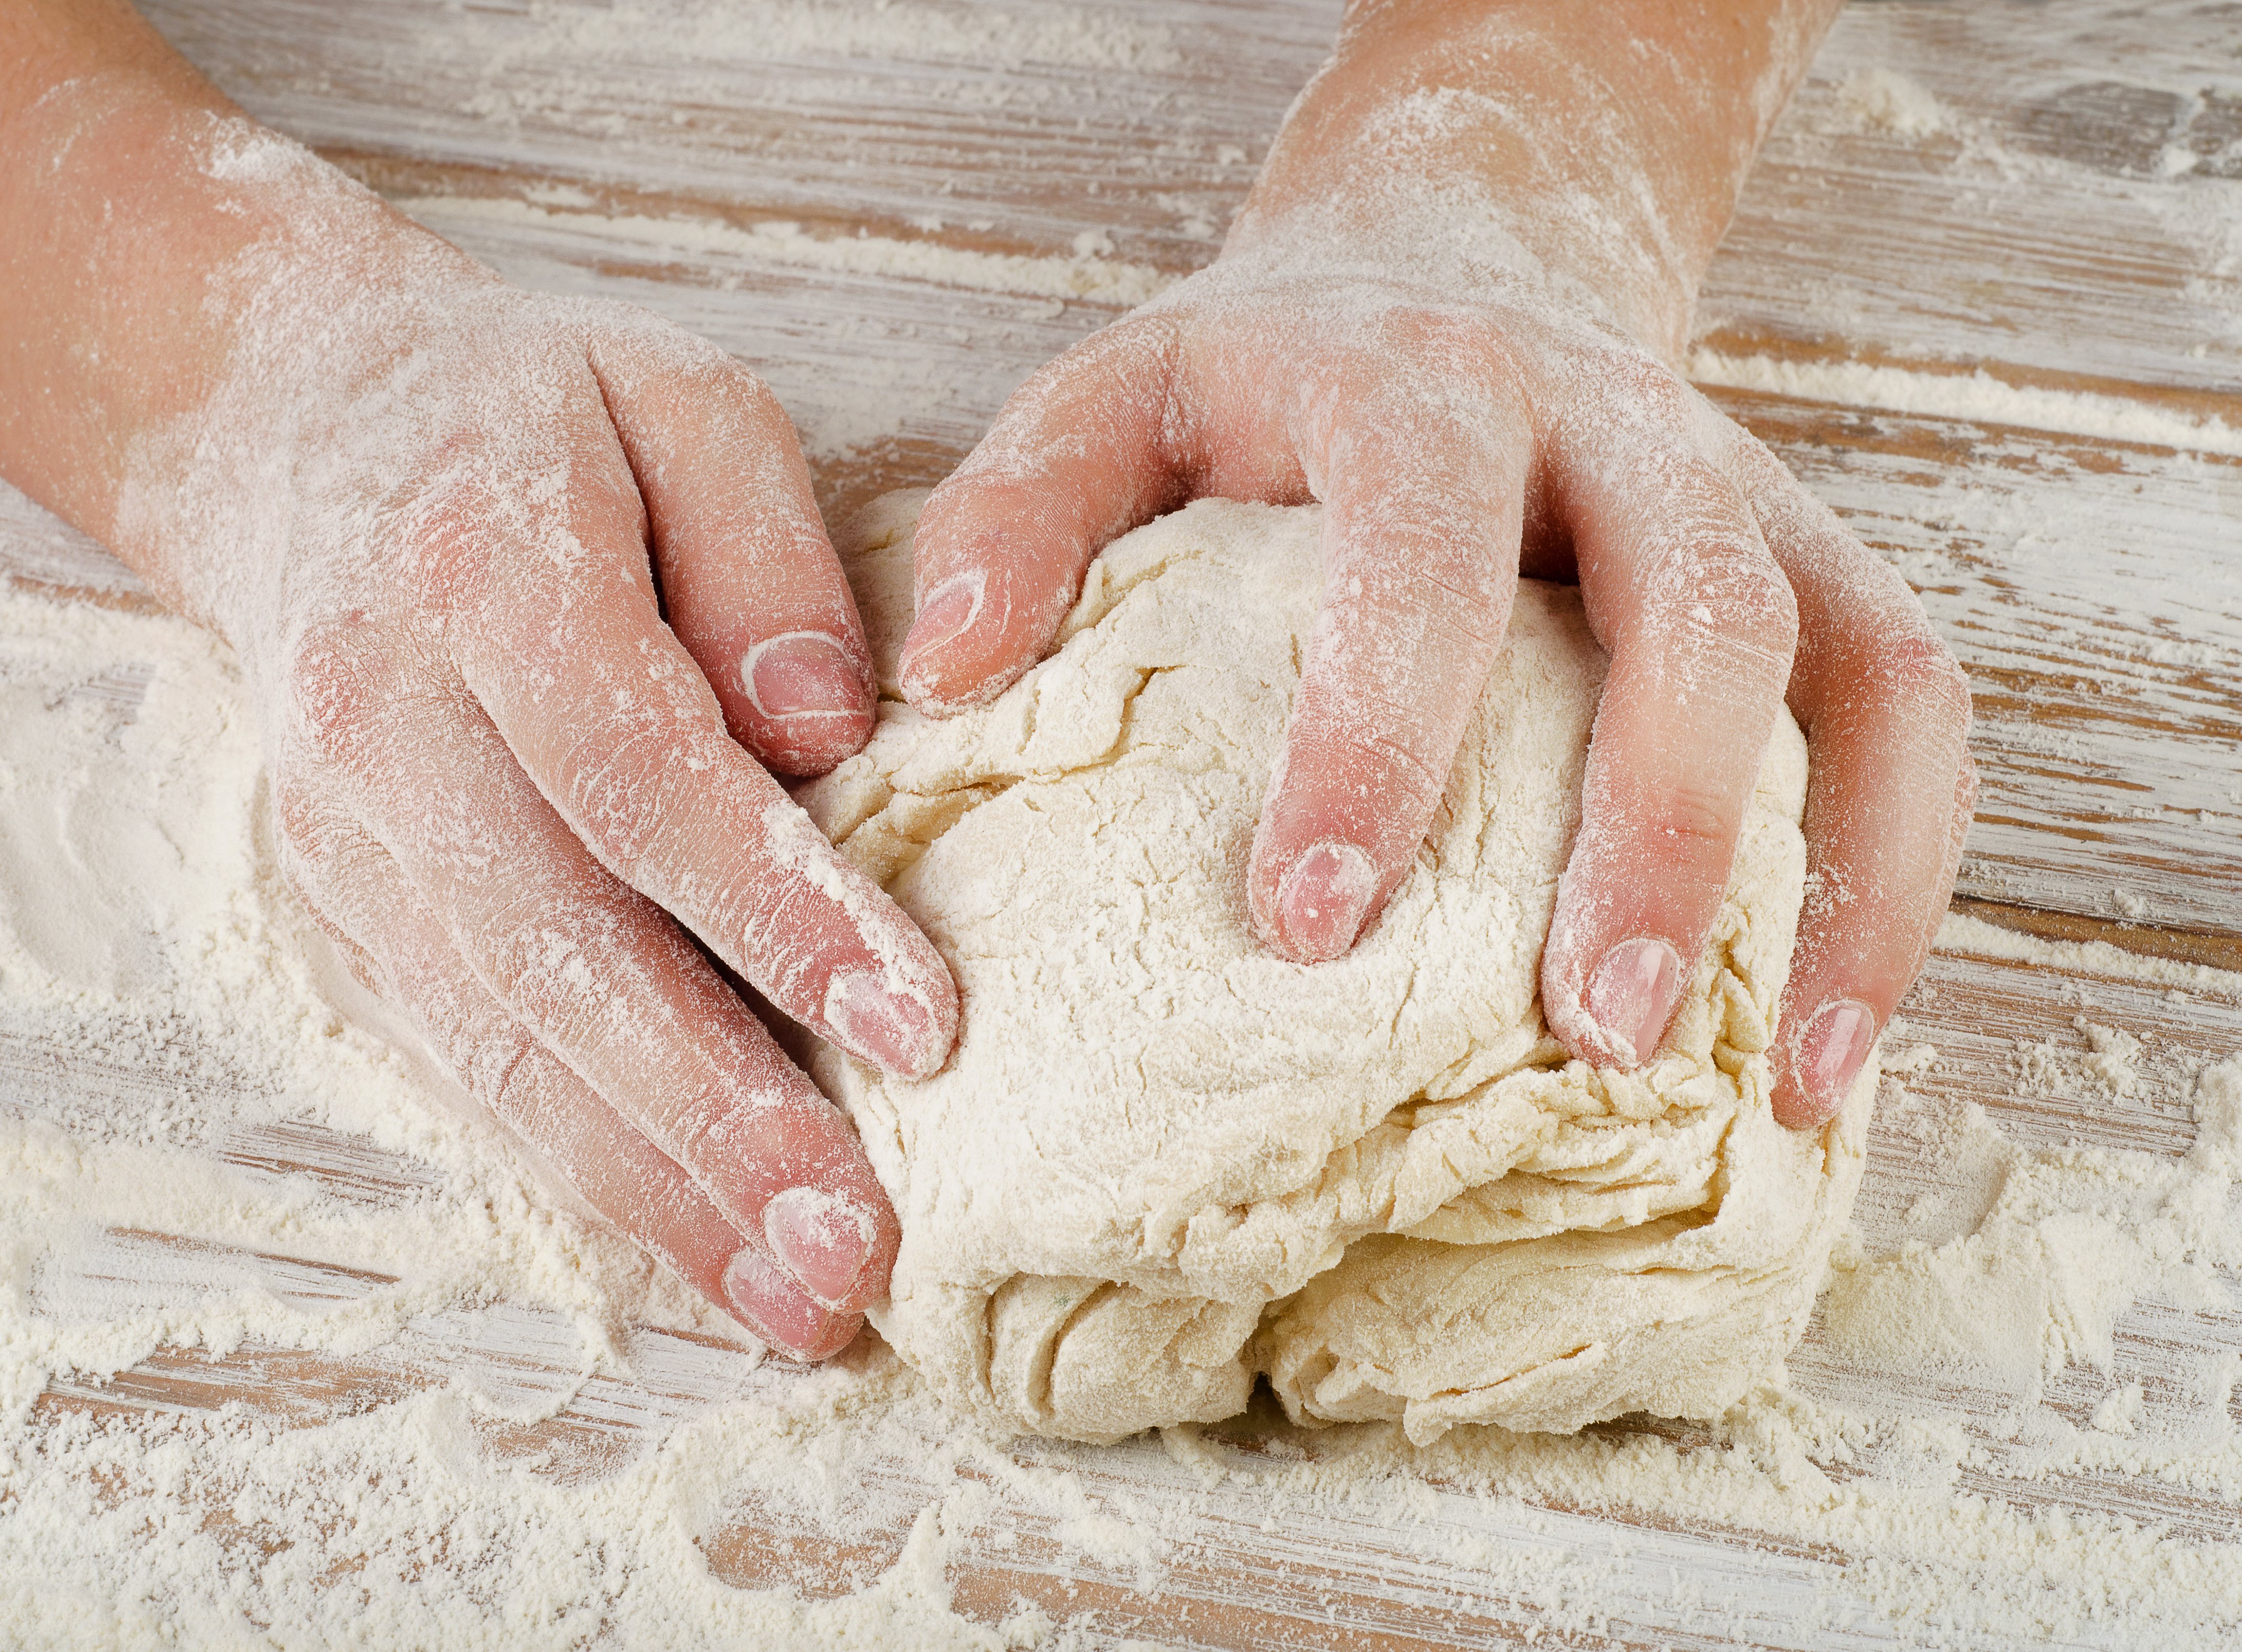
In a separate bowl, combine your flour with the rest of the water.
I combine by mixing with my hands – first in a swirling motion, then, as the water is incorporated, by reaching underneath the dough and bringing loose flour to the top, and pressing down with my hand.
Rinse and repeat until all the flour is incorporated into the dough.
I let these two bowls – the yeast mixture and the dough – sit for a 1/2 hour.
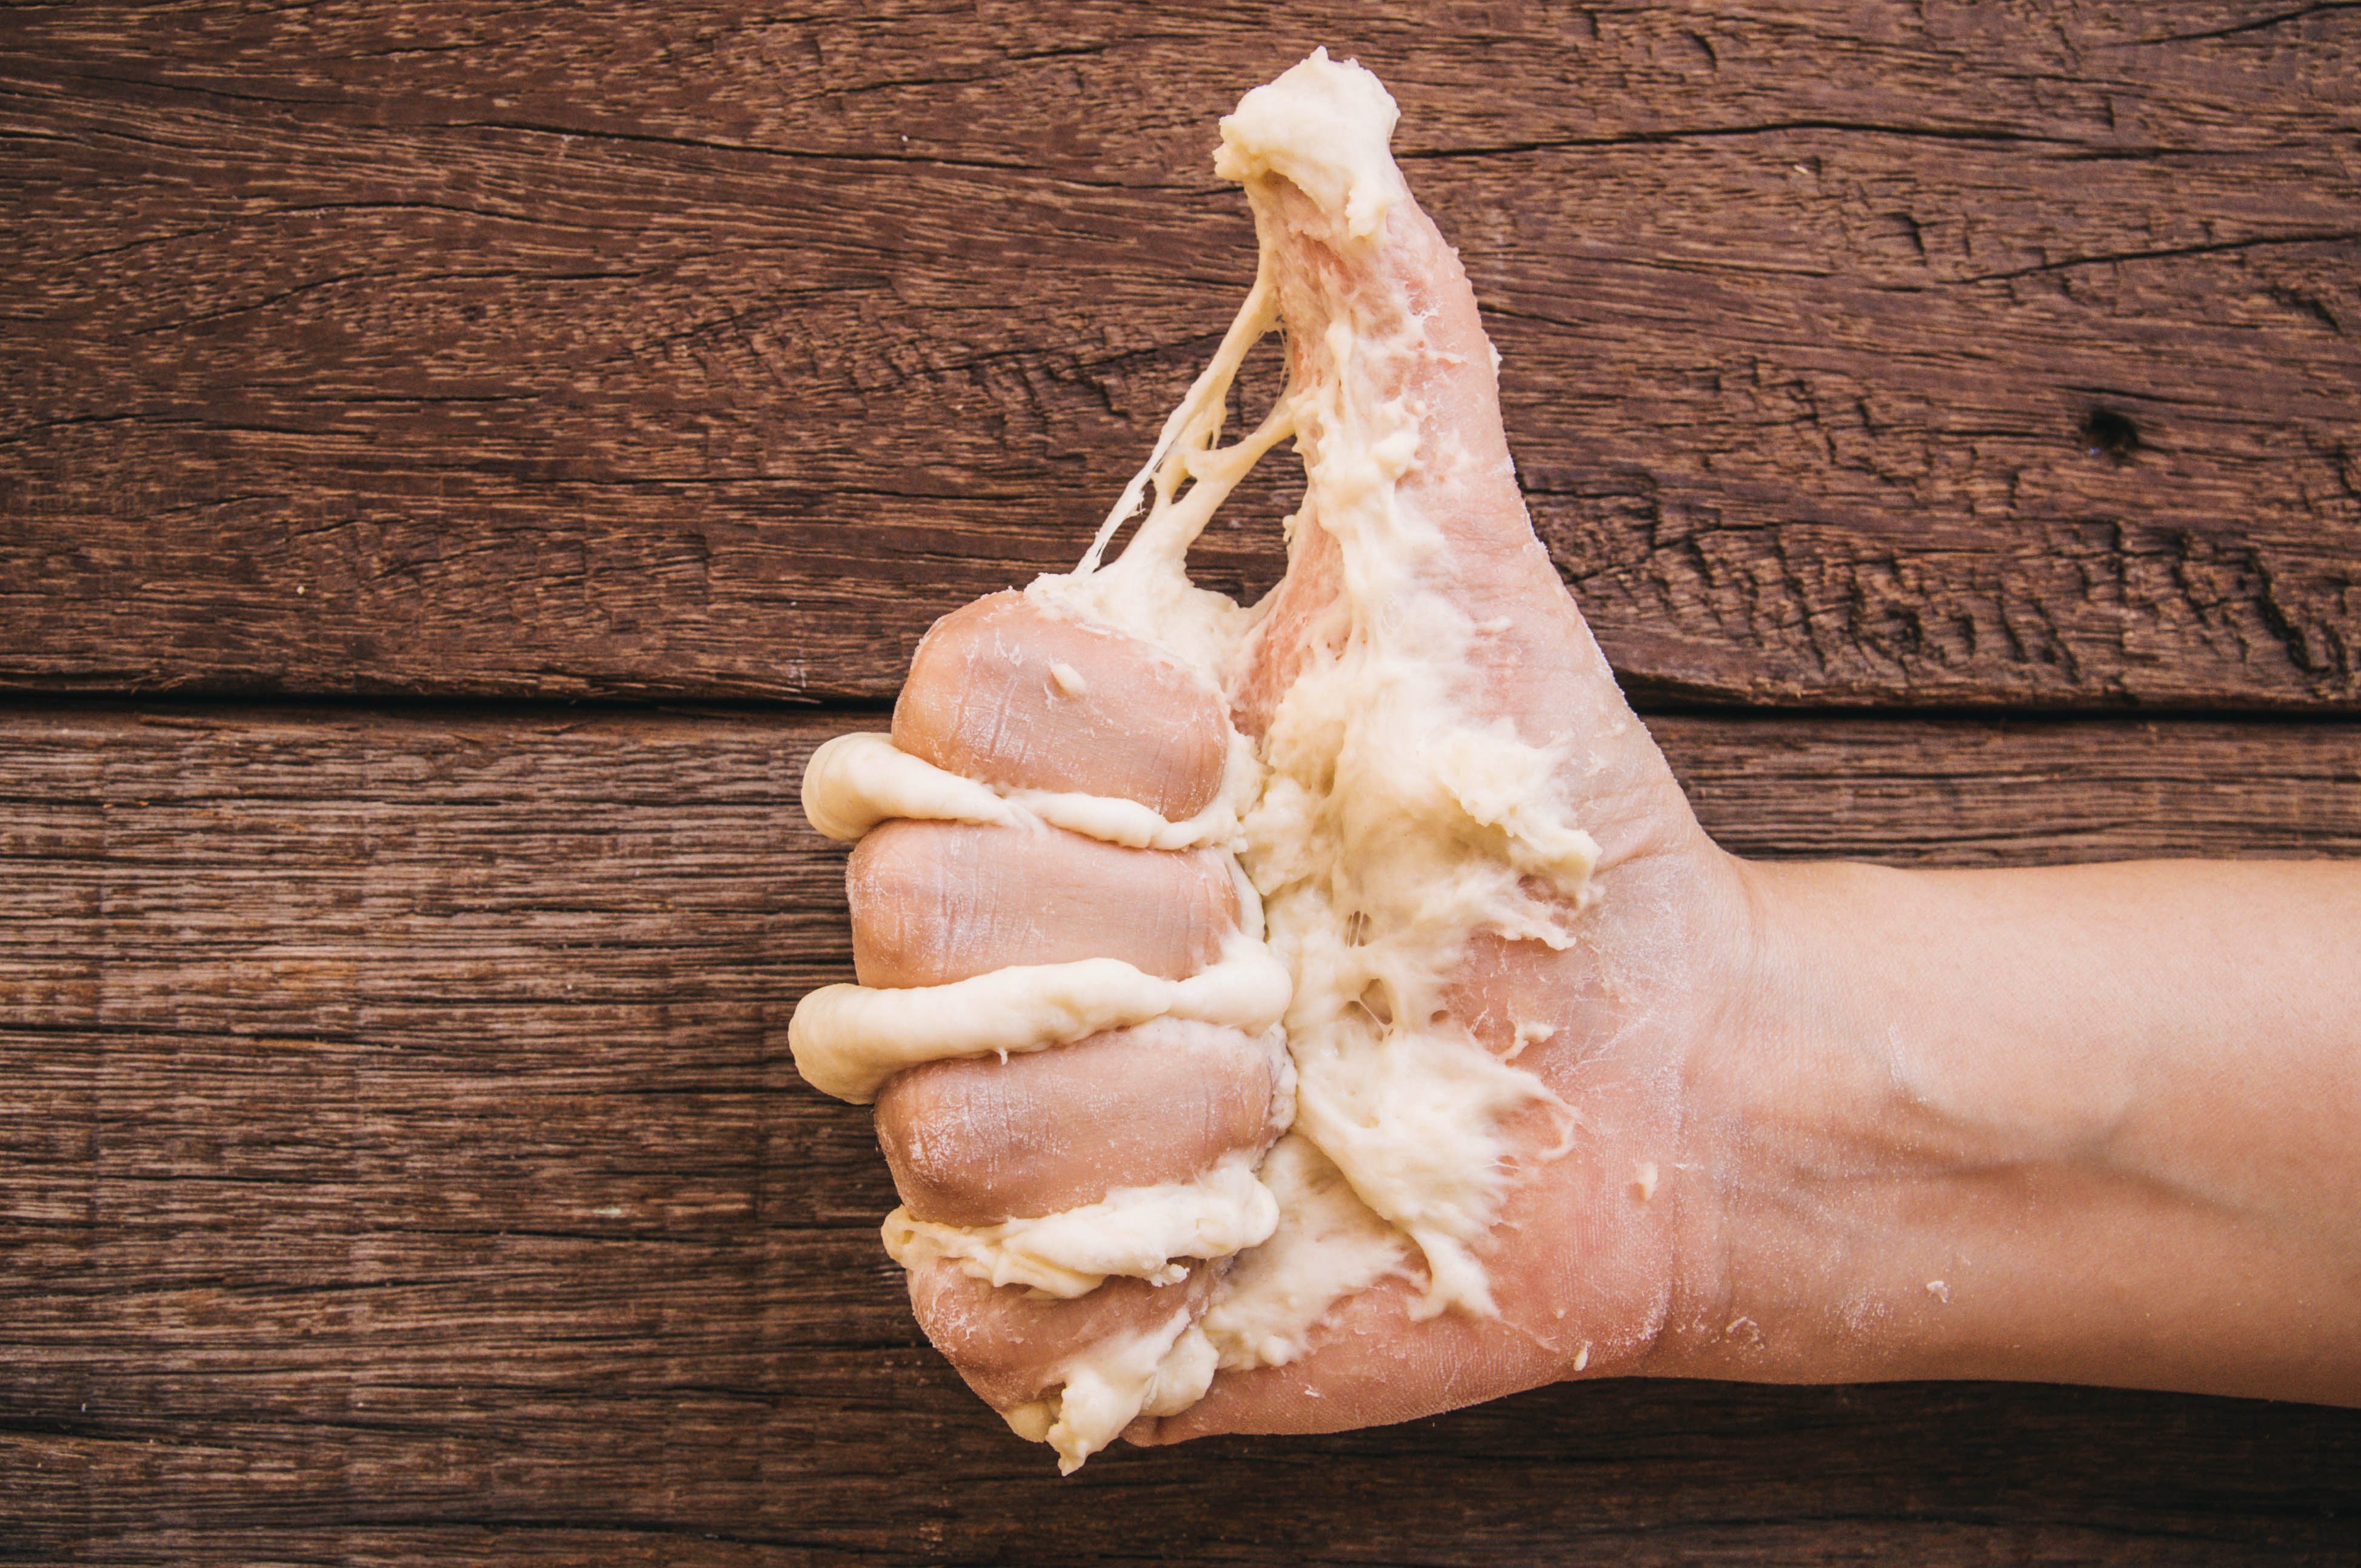
After 1/2 hour or so, I add the yeast mixture into the dough, incorporating with my hand by bringing the dough – which should be fairly elastic, over the yeast mixture again 3 – 4 times.
To continue to mix, I split the dough into 4 separate sections, then fold those sections over themselves. The basic point is you want to keep mixing until the yeast is as evenly dispersed throughout the dough as possible.
It’s really, really important to mix with wet hands – I’ve found if I skip this hint, the dough sticks to my hands, making it impossible to incorporate the yeast into the dough.
Let the dough sit for another 30 minutes or so to rest.
6. After the dough has rested another 30 minutes, fold the dough over itself one more time. You do this by reaching under the dough ball, and folding it in half.
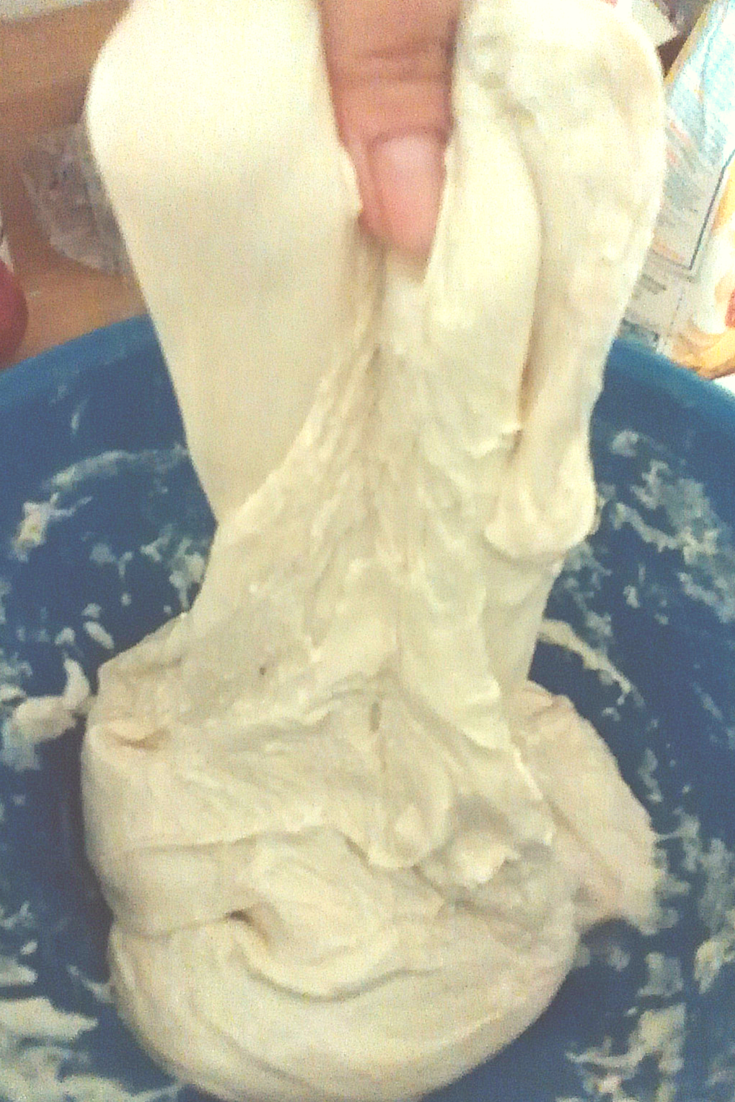
Don’t skip this simple step – if you do, chances are your dough will be runny since folding the dough allows the gluten in the dough to develop.
After folding, coat the dough with a little olive oil to prevent sticking.
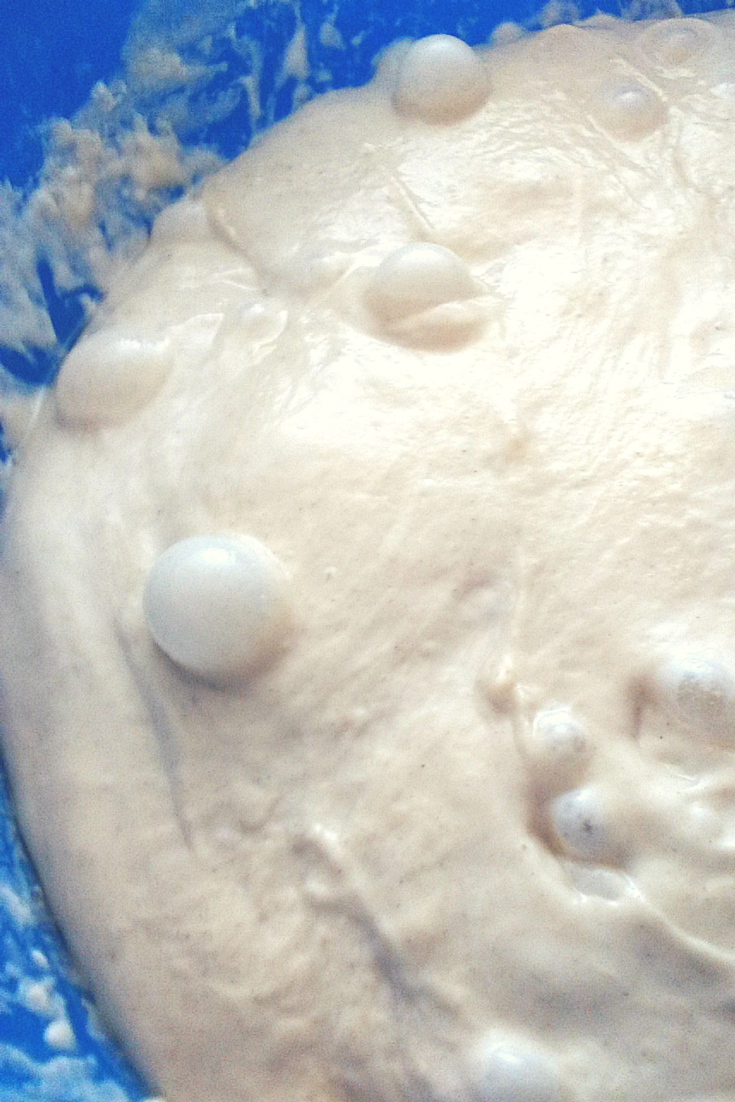
7. Allow the dough to sit overnight. It’s important to allow the dough to sit for 12 or more hours until it’s at least twice it’s normal size.
During that time, the yeast is fermenting, creating gas bubbles in the dough that make it lighter and more flavorful. It’s not immediately gratifying, but it makes for a much chewier, tastier dough.
Your taste buds will thank you.
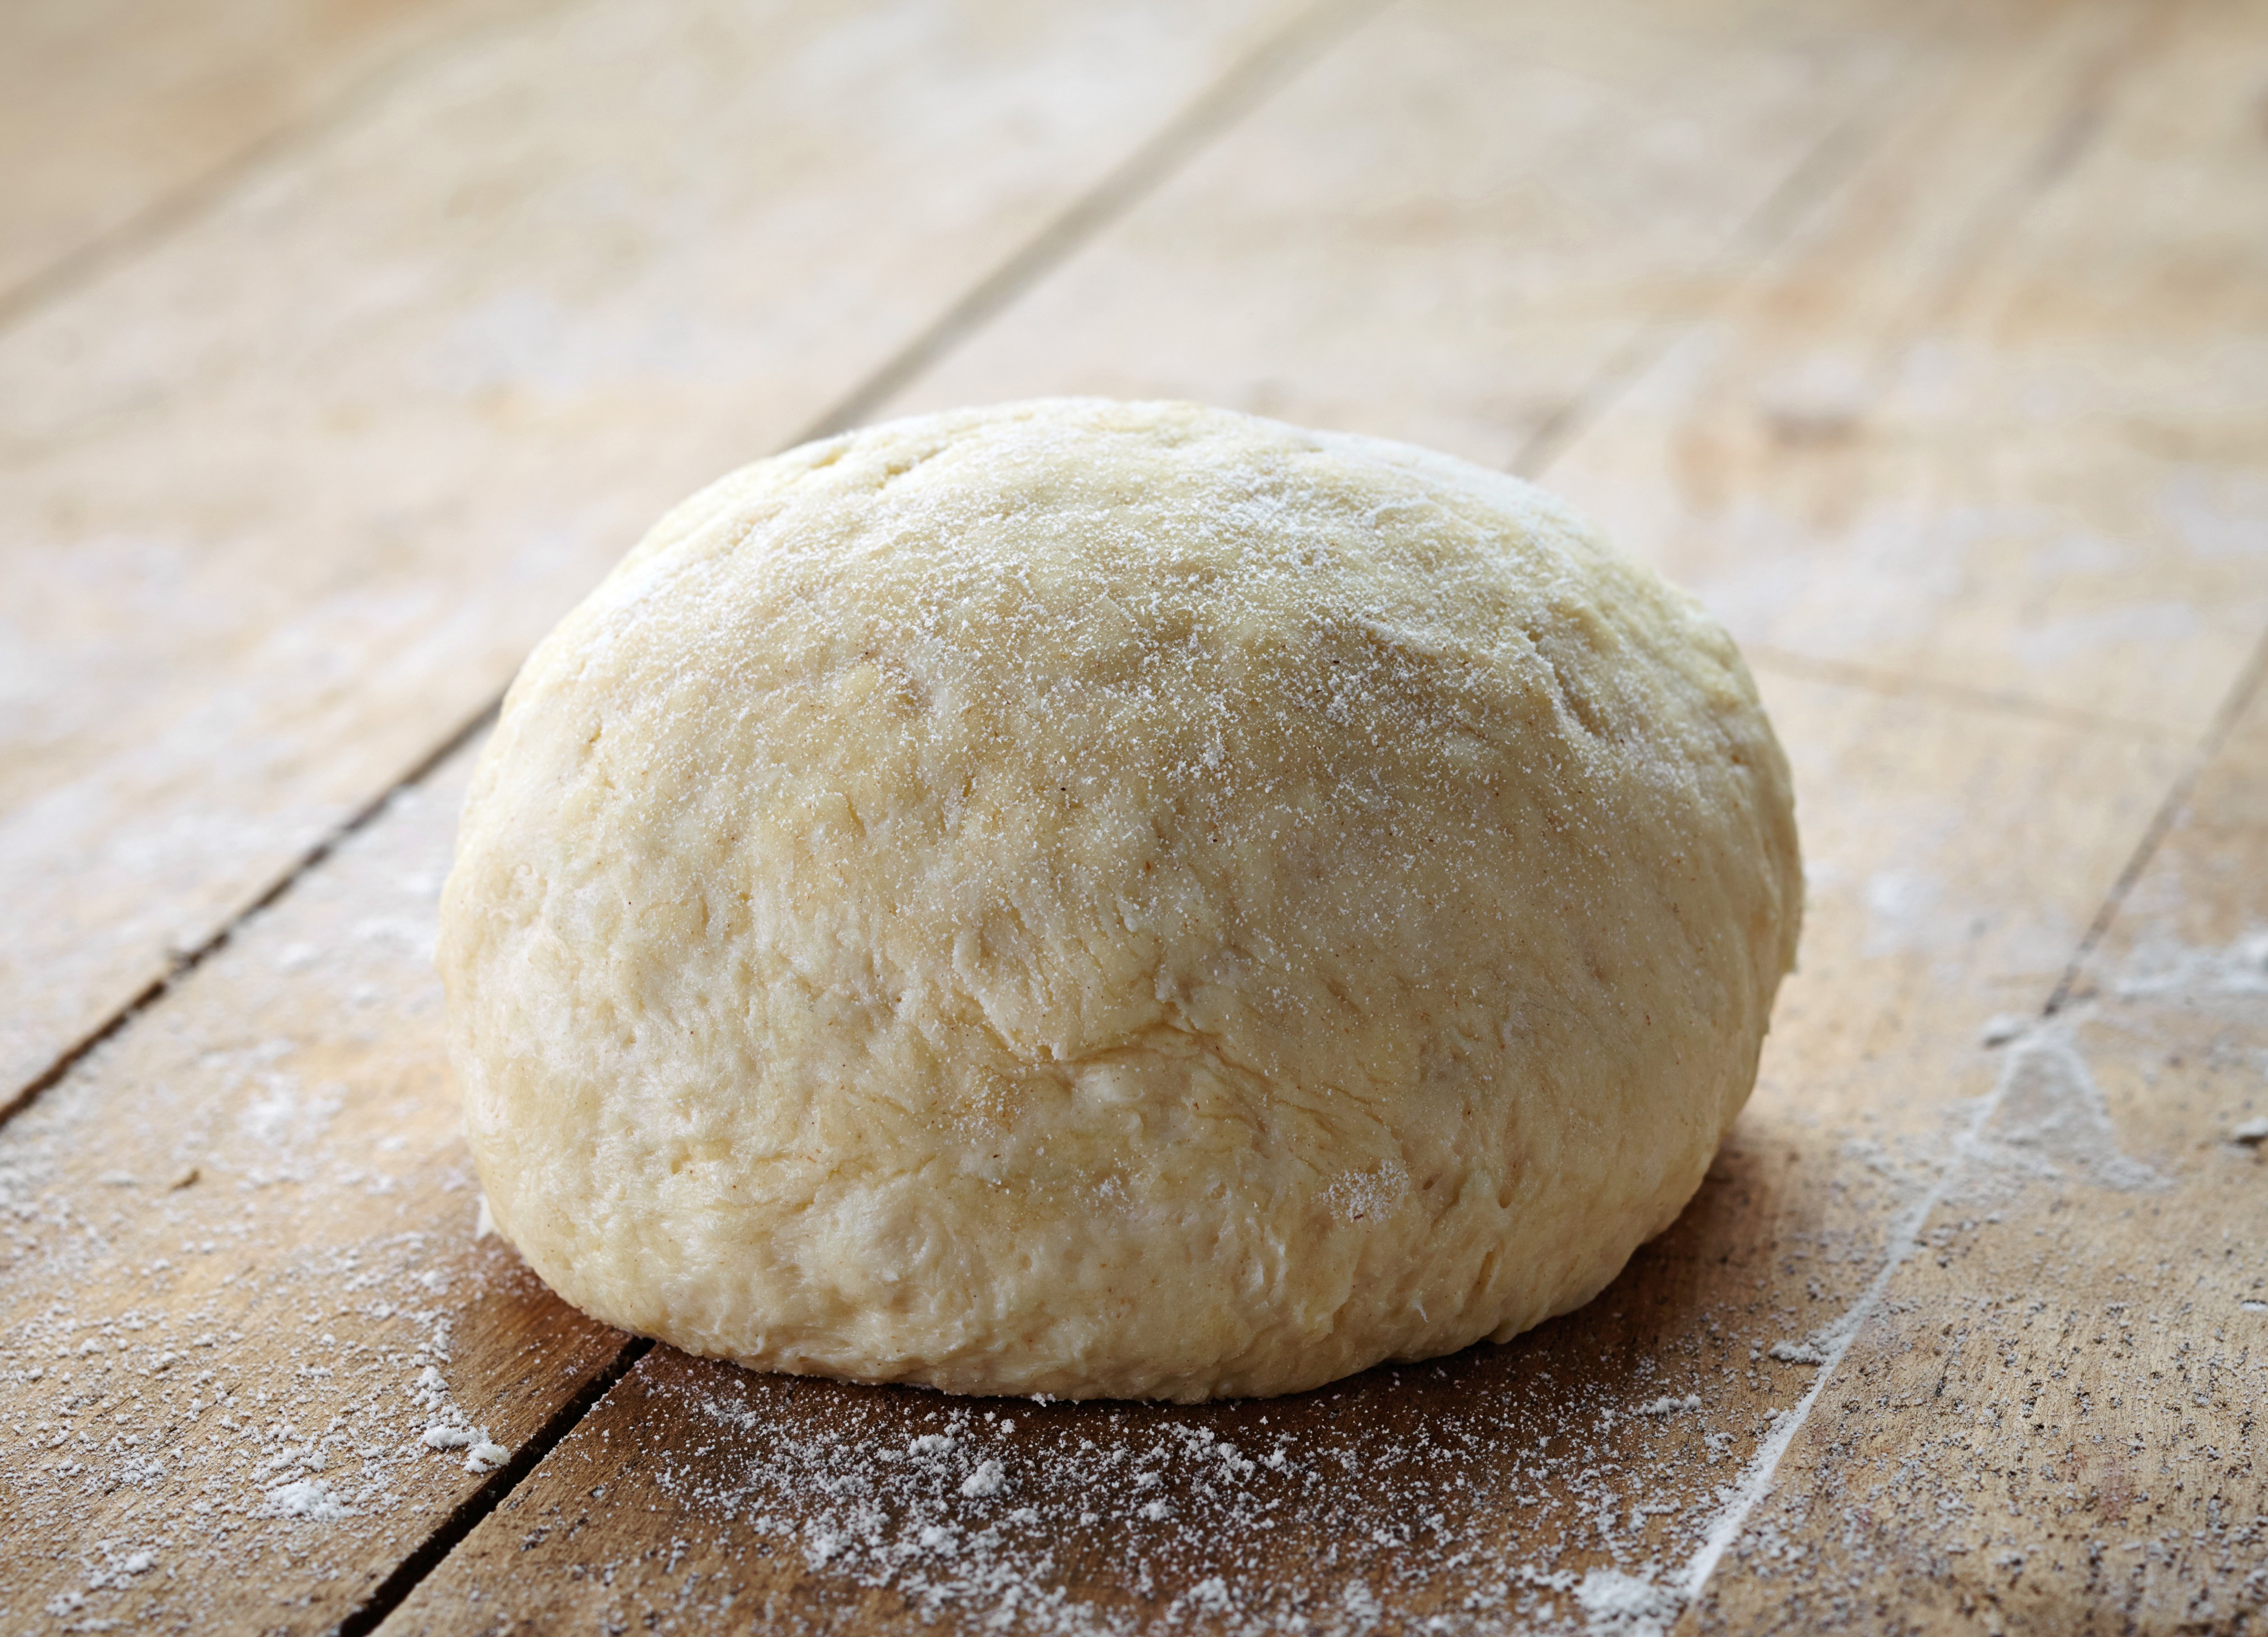
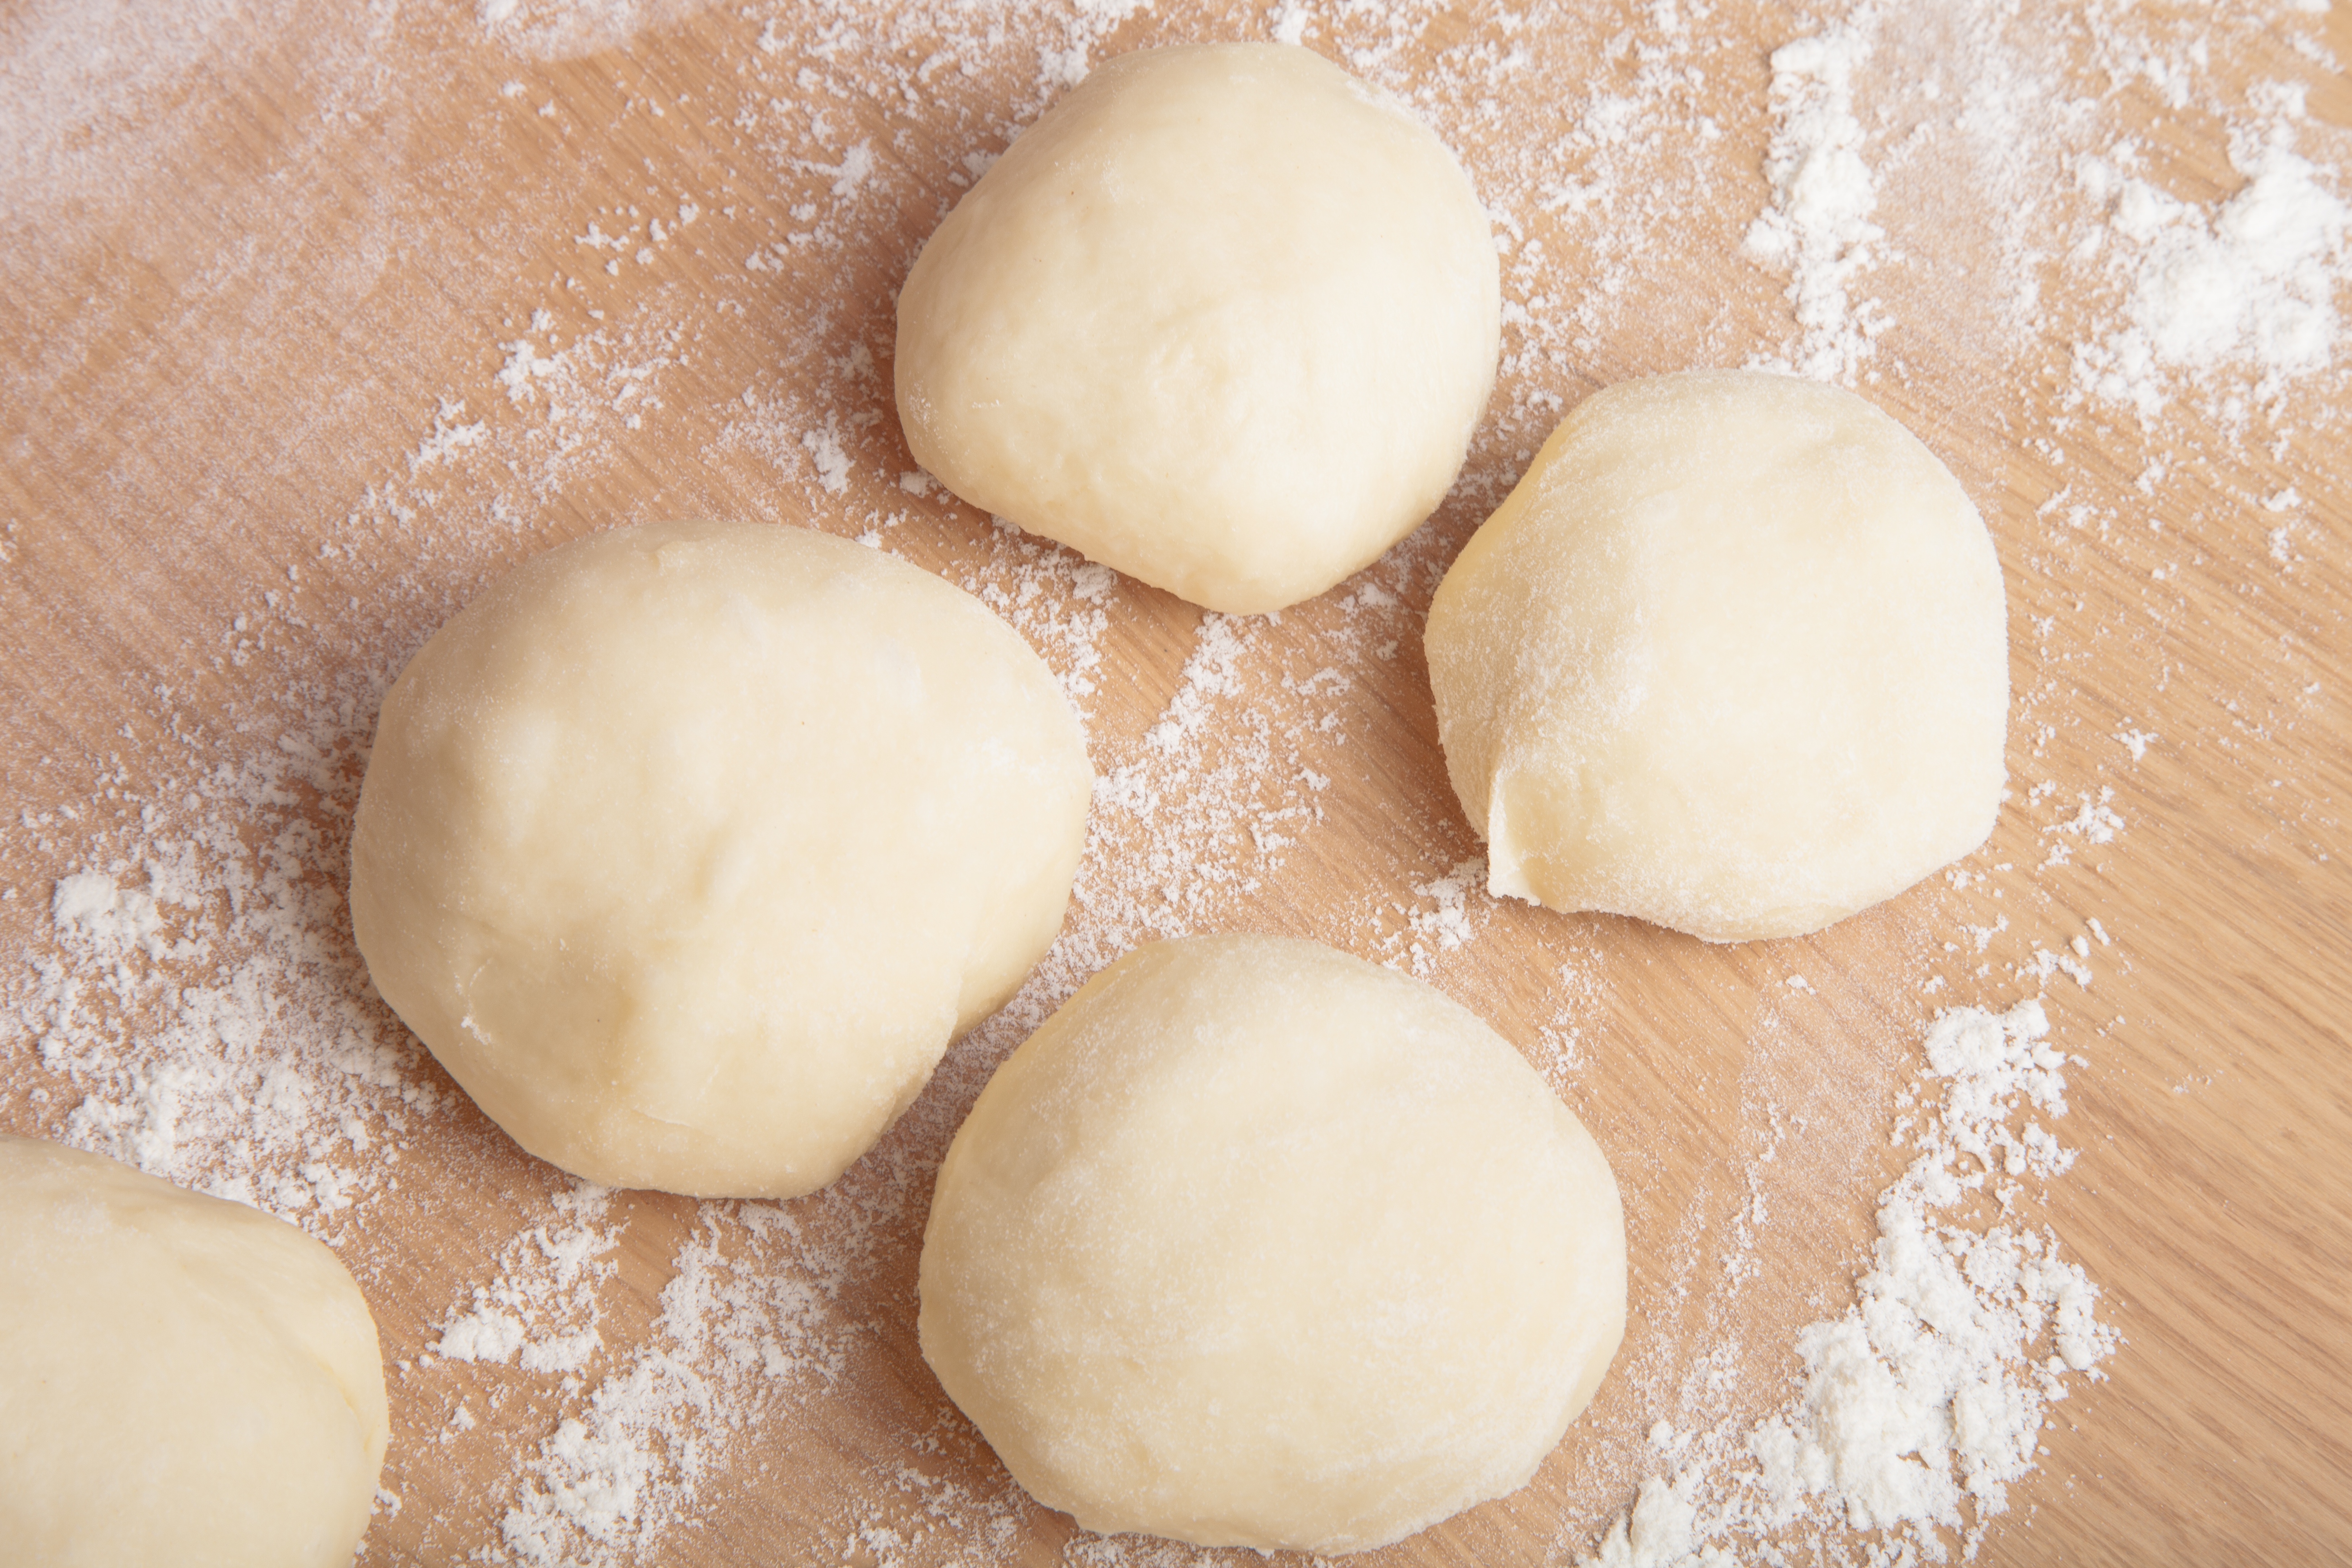
After the dough is 2 times it’s original size or more, wet your hands again and pour the dough out of the bowl and on to a flour-dusted counter top.
Shape the dough into a consistent loaf, and separate into 3-6 balls of dough. If you’re making a large pizza, you’ll want to try to get 3-4 balls, but if you’re making smaller, personal pizza’s you’ll want to make more dough balls.
We go for smaller pizzas in our house, because no one can agree on toppings!
Let sit for another 3-4 hours in the fridge, then remove to use.
https://instagram.com/p/5mmMruC84b/?taken-by=thefrugalchicken
You’ll want to shape your dough for pizza when it’s cold – I’ve found if I wait for it to get to room temperature, it’s flimsier, and more likely to tear. It also creates a very thin crust, which can get soggy.
You will likely have more dough balls than necessary – that’s okay because you can either save some for the next day (you’ll love how the flavor deepens!), make foccacia (great with onions and bacon!), or simple bread sticks (we put pizza sauce and cheese on ours!)
Prepare the dough for pizza as you normally would.
I’d love to hear from you!
What’s your favorite pizza and topping? Shoot me an email or comment below!
Like this recipe? Then try these too!
Maat van Uitert is a backyard chicken and sustainable living expert. She is also the author of Chickens: Naturally Raising A Sustainable Flock, which was a best seller in it’s Amazon category. Maat has been featured on NBC, CBS, AOL Finance, Community Chickens, the Huffington Post, Chickens magazine, Backyard Poultry, and Countryside Magazine. She lives on her farm in Southeast Missouri with her husband, two children, and about a million chickens and ducks. You can follow Maat on Facebook here and Instagram here.


Your pizza dough looks fabulous. I have tendonitis, can I knead with a dough hook?
Yes, go for it! The recipe doesn’t require much kneading though. Let me know how it turns out for you!