Table of Contents (Quickly Jump To Information)
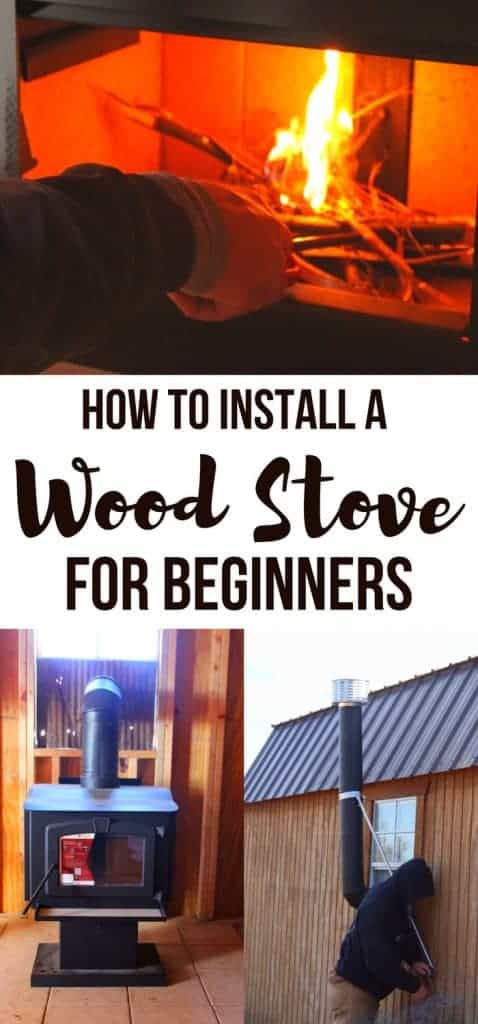
Ever since we moved to our farm, learning how to install a wood stove has been on the bucket list.
It’s not just that a wood stove screams homesteading, but it’s also about saving money, using the resources around us (we have 5 acres of woods), and, frankly, not buying propane for our central heat system and dealing with the upkeep of said system just so we can stay warm.

Our first year on the farm, we actually did use propane to heat the house. And it was about $500 a month. And ever since, I’ve refused to use it because, honestly, I think that’s highway robbery.
So, enter the idea to use wood. In this article, I’m going to show you how to install a wood stove.
This is just the way we did it – you might read about other ways to install a wood stove on the Internet, and that’s fine. Definitely do your research! This is an easy decision to make, but also a big one.
So, here’s a quick breakdown of the steps to install a cast iron wood stove in your house:
- Decide on a model to buy
- Get a chimney kit, if needed
- Decide on a location to install it
- Build a fire-safe base
- Install the wood stove and chimney kit
- Use chimney braces, if needed
- Seal the interior chimney pipe so they don’t leak smoke
So, let’s look at each of these steps.
Decide on which wood stove you’ll buy
This isn’t a light decision, and you should make it carefully. After a lot of research and talking to people, I decided on this model.
Honestly, I was overwhelmed by all the options (you can buy stoves from $300 to $3,000 and everywhere in between) and I had no idea which was best.
I ended up asking a friend I trusted about the model they bought and whether they liked it and whether it was easy to install (she purchased hers a few years ago and it’s still going strong), and just ended up buying that exact model.
Why reinvent the wheel, right?
Something to consider, though, is the size of the area you want to heat. I installed my wood stove inside my 12×24 cabin; as it turns out, the wood stove I bought was WELL equipped to heat a larger space (1,800 square feet to be exact, and the cabin is quite a bit smaller than that).
While I don’t regret my choice at all, now that I have more experience and I’m less overwhelmed, I might have looked for a smaller model.
Something else to consider is the price. By all means, stick to your budget. But don’t cheap out on this purchase.
If your cast iron stove is well made, you will likely never have to replace it. You can’t beat that investment.
So, high quality means you will never have to figure out how to install a wood stove again, and it will likely have more design, safety features, and sufficient draw than a lower-quality purchase.
We noticed with our stove, that it had all kinds of safety features, including a way to deprive the fire of oxygen if it got too strong.
That’s good for us, since my husband has burnt down the barn in the past (that’s a LOOOOOONG story. Well, not really long, but an annoying story, so we’ll save it for another time).
We purchased our wood stove new, but if you can find a high-quality used one (maybe from a relative who upgraded and you’ve seen their old stove working), then by all means, go grab it.
I would be a little concerned about stoves purchased from yard sales or flea markets; you don’t know what you’re necessarily getting into, and might waste a lot of time and money.
Do you need a chimney kit or a kit to customize your chimney?
Most wood stove chimneys are designed to go through the roof of your home, and that’s how most people install them.
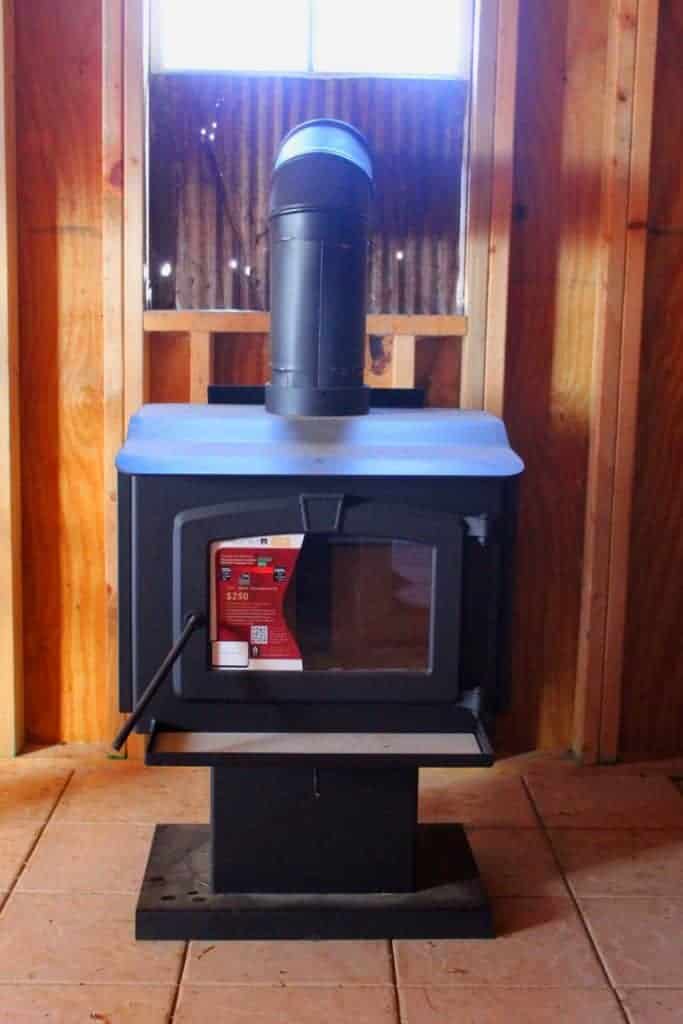
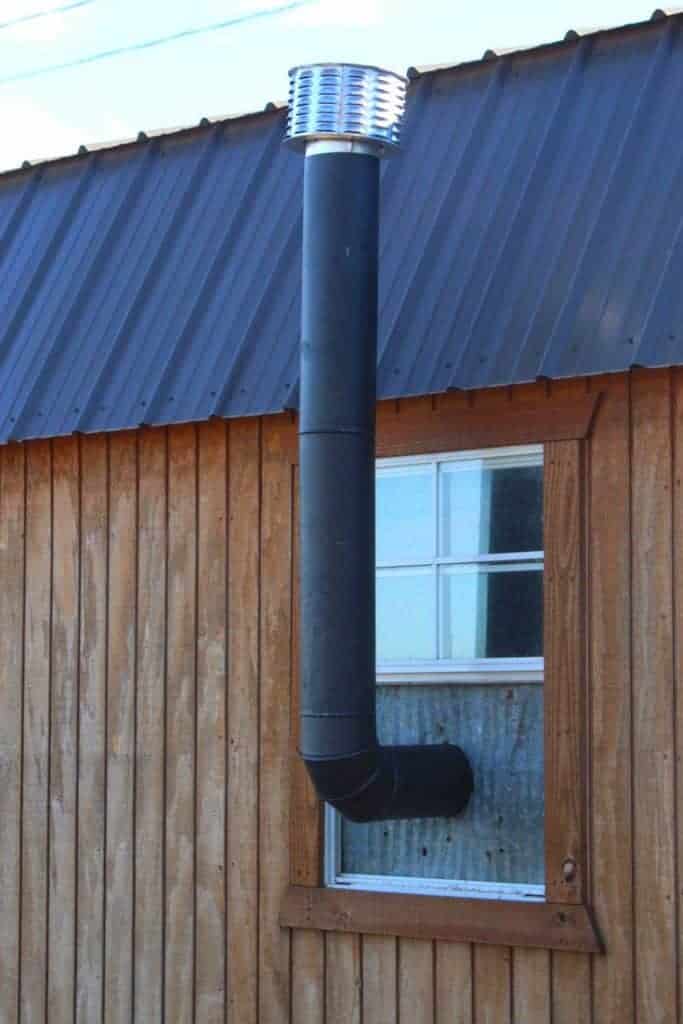
We weren’t going to cut a hole in the ceiling of our cabin for a variety of reasons, so we decided to install a wood stove through the window.
It saved us the effort, expense, and inevitable heartache (lest we make a drilling mistake – a likely occurrence on this farm) of drilling through the roof.
Additionally, not all wood stoves come with chimneys, so you might need to buy a kit. The best thing to do is consult the manual of the stove you end up buying.
And be aware that the cost to install a wood stove isn’t just the stove itself – the chimney kit will cost you as well. However, like the wood stove, don’t skimp on this expense.
To run the chimney through the window, we needed a 90 degree elbow and a chimney pipe that had 2 layers so it didn’t get so hot.
We were able to find both at a local big box store, and knew what to buy thanks to the manual that came with our stove.
Decide where you’ll install your wood stove
In our case, I knew right away where I wanted to install our stove. In a small cabin, there’s only so much space!
But here’s some things we DID take into consideration: We have 2 small children, so we wanted it to be in a place where we could easily build a barrier to keep the kids away from the flames.
Similarly, we wanted it to be in a place where we didn’t have pets (our cats live in the house) so they didn’t accidentally burn themselves or the cabin down.
We decided that the wood stove would be the focal point of the room, and then we would design the rest of the cabin around it. So, we installed it in a location that made sense from a design standpoint and where there was enough space away from everything else so any chances of a fire were reduced.
The only caveat to installing it through the window is we lost the lower half of the window and a certain amount of light. So, we will need to decide how to recover the natural light in the cabin.
Build a base
After you’ve chosen a wood stove and decided where you’ll put it, you need to build a base. The point of the base is to provide a fire-safe structure for your stove to stand on.
In our case, we used cement board, tile, and mortar to install the wood stove. We started by screwing the cement board to the floor (if memory serves, it was 5 feet by 4 feet), then laying the tile on top.
It was easy and took about an hour to complete. There wasn’t enough tile to cover all of the cement board; I’m going to go back and find some easy to install tiles (read: no cutting involved) to cover the rest of the cement board.
Before continuing, we allowed the tile to dry for 48 hours. When dry, put the stove on the base and prepare to install it permanently.
Install the chimney kit
Installing the chimney kit wasn’t hard, but it’s one of those projects that takes a bit of brain power.
We had to find something to support the chimney through the window. Wood wouldn’t work because we wanted to eliminate the chance of a fire.
So we used a spare piece of tin. You can probably find kits online, but we had tin laying around, so why not use it?
Install the chimney kit according to the directions that come with your kit.
In our case, we had to also use a chimney brace. We have very strong winds in our area, and things that aren’t nailed down, will likely go bye-bye in 70 mph winds (I remember one time I bought a shed kit for my grain, only to find it scattered in pieces the next day because a tornado came through – worst $300 I ever spent).
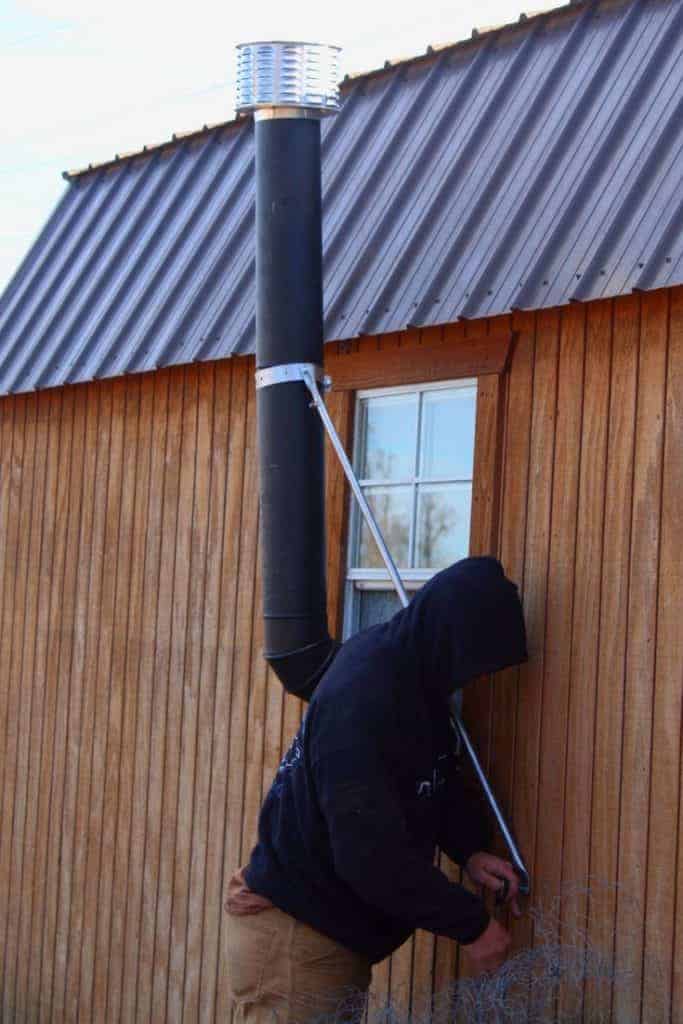
So brace that sucker unless you want to buy a new one.
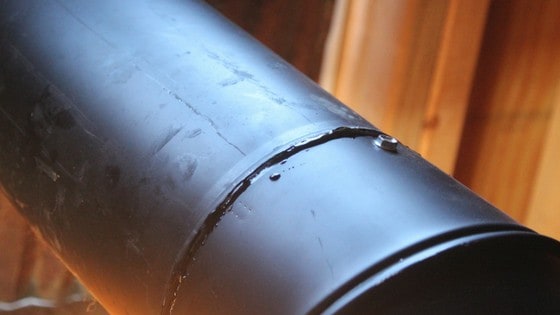
Seal the chimney pipes so they don’t cause smoke in the house
Finally, we sealed the interior portions of the chimney kit so they didn’t leak smoke (found that one out the hard way – no big deal, except it might cause carbon monoxide poisoning.)
We used a stove sealant like this one. Allow it to dry before lighting the fire.
That’s it – now we’ve figured out how to install a wood stove, and we can be toasty warm all winter. Hope this guide helps you out!
Maat van Uitert is a backyard chicken and sustainable living expert. She is also the author of Chickens: Naturally Raising A Sustainable Flock, which was a best seller in it’s Amazon category. Maat has been featured on NBC, CBS, AOL Finance, Community Chickens, the Huffington Post, Chickens magazine, Backyard Poultry, and Countryside Magazine. She lives on her farm in Southeast Missouri with her husband, two children, and about a million chickens and ducks. You can follow Maat on Facebook here and Instagram here.


Started reading your info about chickens some time ago, when I first got them. I enjoy your other information a lot, too. Don’t know how you folks stand the cold in the northern part of the country. It is cold enough here in north Georgia. Keep up the good work and have a Merry Christmas and Happy New Year.
We installed a wood stove last year inside our existing but not safe fireplace. We don’t regret it one bit. I’m always freezing, and it stays so warm in the housemost nights we sleep with the bedroom windows open! While the hubby has built houses for a living, we did opt to have the stove professionally installed.
We have black walnut aplenty on our homestead, but still get some seasoned oak delivered at $150 a dump truckload “just in case”. Last year our total cost was the $150 and we have left over wood from last year. What a difference financially it makes.