With these tips, you can ferment chick starter feed safely!
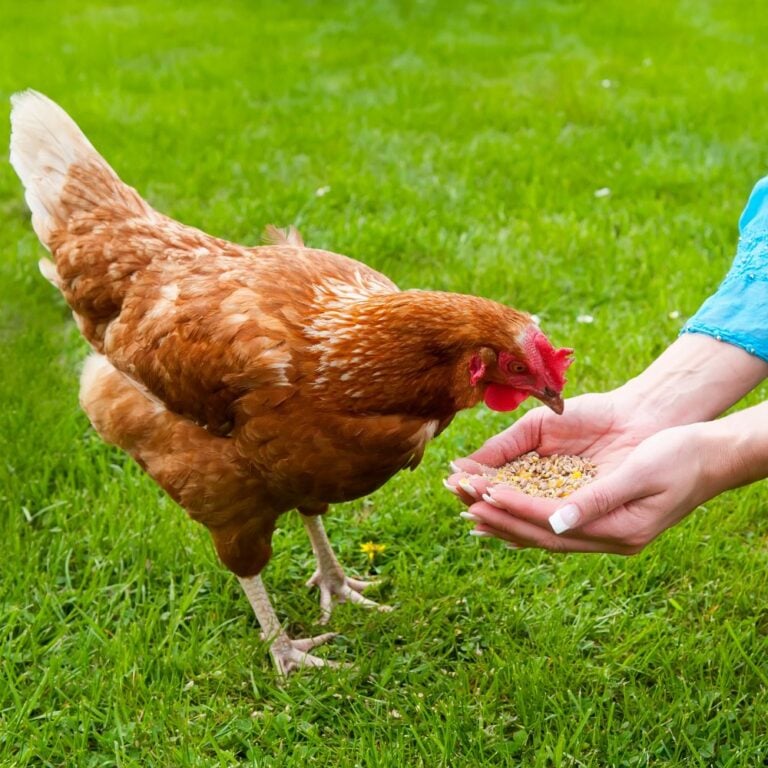
Chickens need feed. That is an unavoidable fact. With the right feed, chickens will grow up big and healthy, and then your darling feathery friends will give you all the love that they have.
While all feed is good, there are easy adjustments that you can make to improve the quality of the feed, which will, in turn, improve the quality of life for your chickens!
In this article, I’ll answer the simple question: “Is fermented feed good for baby chicks?” We’ll also talk about how you can ferment chick starter easily at your own home!
Table of Contents (Quickly Jump To Information)
Is Fermented Feed Good For Baby Chicks?
In short, yes, fermented feed is good for baby chicks.
When it is done correctly, it has a lot of beneficial bacteria in it that, like apple cider vinegar, can help your chicks develop really good gut flora and avoid pasty butt.
Fermenting Chick Feed
Fermenting your chick starter is a little bit different from fermenting alcohol for beer, right? The goal is quite different.
To ferment chick starter, the basic idea is to submerge your chick starter under water for up to 72 hours. During this time, it’ll develop the beneficial bacteria you’re looking for.
If you’re not sure how these beneficial bacteria develop, it’s simple. They’re everywhere naturally – in the air, in nature, and on food.
Yep, they’re right there on your chick starter! So don’t worry – you already have everything you need to get started.
You don’t necessarily need to add any starters to your chicken feed in order to kickstart the fermenting process.
However, if you do want to add beneficial bacteria to your ferment, some good options are to use something like whey or apple cider vinegar. You can just splash about a tablespoon into the ferment.
How Long To Ferment Chick Starter
If you are planning on fermenting your chick feed, all you need to do is just make sure that the chick starter stays submerged and underwater for a 72-hour period.
I personally don’t ferment chicken feed longer than that. It’s not really necessary, and after 72 hours, it starts to get a little trickier to make sure that it’s actually is full of beneficial bacteria and not harmful bacteria.
There are some people out there who will ferment chick starter for longer than that, and that’s fine. My personal threshold for fermenting chicken feed is 72 hours, however.
Avoid Floating Feed
Now one question that you might have is, “Since chick starter is basically a crumble or a mash, what’s to stop it from floating up in my water?”
The answer is that you can use a weight. Sometimes when we ferment vegetables, we’ll use a glass weight – which often comes with a lot of fermenting kits.
For fermenting chick starter, you can easily replicate this process.
Follow these steps:
- Put your chick starter in the water – we use five-gallon buckets or two and a half gallon buckets, which you can get at any sort of big box store.
- Put the feed in that.
- Pour water until there’s about a 1 inch space between the water and the top of the bucket.
- Put a plastic bag over the top of the water, and then put a plate on top of the water. That effectively acts as a weight and creates a vacuum where the chick starter can’t really float up above the water line.
It is really, really important to make sure that your chick starter doesn’t go above the waterline.
The reason is because the beneficial bacteria that we want for our chicks only grow in anaerobic environments, which occur under water.
If the chick starter is above the water at any point, there’s a chance that it will develop bad bacteria that rots food or that causes mold or other issues. So it’s important just to make sure that you’re keeping your chick starter feed below the water line. (You can click here for a detailed article about fermenting chicken feed)
What If The Feed Texture Changes?
Something to keep in mind with fermented chick starter is that the texture will change as the fermentation process goes on. The harder bits of food will break down and the food will be more of a liquid or more of an oatmeal type consistency.
Day old chicks don’t really mind that, but older chickens might, if you try to transition to the fermented feed from a pellet. They often don’t like the texture, and don’t know how to eat it.
They’re used to the harder pellets or a more solid feed. If you want to give your flock fermented chicken feed throughout their entire lives, it’s better to start as day-olds and baby chicks.
It is also important to remember that this is a wet food, so it is more likely to get stuck to your chicks’ down. When it gets stuck to their down, it makes them colder and dirty, and it makes it harder for them to maintain the correct temperature for their body.
If you’re going to feed the fermented feed, I would go with a long chick feeder or mason jar chicken feeders. I stick to these kinds of feeders just to make sure my birds are cleaner.
What If My Chickens Won’t Eat It?
If your chicks object to the texture, or if you’re not too sure about the texture yourself, you can mix dry chick starter with the fermented chick starter. Your chicks will still get the same benefit, but the texture is a little bit more welcoming.
You can do this with older chickens as well – mix their pelleted feed or mash with the fermented feed in a 1:1 ratio.
So, what do you think? Is fermenting chicken feed a good idea for your flock? Leave a comment below!
Maat van Uitert is a backyard chicken and sustainable living expert. She is also the author of Chickens: Naturally Raising A Sustainable Flock, which was a best seller in it’s Amazon category. Maat has been featured on NBC, CBS, AOL Finance, Community Chickens, the Huffington Post, Chickens magazine, Backyard Poultry, and Countryside Magazine. She lives on her farm in Southeast Missouri with her husband, two children, and about a million chickens and ducks. You can follow Maat on Facebook here and Instagram here.

Your lectures are great! Thank you. Nancy