Tired of dangerous chemicals in your fly repellent? Me too. Want a natural alternative? Cool, I have one.

It’s a dilemma we have every summer – do we suffer the flies and other pesky insects or load ourselves with questionable chemicals?

There was a time when we would use any fly repellent that worked – it didn’t matter what it contained, as long as the bugs were away.

So, I started researching alternatives to over-the-counter fly repellents, which included researching essential oils that might work, and I came up with some great information.

I just wanted a simple, straightforward way to make fly repellent whenever I needed it without waiting and using all-natural ingredients that I already had on hand.

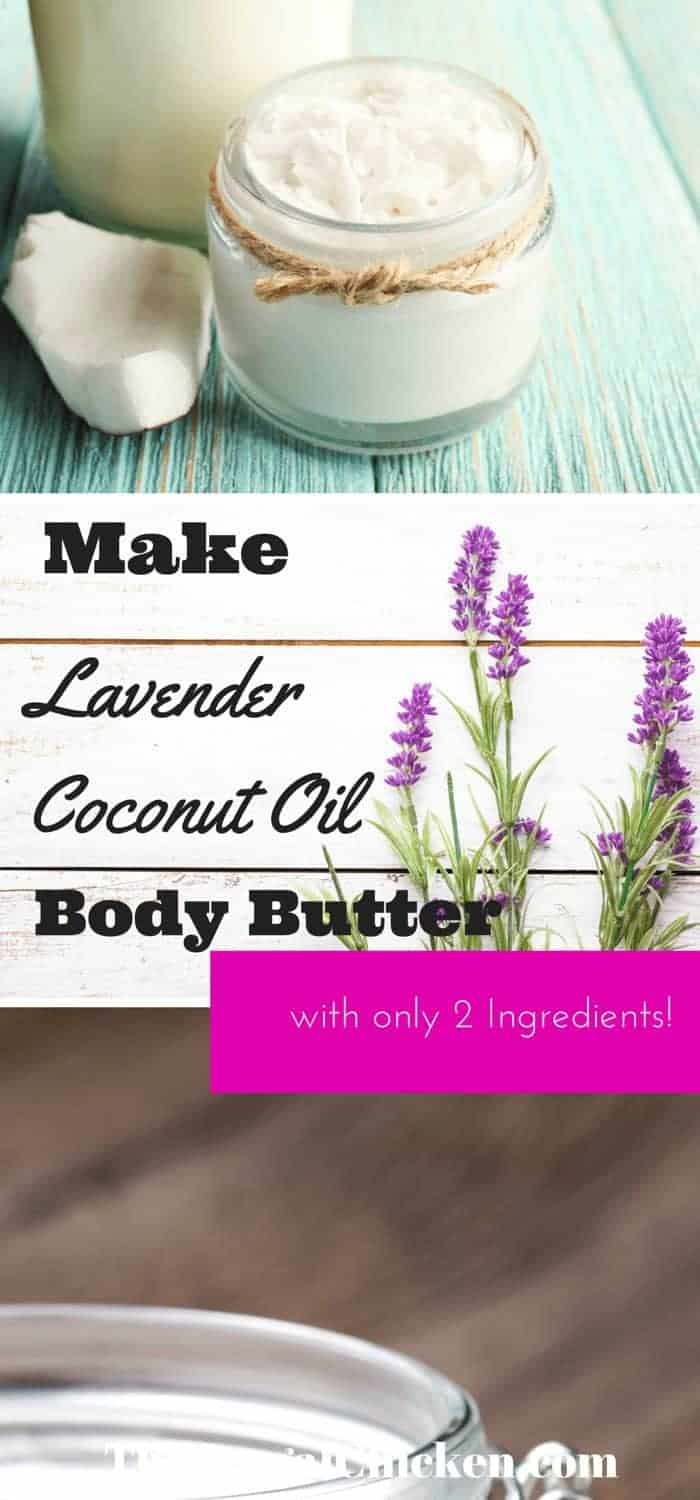
After some research, I developed an all-natural fly repellent using organic herbs, and I’m going to share the recipe with you.

My recipe for all-natural fly repellent requires 4 ingredients: Lavender, peppermint, water, and witch hazel.

Just having the plants around, however, isn’t enough of a repellent – you need to release the essential oils in the plant to light a fire under its effectiveness. 

Luckily, that’s a pretty easy thing to do. You can make this today, in your own kitchen, with just a few ingredients.

Fly up close

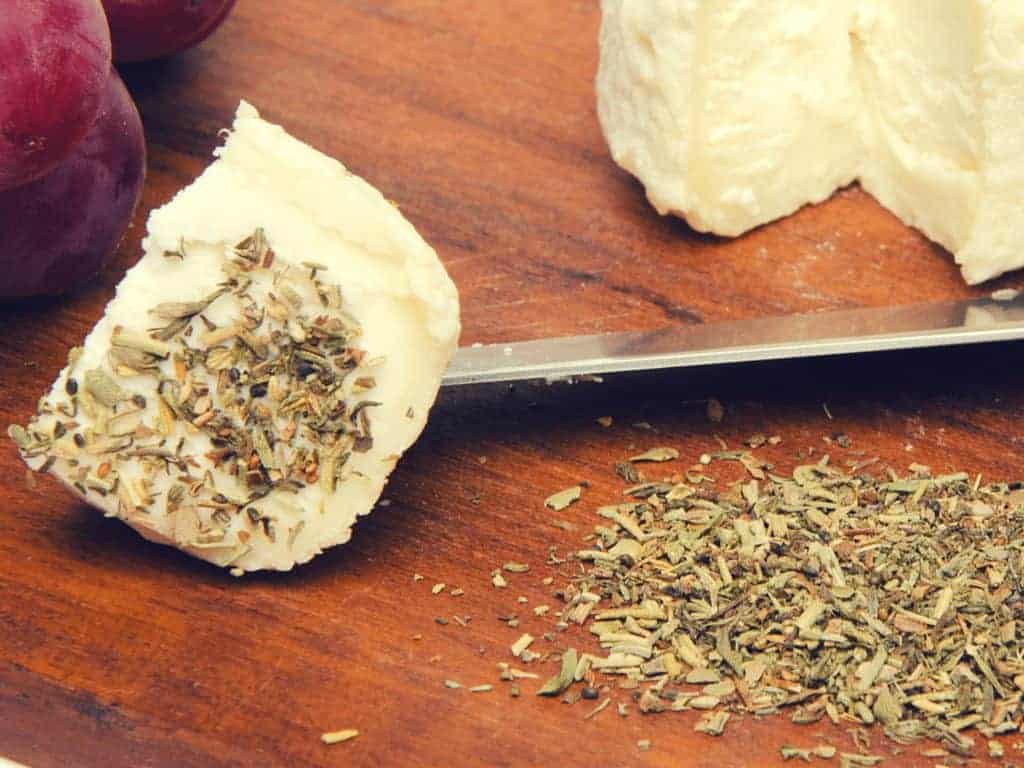
1. Choose your herbs

For this recipe, I used peppermint and lavender. Both are grown organically here on the homestead and are a natural addition to any herb garden.
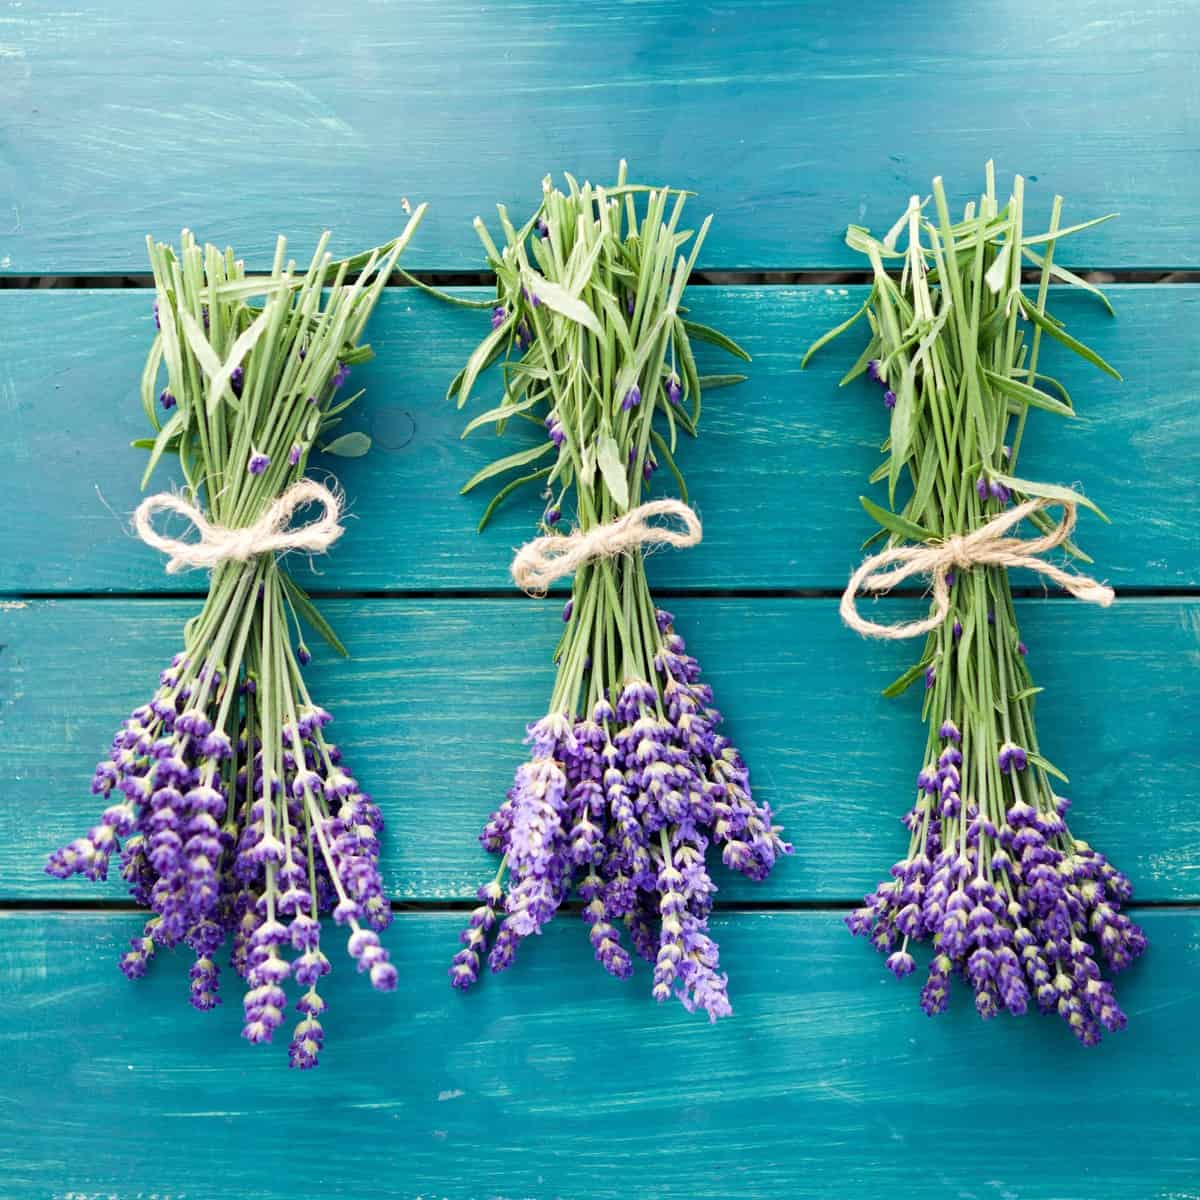
Lavender

Lavender is one of those power herbs you should have in your garden, and it has been researched and proven to be a natural fly repellent on its own – I’m not sure why, but flies hate it.

This common herb also has the beneficial side effects of being a natural calming agent, and it’s great for skin – and in fact, whenever I use this natural fly repellent, my skin is softer.
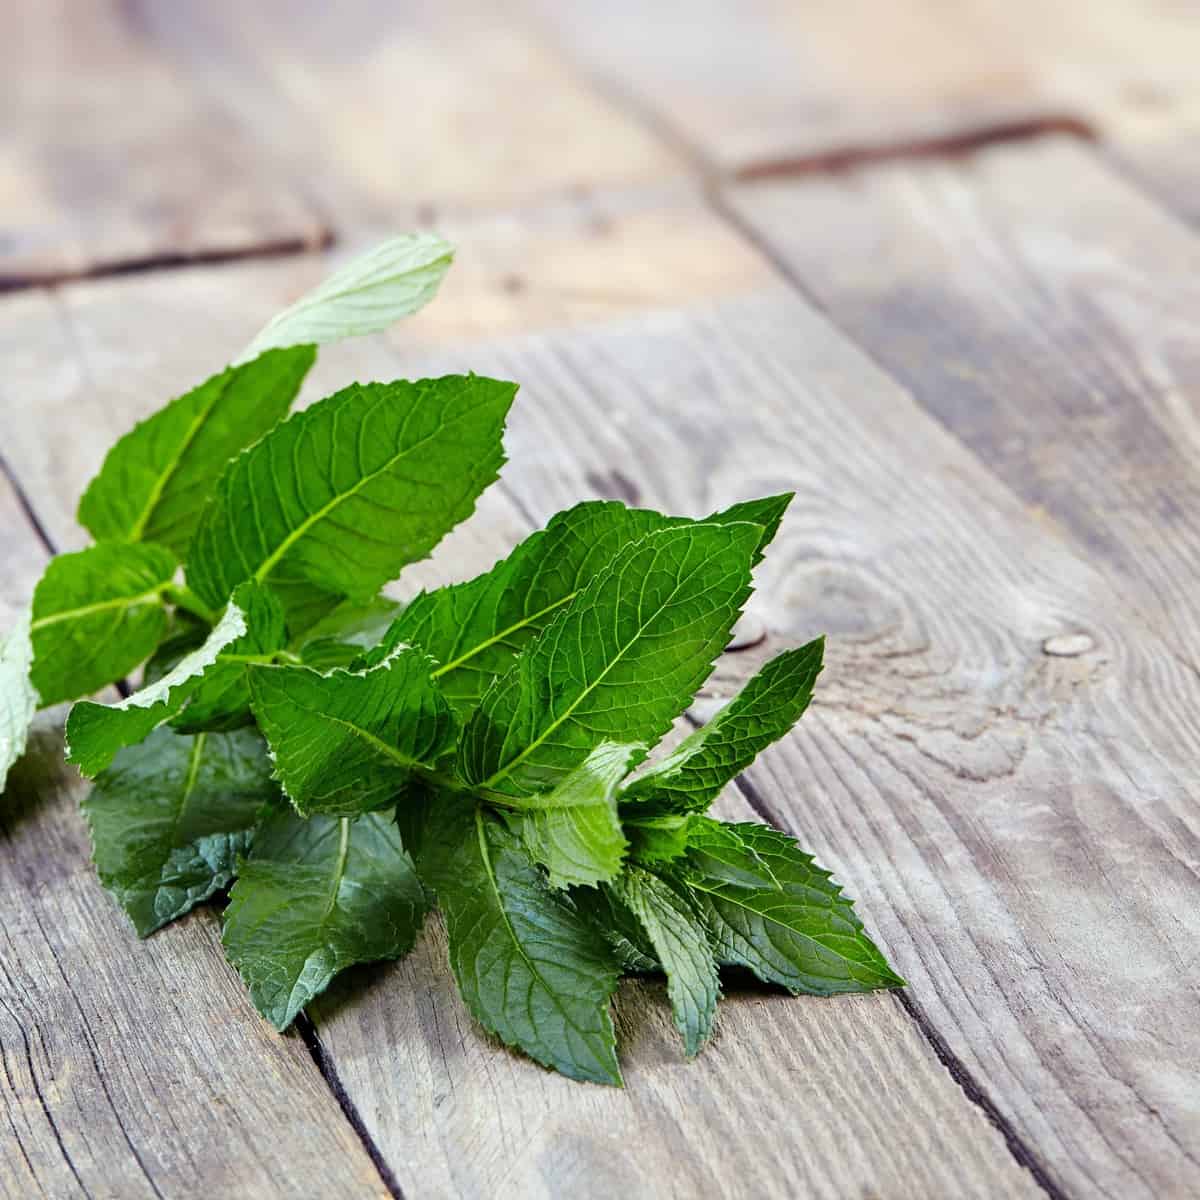
Peppermint

The other herb I chose to formulate a natural fly repellent is peppermint. The strong scent is reported to get rid of even the most stubborn fly.

But it gets better. Mosquitoes hate it too, making this another power herb you should have on hand to use as a natural repellent.

Peppermint is great to energize you, too.

I use stems containing the leaves, but it comes down to probably 3 or 4 tablespoons of herbs.

Important note: I don’t recommend dry herbs for this fly repellent – they don’t have the same level of essential oils as fresh herbs because they lack moisture content.

Want a natural alternative to chemical-filled bug sprays? Here's a recipe for natural fly repellent you can make in your own kitchen - today. From FrugalChicken

2. Release the essential oils

If you’re using herbs, then the first step to creating your natural fly repellent is to release the essential oils in your herbs – they will be one of the active ingredients in your fly repellent.

This is a very basic way to create an essential oil mixture, and although it’s not the method used by essential oil companies, it will work well to create a natural fly repellent.

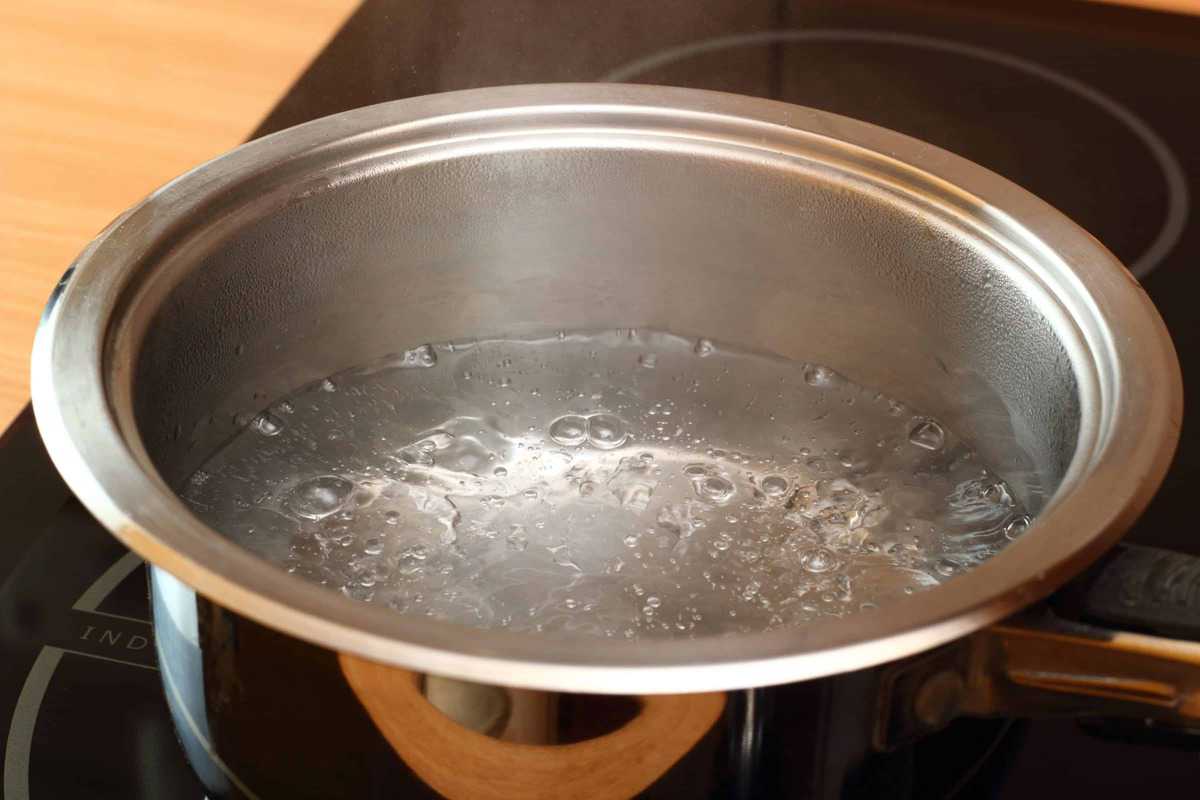
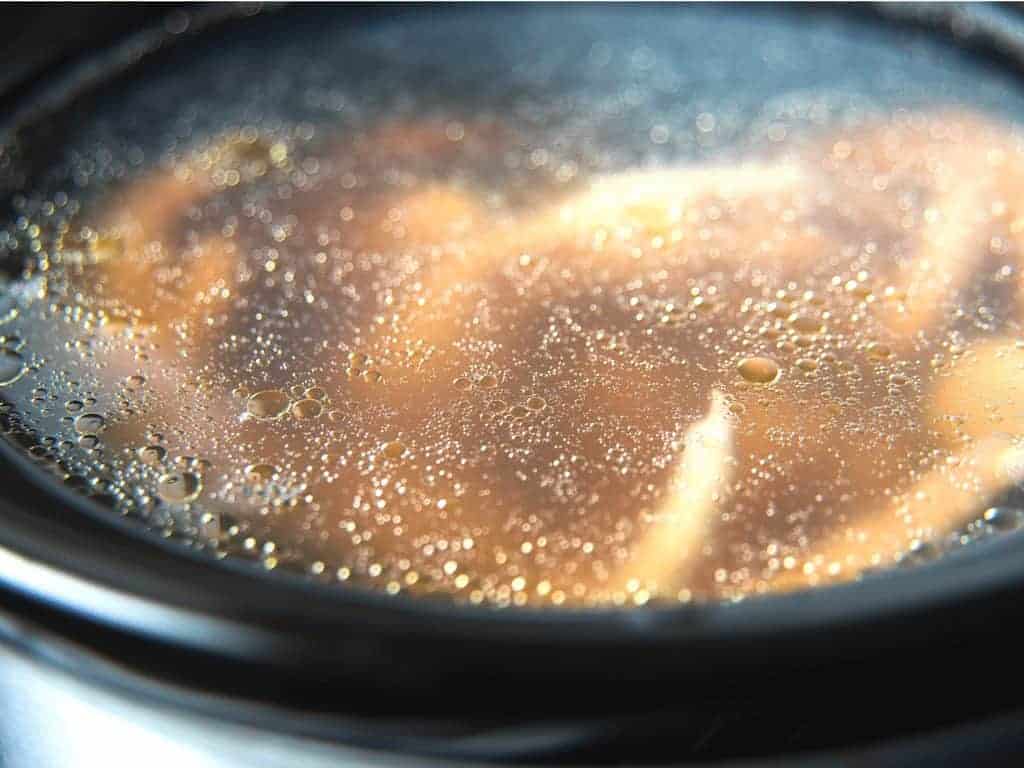
To release the herbs’ natural essential oils, you need to crush them slightly, then combine them with boiling water.

Bring 2 cups of water to a boil – not a rolling boil, however, so reduce the heat just before it gets to that point. 

Once it’s heated, add your herbs. 

Want a natural alternative to chemical-filled bug sprays? Here's a recipe for natural fly repellent you can make in your own kitchen - today. From FrugalChicken

3. Allow your herbs to steep while the mixture cools

To make the natural fly repellent effective, you need to release the oils in the herbs – let the herbs sit in the water until it’s cool. 

Yup, it’s like making tea, and it will smell great.

Be sure to cover the herb mixture to keep the released essential oils in the mixture – as they release in the steam, the top will encourage the natural oils to drop back down into the water.

This is important because you don’t want to lose the most effective part of your fly repellent.

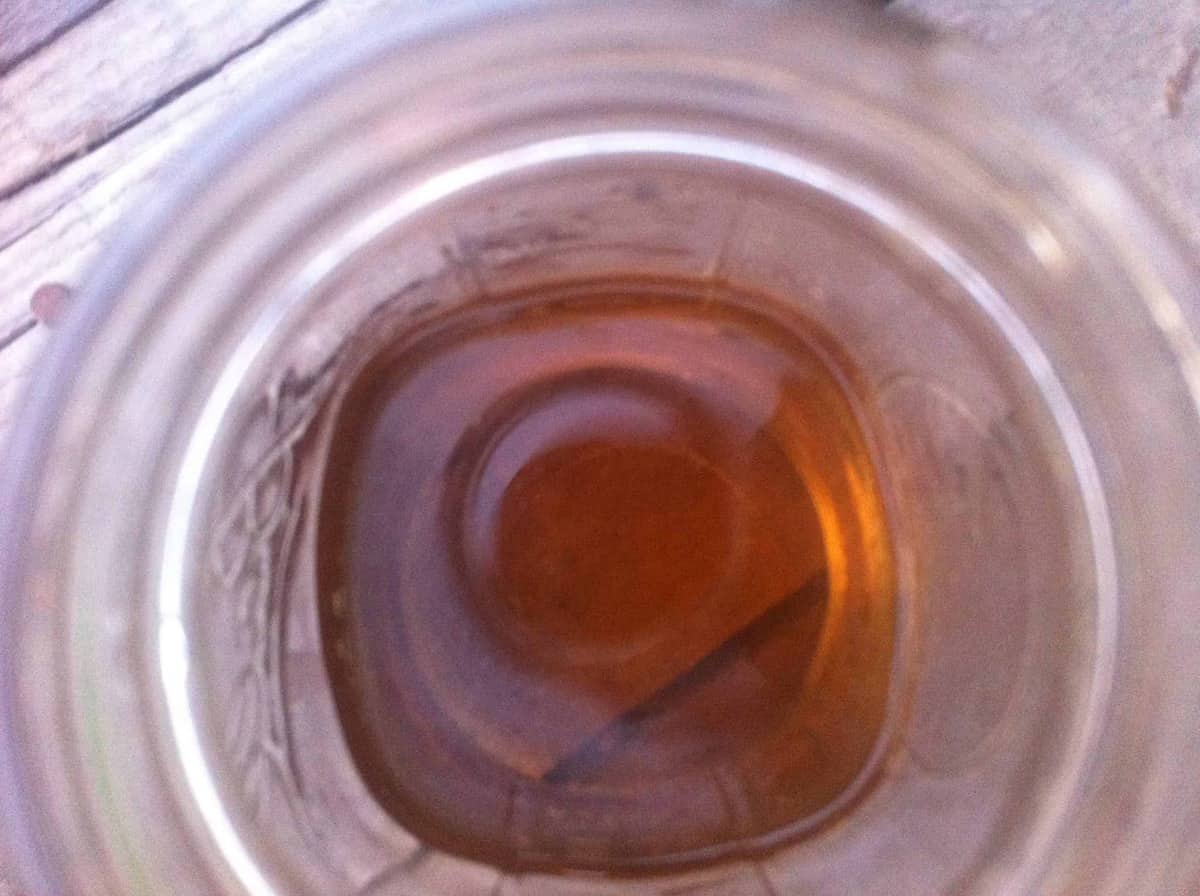
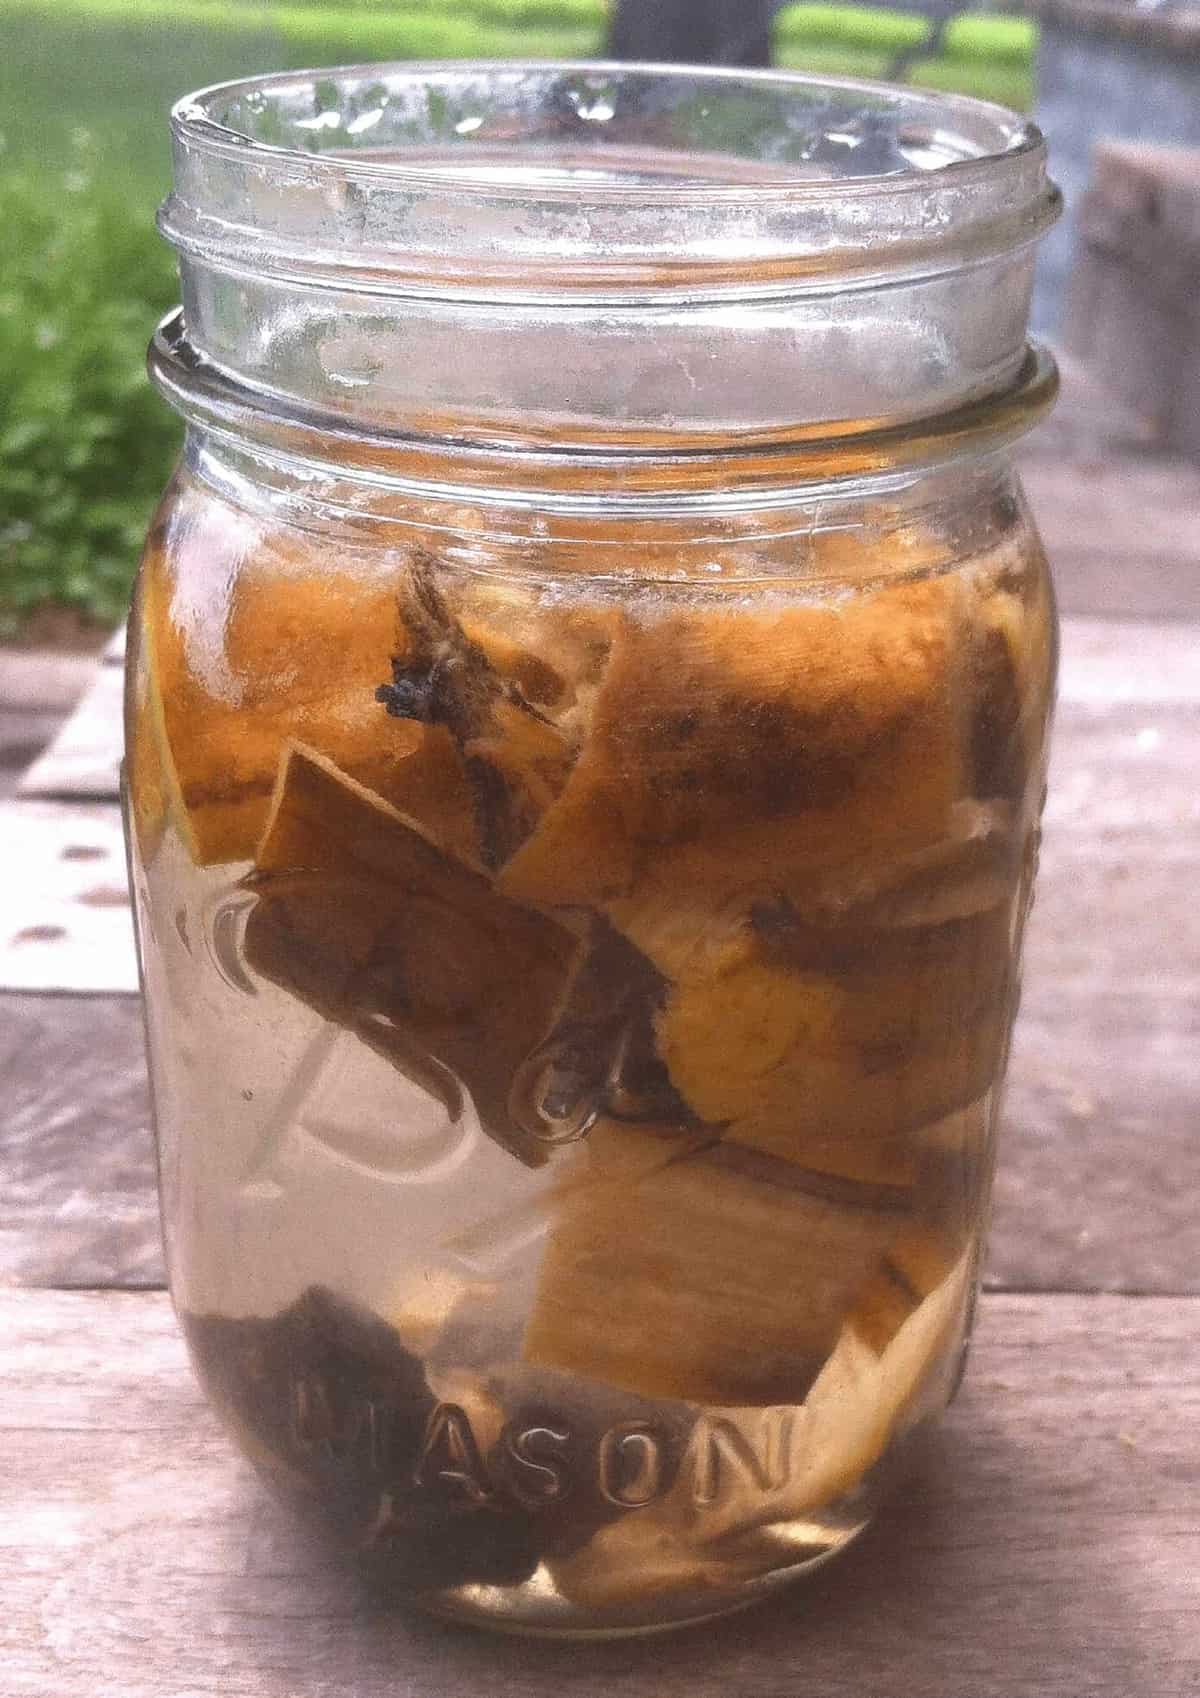
4. Remove the herbs, and add in the witch hazel

Strain the herbs from the water – I strain them into a mason jar.

Want a natural alternative to chemical-filled bug sprays? Here's a recipe for natural fly repellent you can make in your own kitchen - today. From FrugalChicken
The herb mixture before adding in the witch hazel

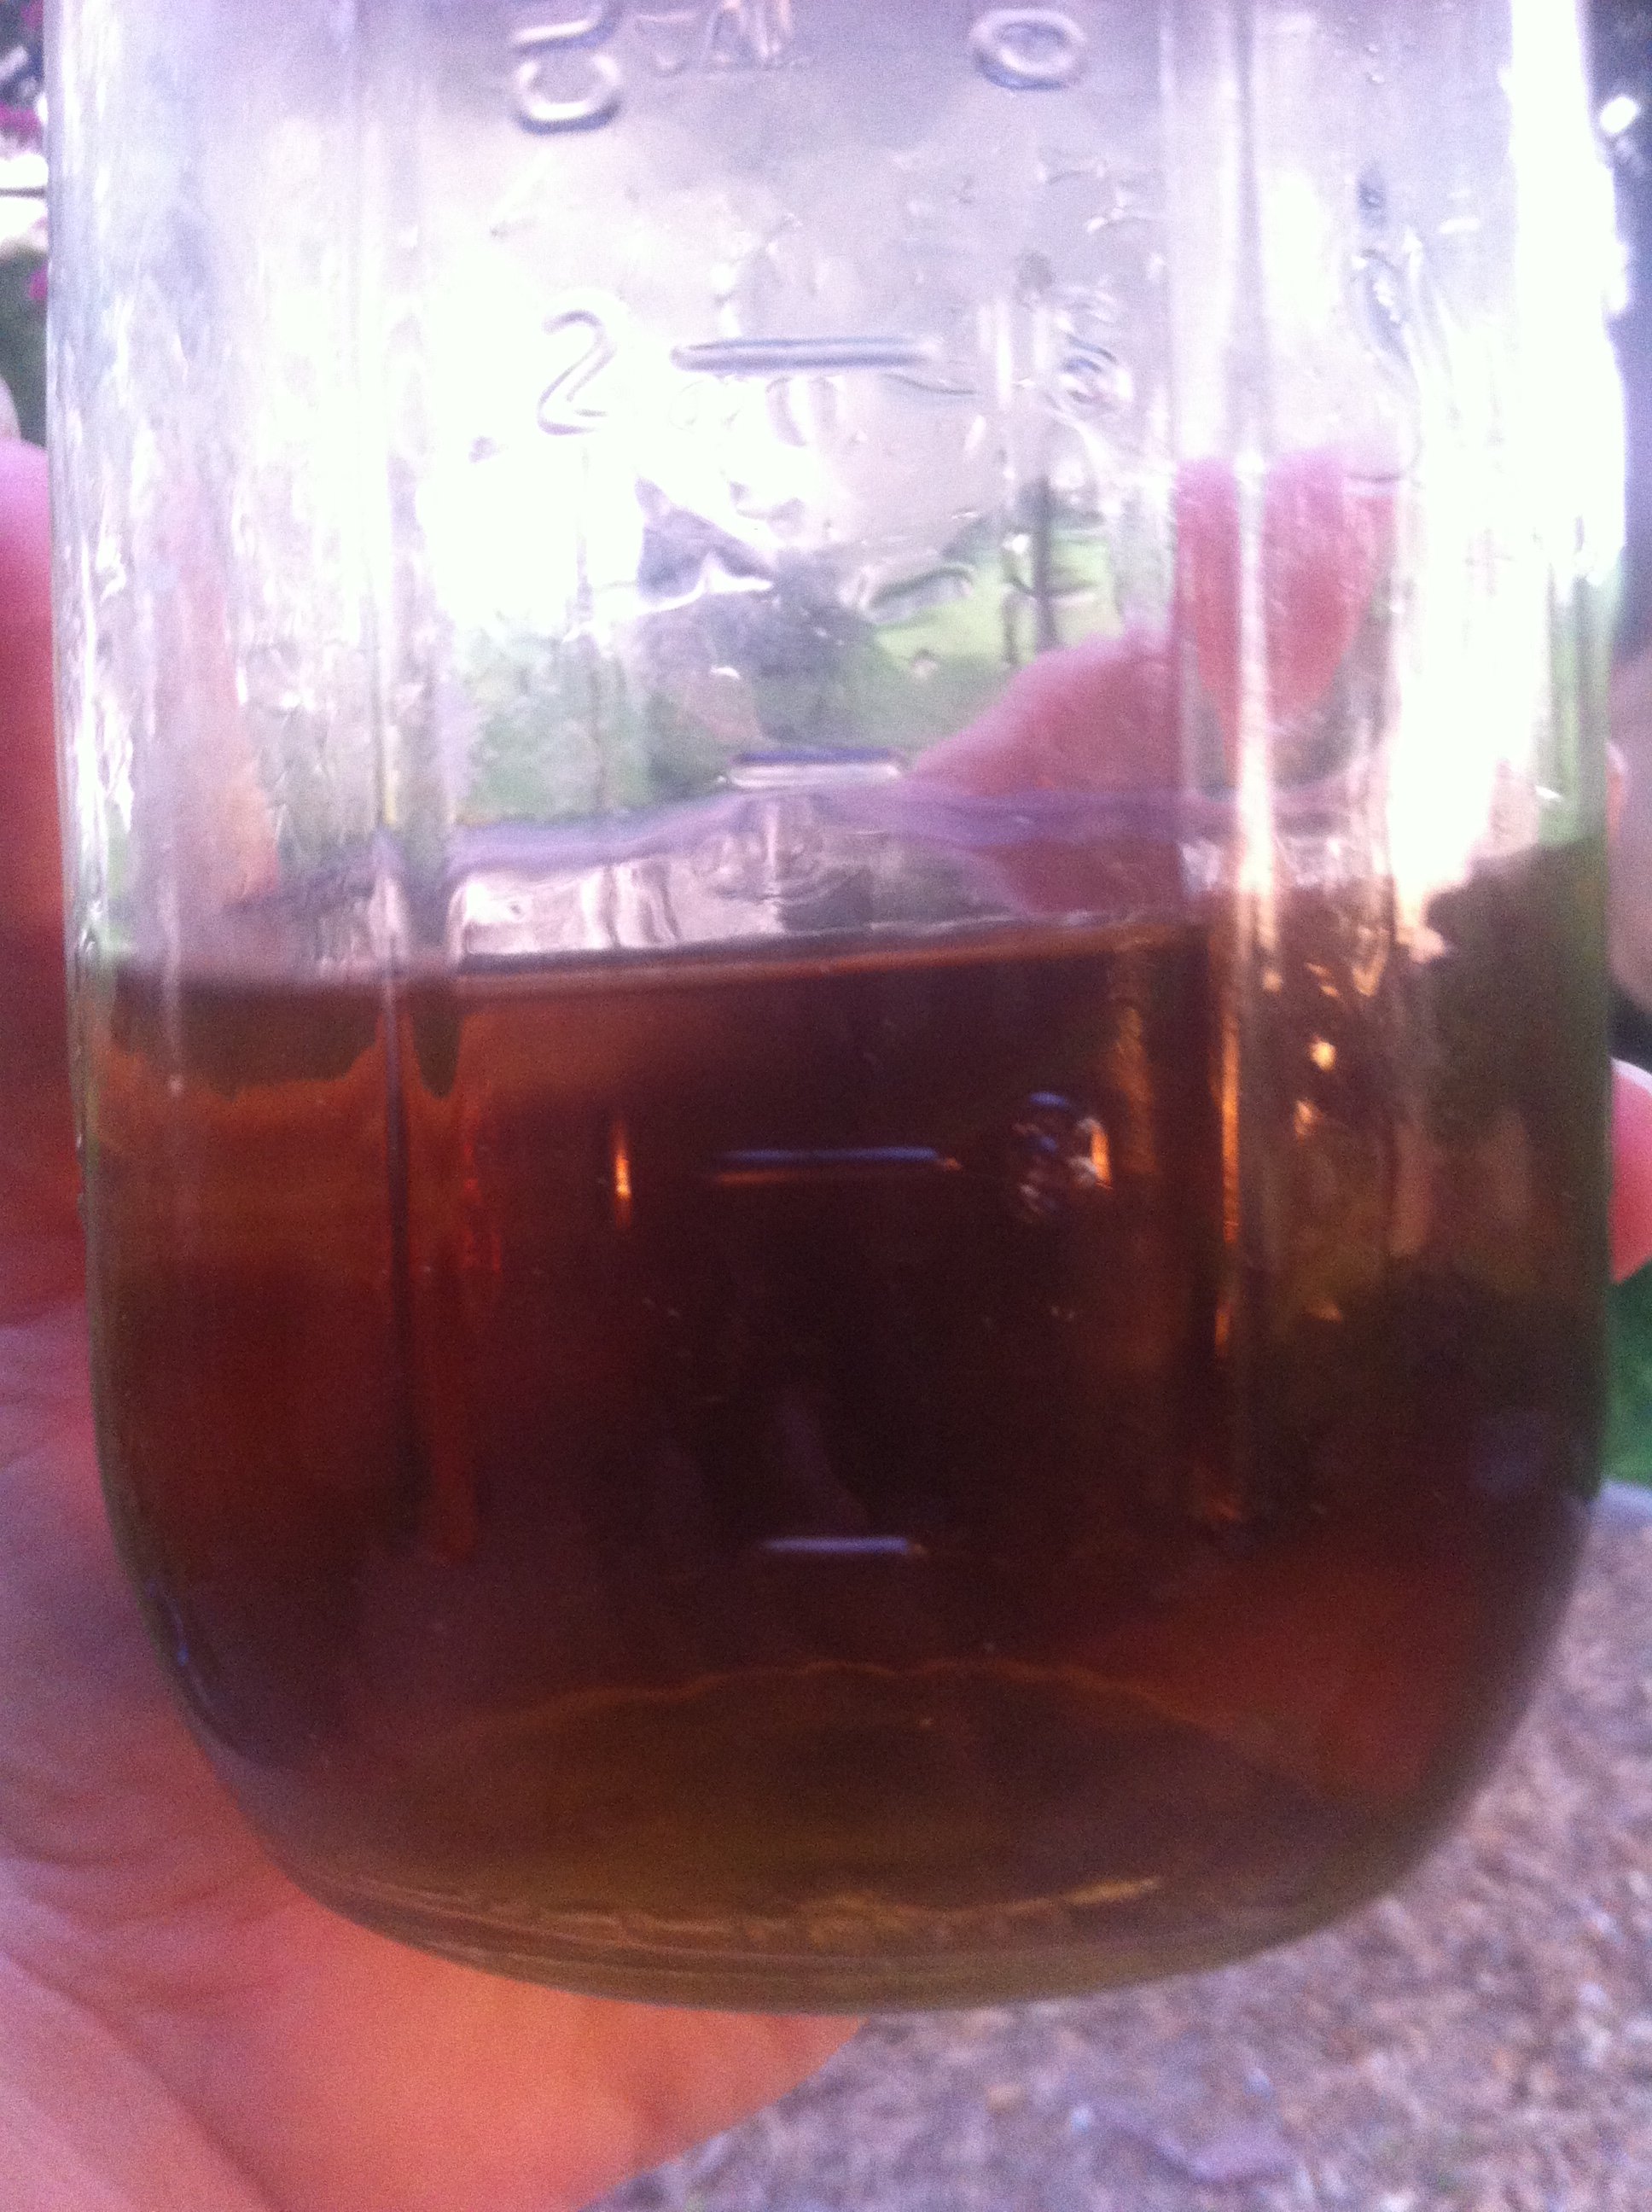
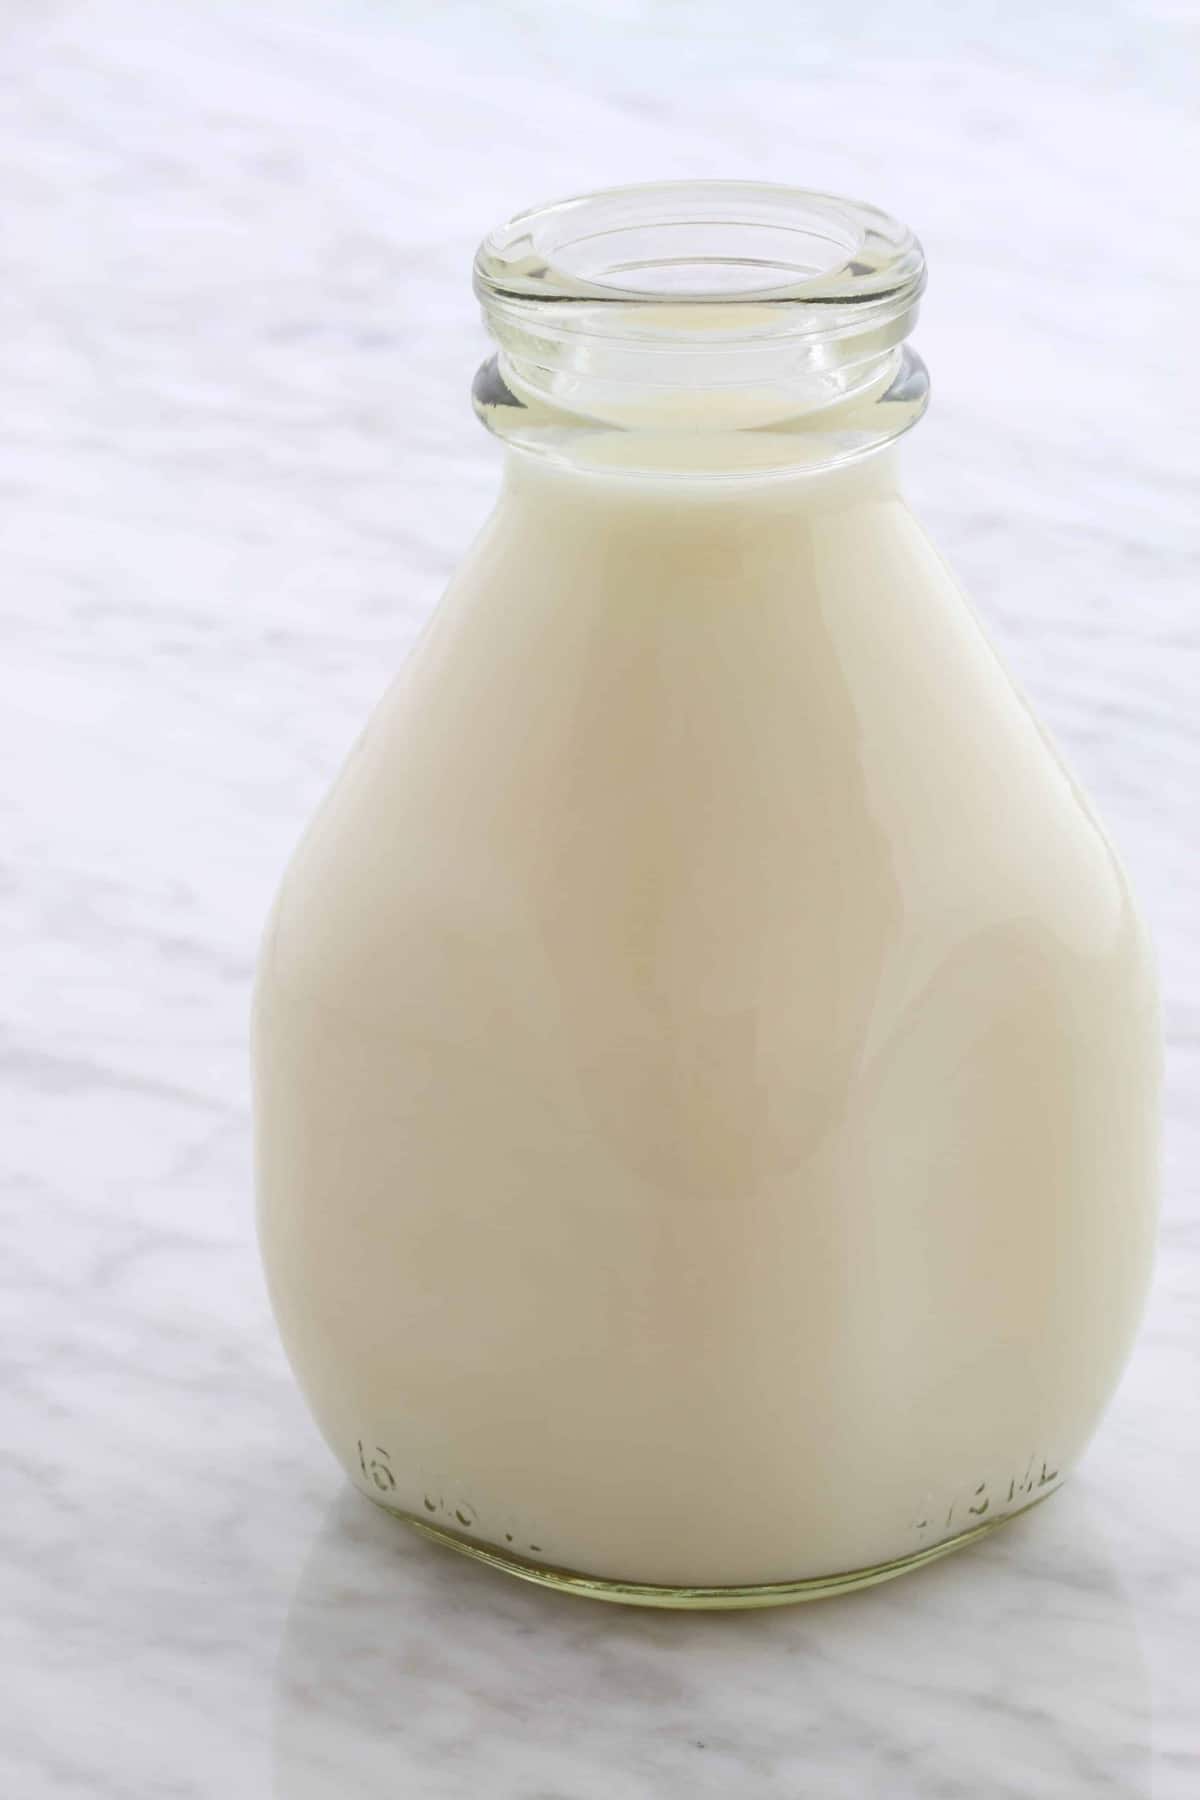
Now is the time to mix in your witch hazel, which will act as a binder, and keep the scent of the herbs on your skin longer.

Since water is absorbed by the skin quickly, you need something, like witch hazel, that will sit on your skin (or wherever you are spraying it) longer than a few moments for the herbs to be effective in your fly repellent. 

Want a natural alternative to chemical-filled bug sprays? Here's a recipe for natural fly repellent you can make in your own kitchen - today. From FrugalChicken

For this formula, I use a 1:1 ratio, so since you’ll use 2 cups of water, add in 2 cups of witch hazel. Just dump it right into your mason jar.

If you don’t like the smell of witch hazel, you can use rubbing alcohol, which is just as effective.

5. Stir to combine, and add your fly repellent to a spray bottle
Want a natural alternative to chemical-filled bug sprays? Here's a recipe for natural fly repellent you can make in your own kitchen - today. From FrugalChicken

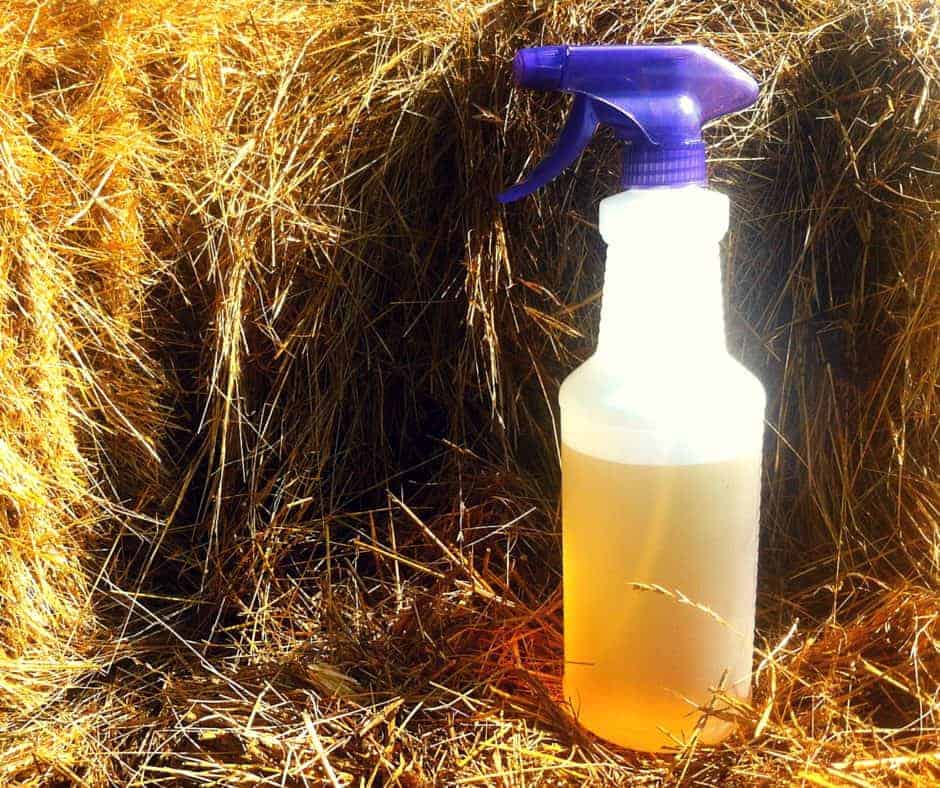
Once everything is mixed together, you have your natural fly repellent. Just pour it into a spray bottle, and it’s ready to use immediately. A word to the wise – choose your spray bottle carefully. You need a high-quality bottle that can withstand oils.

Spray it on yourself before heading outside – it’s safe for children too since the herbs’ natural oils have been diluted in the water and witch hazel.

Oh, yeah, and it doesn’t contain any chemicals, which is great for kids too.

6. Some notes

If you don’t like the smell of witch hazel, you can use rubbing alcohol instead. You don’t want to hate the process of overcoming your fly infestation, now do you? Pest control may not be for the faint of heart, but together we can do this!

You can use citronella as well as peppermint and lavender in your homemade fly spray. I’ve used it as well but left it out of this recipe since not everyone has it growing in their garden. You can purchase citronella essential oils to use in your fly repellent, and it works great.

If you want to get citronella essential oil, by clicking here.

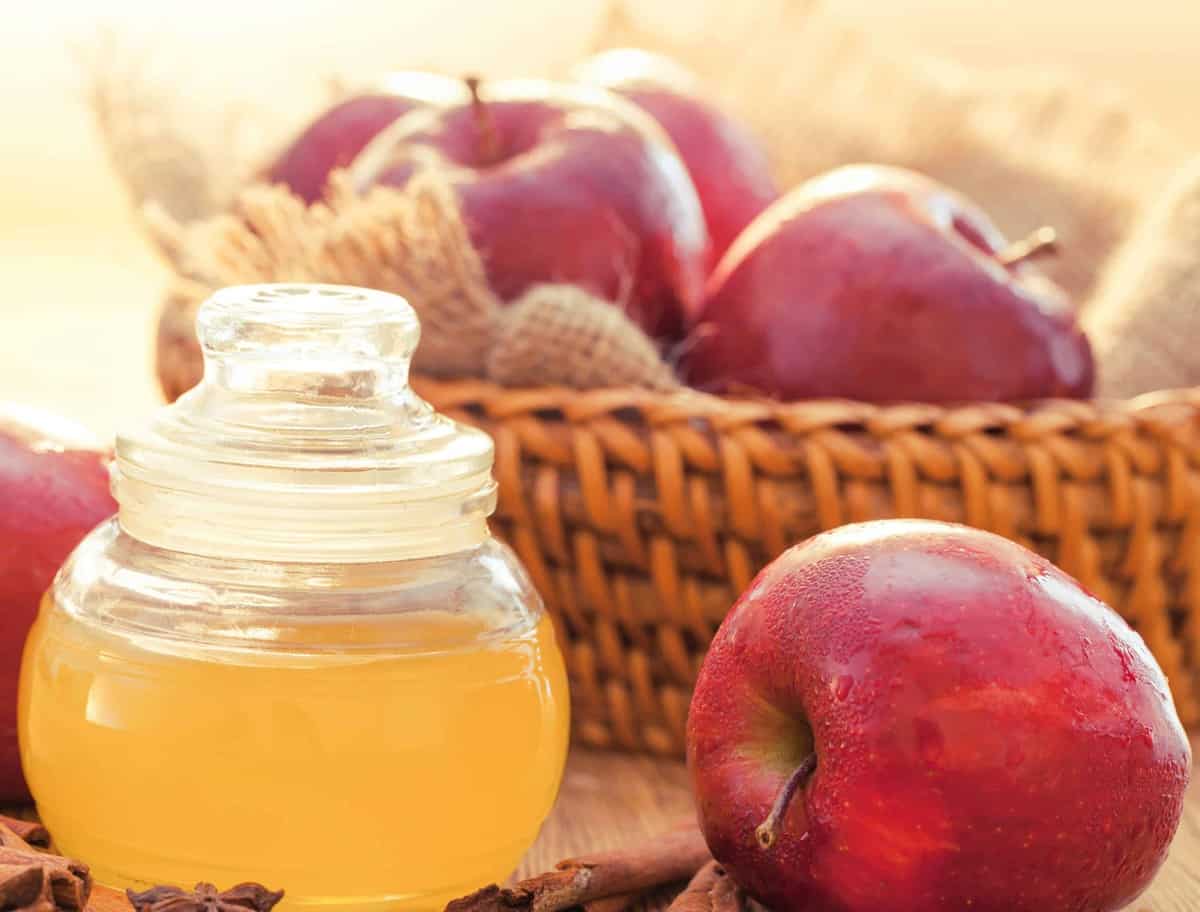
There are other recipes out there too, many that include other great repellents like mint, lemongrass, apple cider vinegar, cinnamon, marigold, tea tree oil, coconut oil, peppermint oil, lavender oil, and rosemary. I’ve even seen recipes with basil, drops of dish soap, and baking soda. There’s more than one way to make insect repellents, so try a few recipes out to see what works best for you.

While no fly repellent is 100% effective against bugs, going all-natural is a great choice if you’re looking for an effective alternative to chemical-based products.

Other Pest Control Help

Right now, we have zucchini and chevre cheese coming out of our ears, and I’m scrambling for new and interesting ways to use it.

Dahlia has started producing much more milk than we can consume so I’ve been preserving it as a cheese – mostly chevre, to be exact.

https://instagram.com/p/3ZvX9Ti860/?taken-by=thefrugalchicken

Flavor is big with me, and if a meal tastes bland (and let’s face it, sometimes squash does), it just doesn’t fly as well.

So, cooking it with some sort of flavor is necessary.

Here in the south, the big thing is frying zucchini. Gross!

Chevre Cheese & Zucchini Sandwich : Celebrate Summer! If you have too much zucchini, try pairing it with chevre cheese in this light and yummy sandwich! Easy to make! From FrugalChicken

One reason I love zucchini (aside from the fact that it’s easy to grow) is that when it’s fresh, it has a pumpkin-like taste to it – so while it’s a summer vegetable, it has a hint of autumn in it.

Frying it kills that fresh taste.

And here’s the thing about cooking:

I like to only use ingredients we’ve produced on the farm.

So, what’s a homesteader to do?

Enter grilling and chevre cheese.

Why chevre? Because the cheese mixes so well with my homemade mixture of Herbs de Provence, and gives any sandwich an extra kick in the butt.

Chevre also has a flavor that compliments any vegetable well – and since chevre can be a little more dry and crumbly, it compliments the juiciness of a ripe vegetable very well.

Add in homemade bread, and you’ve got a gourmet-style sandwich on your hands, all made with fresh, local, sustainable ingredients.

Chevre Cheese & Zucchini Sandwich : Celebrate Summer! If you have too much zucchini, try pairing it with chevre cheese in this light and yummy sandwich! Easy to make! From FrugalChicken

This recipe is a great way to enjoy the bounty of the summer.

That’s why I came up with this Grilled Zucchini and Chevre Cheese Sandwich – it’s a flavor monster while still being healthy and sustainable.

The key to this recipe, aside from the cheese, is to grill your zucchini long enough that it’s infused with the chevre’s flavor, but not so long that the sandwich gets super mushy.

It’s perfect for a fast but flavorful lunch. And you can’t get a recipe any closer to “farm to table.”

Untitled design (49)

1. Mix Your Chevre Cheese With Herbs

You can use fresh or dried herbs – each is equally valuable with it’s own benefits.

(Want to make homemade chevre cheese?)

Dried herbs are concentrated with flavor and easier to mix with the chevre, while fresh herbs are, well, fresh, and impart that flavor into the sandwich in this recipe.

Chevre Cheese & Zucchini Sandwich : Celebrate Summer! If you have too much zucchini, try pairing it with chevre cheese in this light and yummy sandwich! Easy to make! From FrugalChicken

The chevre I like to use with this recipe hasn’t been tightly pressed – so the cheese is firm, but because the curds haven’t developed a bloom, so it’s looser and easier to spread. 

You can use any herb you like on your sandwich – for this recipe, I used Herb de Provence with the chevre, but feel free to try your own favorite herb or blend.

Herb de Provence blends very well with squashes, so it’s usually my go-to herb with them. It’s hearty without being heavy – perfect for a summer meal.

Just mash the chevre with the herbs to mix, trying to evenly distribute the herbs throughout the cheese.

This also will make your chevre cheese softer, and easier to spread on the sandwich.

2. Peel your zucchini and cut into 1/4″ slices

Chevre Cheese & Zucchini Sandwich : Celebrate Summer! If you have too much zucchini, try pairing it with chevre cheese in this light and yummy sandwich! Easy to make! From FrugalChicken

I use a vegetable peeler remove the tough outer skin – with the peeler, it’s a snap, and leaves most of the squash’s meat.

Cut the zucchini into 1/4″ thick slices – they will grill well without becoming soggy and falling apart – super important because who wants a sandwich that’s falling apart?

3. Grill the zucchini slices

You have a couple options here. You can steam your zucchini on the grill using aluminum foil, or you can cook it directly on the grill.

I personally prefer to cook it directly on the grill because I like the flavor.

Chevre Cheese & Zucchini Sandwich : Celebrate Summer! If you have too much zucchini, try pairing it with chevre cheese in this light and yummy sandwich! Easy to make! From FrugalChicken

Cook it for about 10 minutes – long enough to soften it up and get some flavor, but not so long it turns to a mushy mess.

If you can’t grill outside, you can use your oven’s broiler (sometimes I do this just for the sake of convenience, especially during the summer when we’re out farming all day).

4. Grill your bread

Chevre Cheese & Zucchini Sandwich : Celebrate Summer! If you have too much zucchini, try pairing it with chevre cheese in this light and yummy sandwich! Easy to make! From FrugalChicken

For this sandwich, I grill the bread slightly to give it more substance – only a few minutes though, so it’s firm without becoming hard.

You can also grill it after you assemble the sandwich, if you want it make it more of a panini.

The bread will be slightly warm – making it easier to spread the chevre cheese and infuse the bread with some of its flavor.

4. Assemble your sandwich

Feel free to use your favorite bread – I prefer a bread that’s soft with a thicker crust.

Be sure to use thick slices so your bread doesn’t fall apart.

Spread your chevre cheese onto the bread – in this recipe, the herbed chevre is the flavor-making condiment. I put the cheese on the top and bottom.

Chevre Cheese & Zucchini Sandwich : Celebrate Summer! If you have too much zucchini, try pairing it with chevre cheese in this light and yummy sandwich! Easy to make! From FrugalChicken
You can use any herbs you like – sometimes I use chives!

Place your grilled zucchini between the chevre and bread. Now is the time to grill the sandwich if you want a panini.

There you go – two incredible summer ingredients – chevre cheese and zucchini – combined with homemade bread for an easy “farm to table” meal!

Of course most people are interested in feeding their chicken flock a homemade, organic, non-gmo feed – you are what you eat, after all – but if you’re anything like me, the expense is a big factor.

Until now. I’ve cracked the code on creating a homemade organic feed recipe your chicken will love, and your wallet will love it too. I’ve done it by pairing together two time-tested ideas, and the result is a huge amount of nutrients for your chicken with less cost.

Four bags of different kinds of chicken feed

Introduction

It’s true, I do tell readers to use brand name products. I’m a realistic person who’s here to help people – sometimes homemade products just aren’t for some chicken owners.

Not everyone has the time or energy to research and mix a homemade organic chicken feed recipe, and commercial grains are formulated to give your flock the optimum amount of nutrients.

If you can afford to pay for commercial organic grain, there’s nothing wrong with going that direction. Your chickens will get their basic nutritional needs met, and live a happy, productive lives.

So I’ve been testing a homemade recipe that still will let you throw organic chicken feed to your hens with less money (but more work). Here’s my homemade recipe and method to creating an organic chicken feed that will help them stay healthy and produce great eggs.

If, for any reason, you don’t want to make your own feed, we love and recommend this non-GMO feed with dried black soldier fly larvae (for extra protein). Our chickens LOVE it! Otherwise, keep reading for a homemade recipe!

1. Ingredients

The first question is to address the ingredients for your homemade chicken feed. You need ingredients that will provide the right protein, vitamin, and mineral content for your flock.

For my basic homemade chicken feed recipe, I use:

  • Wheat (hard or soft, winter or spring – it doesn’t matter)
  • Peas 
  • Mealworms (live or freeze dried)
  • Oats
  • Sesame seeds or sunflower seeds

A note about where to buy your grains: You may have to purchase grains from Amazon. Sometimes there’s no way around it because there’s no place local to purchase organic grains. Period. In my opinion, you should always check to see if you can purchase them for less near you.

You can do the research about the ingredients, but you’ll find this recipe yields between 16 – 18% protein – for a growing pullet and a layer, that’s the optimum amount of protein.

Both wheat and peas are great for protein (wheat has about 17% protein while the peas are about 24%). The oats are an excellent source of fiber in a homemade recipe, while the sesame and sunflower seeds are great for fat.

There’s some controversy about the amount of mealworms a chicken should eat. Given the ability to forage, hens will consume large quantities of bugs – which are almost pure protein.

However, if a chicken eats too much protein, she can develop kidney and other problems. When it comes to mealworms, add a 1/2 cup to their daily ration to start with, and let your chicken tell you if she needs more. If they seem like they need a protein bump, add another 1/2 cup or so of the meal worms.

While I believe it’s best to offer live mealworms, not everyone has the time or energy to raise them for a homemade recipe (or the desire, they’re bugs after all!). That’s okay – freeze dried ones provide a nice protein bump to your homemade grain too, and they’re easier to store.

2. Sprout Your Seeds

This is where the real savings comes in. When you sprout your wheat into fodder, you automatically unlock nutrients, and create a homemade chicken feed that’s easier for your flock to digest. In other words, more of the nutrients become bioavailable.

The first time I sprouted seeds, it was revolutionary. Mind. Blown. A tiny berry in the recipe became something much more nutritious and valuable than it was before.

You can read my recipe to sprout fodder here. For homemade chicken feed, I recommend soaking the grains (also known as berries) for 24 hours, then allowing them 3 days to sprout. 

You can sprout them longer than 3 days, but you might run into issues with mold. After 3 days, they’ve started to sprout and unlock the grass, but they haven’t turned into a moldy mess that might make your chickens sick.

Once your grain has turned into fodder, you can feed the same weight or volume amount – which ends up being less seed overall.

And the berries have turned into something more nutritious than it could ever be as just a seed. Depending on the type of peas you purchase, you can sprout your peas as well. (Note, if you purchase split peas, you won’t be able to sprout fodder).

I don’t recommend sprouting oats. In my experience, by the time the oats actually sprout (it can take a while), they tend to get moldy. That being said, it’s perfectly fine to soak them overnight. (If you want, you can substitute the wheat for barley in your recipe – barley is hard to come by in my region, which is why I use and recommend wheat.) 

Before you feed your hens their ration, mix your sprouted seeds with the remaining ingredients. 

3. Create a daily ration

Because everyone has a different amount of chickens, it’s hard to give you exact recipe. For 5 chickens, however, in my experience, the following recipe works well for each meal:

  • Sprouted seeds (5 cups)
  • Peas (2.5 cups)
  • Oats (2.5 cups)
  • Sesame Seeds (2 tablespoons)
  • Mealworms (1/2 cup)

While this homemade recipe usually works well, you might need to scale up or down a bit depending on your flock’s needs, and whether you allow them to forage.

Close up of wheat that is just beginning to sprout

4. A note about fermenting

If you want to ferment your homemade chicken feed, you can leave the wheat soaking for another day or so. You will get bubbles that let you know the fermenting is taking place, and the berries will still sprout while submerged.

As with anything fermented, let your nose be your guide – if it smells funny or rancid, toss it. Wheat that’s properly fermented will smell something like fresh bread or slightly like beer. I don’t recommend letting it soak for longer than an additional 2 days. You will unlock a lot of nutrients as it ferments, but if you wait too long, you can run into other issues.

Make sure you keep your fermenting vessel covered and completely under water. You can ferment the peas as well, following the same steps. Here is my guide to fermenting chicken feed which works for my organic homemade chicken feed recipe or commercial feed.

5. Adding supplementary ingredients

You can add your supplementary ingredients to your homemade chicken feed, such as kelp, garlic, or oregano right before you feed your hens. Just mix them in as you normally would.

I’m a big supporter of giving all three of those supplements to your chickens in a homemade recipe – kelp especially will help ensure your flock gets an iron boost, and the garlic and oregano are great for their antiseptic and immune boosting properties.

This homemade organic chicken feed recipe has been successful for me – I hope it is for you, too!

As I said above, if you don’t want to make your own feed, then we love and recommend this feed (it has black soldier fly larvae for extra protein!)

If you have kids, you likely have a lot of banana peels floating around. Trashing them seems like kind of a waste so why not recycle them instead – in your garden.

Did you know banana peels make one of the best fertilizers out there? I didn’t until I started researching it.

Turns out, banana peels are a rich source of nutrients your plants crave: Potassium, phosphorus, and calcium, along with a host of other minerals your plants need.

Here’s the deal:

Using them in your garden is a snap – and since it’s free fertilizer, adding them to your garden is a no-brainer. (Before adding peels to your garden, however, be sure to remove those stickers.)

So before you toss that peel: Here’s 10 ways you can add banana peels to your garden, and keep it as natural as possible.

Use banana peels in your garden instead of throwing them away! Here's 10 ways to use banana peels in your garden. Easy projects you can do today! From FrugalChicken

1. Banana Peel Tea

Like compost tea, this fertilizer uses nutrients leeched from banana peels to give your plants a mineral boost. To make it, fill a mason jar with water, and add a banana peel. Let it sit for 48 hours.

After 2 days, discard the peel (using one of the other methods in this article, hopefully!), leaving the water in your mason jar. Water your plants as usual with your banana tea.

Use banana peels in your garden instead of throwing them away! Here's 10 ways to use banana peels in your garden. Easy projects you can do today! From FrugalChicken

2. Chop the peels, then add to your garden’s soil directly

If you made the banana peel tea above, you’ll have leftovers to use up. Consider adding them to your garden directly.

Here’s one way to do it: To do so, chop your banana peels into 1/4 inch pieces – by chopping them, you kick start the composting process, and release some of the beneficial vitamins and minerals in the peels.

Use banana peels in your garden instead of throwing them away! Here's 10 ways to use banana peels in your garden. Easy projects you can do today! From FrugalChicken

Bury them anywhere from 4 inches down to just beneath the surface of the soil. If you choose to bury them inches below the soil, do so before you plant your vegetables at that location, or where you aren’t in danger of hitting your plants’ roots. As the peels decompose, all the valuable vitamins in the peels will reach the roots, giving you plants a nutrient bump that will make them happy.

3. Toss leftover banana peels into a compost pile
Use banana peels in your garden instead of throwing them away! Here's 10 ways to use banana peels in your garden. Easy projects you can do today! From FrugalChicken

If you want to feed your red wigglers and indirectly use banana peels in the garden, toss your leftover peels in your compost pile. It’s not the most inventive way to use the peels, but it’s a valuable method, nonetheless. Over time the peels will decompose and turn into rich compost.

When preparing your beds for planting, or when your plants begin to flower, side dress with the compost to aid in fruit and vegetable development – your plants will love the extra nutrients.

4. Dry the peels, then grind them into a fertilizer

Similar to the spray version, you can dry your banana peels and grind them into a fertilizer. If you only have a few peels to use up, but want to use them effectively on many plants, this is a great option.

Here’s the deal: Dry your banana peels using the method I go into at the end of this article. Once dry, grind the peels in a coffee or spice grinder. Add to your garden soil directly, either by sprinkling as a side dressing or gently incorporating into the dirt, making sure to avoid your plants’ roots.

5. Add the whole peel to your garden

Use banana peels in your garden instead of throwing them away! Here's 10 ways to use banana peels in your garden. Easy projects you can do today! From FrugalChicken

A very straight forward way to use banana peels in the garden is to add the whole peel to the soil when planting. The seeds will get a nutrient kick at the start of their lives, which will translate into healthier plants and a better harvest.

Here’s how to do it: When you plant your seeds, dig a trench a couple inches deep. Lay the peels flat in the trench, and add your seeds on top. Fill the trench in when you’re done laying the peels and the seeds. As the seeds germinate, form roots, and continue to grow, the peels will decompose, creating a rich fertilizer.

6. Create a banana peel spray

A step-up from banana peel tea, this spray is a fertilizer that also uses eggshells for a calcium boost and Epsom salt for magnesium. If your plants are established, and you just want to give them a nutrient boost, try making a fertilizer spray. Why? Because you can hit many plants at once without needing a ton of banana peels (and without having to chop them all up).

Here’s how to make it: To create the fertilizer spray, you’ll need banana peels, egg shells, Epsom salt, and water. Dry the banana peels (see tutorial at the end of this article for how) and egg shells, then once they’re dry, grind them together. Add the peels and shells to a spray bottle, along with the Epsom salt, and fill the sprayer to the top. Spray on your plants as needed. Get the full recipe to make fertilizer from banana peels here!

7. Create an insect trap

You can create a simple insect trap with banana peels and apple cider vinegar.

Use banana peels in your garden instead of throwing them away! Here's 10 ways to use banana peels in your garden. Easy projects you can do today! From FrugalChicken
Image from OregonState.edu

If flies are a problem, and you’re looking for a non-toxic solution that’s pet friendly, creating this trap might be for you. It’s also a great way to reuse a disposable plastic container and keep it out of the landfills.

Here’s how to do it: To make an insect trap using banana peels, combine small pieces of the peels with the vinegar, and shake to mix and release the scent of the banana.

If you follow this blog at all, you’ll know I’m in love with homemade vinegar, and of course that’s what I will recommend you use in this banana peel, apple cider vinegar project. Drill holes large enough to allow bugs to get through into your plastic container, and pour your banana mixture (peels and all) into the container. Place outside in your garden to keep down the insect population (great for gnats).

The bottom line: Will this solve all your insect problems?

No. But neither do fly traps that contain chemicals and pesticides that you’re trying to keep away from your veggies.  You’ll still get bugs, but you will get less of them, and you’ll keep your garden free of harmful chemicals.

8. Keep Aphids Away

Use banana peels in your garden instead of throwing them away! Here's 10 ways to use banana peels in your garden. Easy projects you can do today! From FrugalChicken

One reported use for banana peels in the garden is as an aphid deterrent. These little pests can decimate a garden before you can say “tomato sauce,” so keeping them away is important. To use banana peels to prevent aphids, place chopped peels just under the soil line. I’m not sure why, but there’s something in the peels that aphids hate.

And here’s the kicker: You’ll also be adding fertilizer to your garden, since as the peels decompose, their nutrients will unlock and release into the dirt.

9. Ferment Peels For Bigger Blooms

For bigger blooms and healthier plants, use fermented banana peels in your garden. This is particularly good for healthy roses, but any flowering plant will benefit.

How do you ferment banana peels? Put your peels in a mason jar, and cover with enough water so they’re submerged. You’ll want to put some sort of weight on the peels so they remain under the water.

Use banana peels in your garden instead of throwing them away! Here's 10 ways to use banana peels in your garden. Easy projects you can do today! From FrugalChicken

Cover with cloth and rubber band or a loosely fitting top (I personally use a loosely fitting top). Let the mixture sit for a week while the good bacteria does its job and unlocks the nutrients in the peel. If you see a cloudy must, that’s ok. If you start to see black mold, you’ll have to throw it away and start again. As long as the peels are below the surface of the water, you’re probably okay. Let your nose and your judgement be your guide.

After a week, put the peels in a blender and puree (save the water for other plants). Side dress your blossoming plants with the puree, being sure to incorporate it into the soil gently so it doesn’t attract unwanted critters like squirrels and raccoons. If they’re a particular concern, dilute the puree in water to help it distribute into the ground better.

10. Create banana peel vinegar (for acidic soil-loving plants)

If you’re looking to give your blueberries a nutritional boost, create some banana vinegar for them – it will give them the acidic soil they crave while unlocking the nutrients in the bananas for a healthier plant.

To create banana vinegar, follow the steps above to ferment the peels.
After a week, remove the peels, and allow the water to sit, covered, until the mixture ferments into a vinegar. This can take anywhere from 4-6 weeks, depending on conditions such as temperature.

Let your nose tell you when it’s turned to vinegar – it will have that unmistakable vinegar scent. If the mixture seems especially potent (you’ll know by the scent), dilute it with water right before using so you don’t accidentally burn your plants.

Bonus: How to Dry Banana Peels

Use banana peels in your garden instead of throwing them away! Here's 10 ways to use banana peels in your garden. Easy projects you can do today! From FrugalChicken

You can either dry peels whole, or cut them into strips (1/8″ – 1/4″) and place them so they’re not touching on a cookie sheet. For both methods, dry them at 140 degrees, leaving the oven door open 1-2 inches, until they’re dried through.

Once you make the switch to using raw organic coconut oil as a body butter, you won’t look back.

Add in lavender for a soothing touch, and you’ll be converted.

Here's how to use raw organic coconut oil and lavender to create salon-worthy body butters! Only 2 ingredients - make it today with ingredients already in your pantry! From FrugalChicken

This organic body butter has become a house staple because not only is it easy to make, but it requires only 2 raw ingredients: organic coconut oil and lavender.

If you’re not sure where to buy it, you can get organic coconut oil at Thrive Market for a great price (where I buy it), or on Amazon. These 4 oz mason jars great for holding your finished body butter!

Does your coconut oil have to be raw and organic? Of course not.

But as with anything, quality counts, and since you’ll be putting this on your body, you’ll want to get the best quality you can, and when you buy organic, you know your body won’t be exposed to harmful chemicals. 

So let’s answer the first question.

Why make your own body butter with organic ingredients?

Think about how much you spend on this or that moisturizer.

What if you could make a product similar to an organic luxury balm for pennies, using raw materials you already have on hand?

Let’s face it – the top dollar products out there only use raw and organic ingredients!

Here's how to use raw organic coconut oil and lavender to create salon-worthy body butters! Only 2 ingredients - make it today with ingredients already in your pantry! From FrugalChicken

Although it might be a bit more pricey than other oils, since raw coconut oil has so many uses around the house, I view it as a frugal item.

Coconut oil also has a natural SPF of 4, so it offers a little protection against UV rays, too!

As you melt the oil, it becomes infused with the essence of the lavender, which combines with the coconut scent to produce a product that smells like it just came out of the salon – seriously.

The raw scent isn’t strong, but rather a subtle hint that you’ll enjoy.

I like to apply my organic coconut oil lavender body butter before washing dishes – the oil acts as a barrier against the water, and I notice my hands don’t feel as dry afterwards.

The recipe yields only a few ounces of organic coconut oil lavender body butter, but you won’t need much – a drop half the size of a dime is enough to coat your hands.

Here’s how to make it! (Summary recipe at the end of this article).
Here's how to use raw organic coconut oil and lavender to create salon-worthy body butters! Only 2 ingredients - make it today with ingredients already in your pantry! From FrugalChicken

1. Spoon 1 cup of raw, organic coconut oil into a mason jar, or other heat safe bowl.

I use mason jars because they’re readily available in my house, and I know they’re heat safe.

They also reduce splatter when you whip the body butter.

Here's how to use raw organic coconut oil and lavender to create salon-worthy body butters! Only 2 ingredients - make it today with ingredients already in your pantry! From FrugalChicken

Just spoon your raw coconut oil into it – the oil will automatically settle at the bottom.

2. Crush your lavender slightly to allow the essential oils to be released, and add to your mason jar.

https://instagram.com/p/4krRV6C8zj/?taken-by=thefrugalchicken

Don’t skip this step – you don’t have to demolish the leaves, just nick them a little so the oils in the plant can release while they’re heated. 

If you don’t crush them a little, you’ll still get the essence infused with the raw coconut, but you won’t gain the entire raw healing properties of the plant, so be sure to do this step.

Lavender has properties to help soothe and relax you, and, like coconut oil, it is reputed to have antiseptic and anti-inflammatory properties. 

You can use any essential oils you want in this recipe. I prefer raw lavender because it has a lot of healing properties, and I grow a TON of it in my herb garden so I have it available.

Just drop the leaves in the mason jar with the organic coconut after you’ve nicked them.

3. Add about an inch of water to a pot, and place your mason jar inside to create a double boiler.

Simply place your mason jar inside the water, being sure to prevent water from getting inside the jar.

Don’t cover the jar, since you want any heat or steam that might have built up to escape.

It also makes it easier to check if the herbs are doing their job, and to determine when the leaves are spent.

4. Turn the heat on low – as low as possible.

You want to heat the organic coconut oil to melt it, but you don’t want to boil it – so be sure your oven stays on the lowest setting. 

You’ll allow the raw mixture to melt and fuse together over a 1-2 hour period – let your nose tell you when the raw leaves are spent. You’ll know because you’ll smell the released lavender oils.

You’re looking to melt the coconut oil and infuse it with the essence of the herbs.

That only happens when it melts over a longer period of time, and the leaves start to break down, combining the plant’s essential oils with the coconut oil.

You’ll also be able to tell when the leaves are spent because they’ll look dark and withered (because their oils have been released).

5. Once the coconut oil is melted fully and it seems like the lavender has infused it, strain the mixture.

I used cups I usually poach eggs in because they fit nicely into the mouth of the mason jar and have holes on the botton, but any strainer will work. 

You can compost the raw leaves, or eat them yourself (chickens don’t really like lavender, and large quantities can be poisonous because of the oils, so keep them away from your flock).

6. Allow to cool in the fridge

You want to cool the organic coconut oil mixture, but you don’t want it frozen rock solid. 

You’re looking for it to be firm to the touch.

Here's how to use raw organic coconut oil and lavender to create salon-worthy body butters! Only 2 ingredients - make it today with ingredients already in your pantry! From FrugalChicken

This step is important, however, because the oil needs to firm up in order to whip into a frothy butter.

If it’s really firm when you take it out of the fridge, let it melt a little before whipping it. 

7. When firm, pull the mason jar from the fridge, and begin whipping the oil.

This step is where the magic happens – your raw coconut oil and lavender become a beauty product you’ll turn to daily.

Using an electric mixer (you’ll have a hard time whipping this by hand), whip the butter until it’s creamy.

It might take a while, and you’ll have to guide the mixer to make sure you’re getting all the solid oil.

Here's how to use raw organic coconut oil and lavender to create salon-worthy body butters! Only 2 ingredients - make it today with ingredients already in your pantry! From FrugalChicken
When I make this I whip as much as I can, then remove the soft cream, and continue to whip what’s left.

You might find that at first, it’s difficult to get the whipping action started, but as friction takes over and begins to soften the coconut oil, it will get easier.

8. Transfer to a clean jar, and store!

Here's how to use raw organic coconut oil and lavender to create salon-worthy body butters! Only 2 ingredients - make it today with ingredients already in your pantry! From FrugalChicken

Once your raw coconut oil has transformed into a moisturizer, you can either leave it in the jar you created it in, or transfer to clean jar.

Since I tend to make my organic body butters in stages, I transfer it to a clean jar, and leave it covered.

If lavender isn’t your thing, you can try a different essential oil, but the stages of the recipe remains the same.

I hope you enjoy this body butter made with raw organic coconut oil!

Here's how to use raw organic coconut oil and lavender to create salon-worthy body butters! Only 2 ingredients - make it today with ingredients already in your pantry! From FrugalChicken

Using every bit of something is satisfying, rather than letting it go to waste, isn’t it?

On our homestead, we try to use every bit of an item or find an alternative use for it before tossing it in the trash. We’re frugal like that.

Here’s 5 items you might otherwise throw away that you can recycle in very useful ways if that’s part of your homesteading goals.

It’s free and oh so frugal, and reduces the amount of trash you have to dump!

And who doesn’t feel better and more independent after finding an alternative use for something that will benefit your homestead?

Don't throw these 5 items away! Create something healthy with them instead! Here's 5 homesteading hacks to turn items you usually toss into something frugal you'll use every day! From FrugalChicken

1. Make bone broth with leftover roast chicken

Don't throw these 5 items away! Create something healthy with them instead! Here's 5 homesteading hacks to turn items you usually toss into something frugal you'll use every day! From FrugalChicken

Have roast chicken for dinner? Don’t just dump the leftovers – make bone broth!

Bone broth is one of the healthiest foods out there – when you make it, all the minerals from the bones are extracted.

You’re left with a liquid that the French call a “restoratif,” or “restorative” in English.

Why? Because for weary travelers, it helped restore their health from dusty and long trips.

Don't throw these 5 items away! Create something healthy with them instead! Here's 5 homesteading hacks to turn items you usually toss into something frugal you'll use every day! From FrugalChicken

It’s also incredibly frugal – after all, you’d likely just throw the leftovers away. But now you have the basis for a whole other meal.

Eat it alone, or use it in your favorite savory recipe in place of water.

Not sure how to make bone broth?

Once you boil the bones the first time, you can boil them again for a secondary broth – perfect for adding to rice to enrich a risotto or use it in place of water when baking bread.

If you have leftover bones, use them to increase the collagen in your broth – some people consider it a great restorative for all kinds of ailments, including making your skin glow.

You can use pork, beef, or fish bones (some people even use shellfish leftovers!).

Don't throw these 5 items away! Create something healthy with them instead! Here's 5 homesteading hacks to turn items you usually toss into something frugal you'll use every day! From FrugalChicken

2. Use leftover cores and peels to make apple cider vinegar

Making apple pie or cobbler? Don’t throw away the peels and cores – make apple cider vinegar instead!

Don't throw these 5 items away! Create something healthy with them instead! Here's 5 homesteading hacks to turn items you usually toss into something frugal you'll use every day! From FrugalChicken

It’s much easier and less mysterious than you’d imagine – if I can do it, I promise so can you. It’s a great way to make use of leftover bits.

Making vinegar is the act of fermenting the peels and cores until they turn into cider, then into vinegar.

It’s something our homesteading ancestors did (I don’t really think they just tossed those cores), and you can do it too.

It seems like you’re taking a chance (I was there once too!), but it’s better than just tossing the peels into the trash, and you might find you have a knack for it.

And believe me when I say that the taste of homemade ACV completely smokes the taste of store bought vinegar. It’s potent stuff that has more flavor, bite, and tang than anything you can get at the grocery.

https://instagram.com/p/4YHpXMi86l/?taken-by=thefrugalchicken

If you use ACV in your salad dressings, or even when you have a cold, you will want to save some coin and make your own.

3. Use leftover egg shells to add calcium to your chickens’ diet

Don't throw these 5 items away! Create something healthy with them instead! Here's 5 homesteading hacks to turn items you usually toss into something frugal you'll use every day! From FrugalChicken

If your chickens have weak eggshells (the shells crack easily), you need to pump up the calcium to their diet. One way to do that is to give them egg shells, which are chock full of calcium, to their diet.

To include egg shells to her diet, just crush them up and toss into their run, or add to their feed. Be sure to incorporate only to that day’s ration so the shells don’t rot the entire bag of feed.

It’s a great way to boost her calcium intake without spending a dime!

(Don’t have chickens? Grind the eggshells and throw into to your coffee for a less bitter brew! Get this hack here!)

4. Make a cherry stone bed warmer

Cherry stone bed warmers were one way, back in old homesteading days when every bit of something had a purpose, families would keep warm during the winter.

Don't throw these 5 items away! Create something healthy with them instead! Here's 5 homesteading hacks to turn items you usually toss into something frugal you'll use every day! From FrugalChicken

Swiss children used to collect the stones, which were then washed, sanitized, placed into a cloth sack, and heated over hot coals.

If you can sew in the least bit (any homesteading guy or gal can), you can make a cherry stone bed warmer.

Before you put the stones into the sack, though, be sure to boil them for 5 minutes to ward off any moldy nasties.

Dry them in an oven, spreading them into a single layer on a baking sheet. You’ll know the stones are done when they’re evenly colored.

Don't throw these 5 items away! Create something healthy with them instead! Here's 5 homesteading hacks to turn items you usually toss into something frugal you'll use every day! From FrugalChicken

If you don’t have too many cherries, but still want to try making a small warmer, it’s an alternative to disposable heat packs.

5. Use leftover whey to add protein and flavor to meals

Yes, this is the same stuff Little Miss Muffet ate.

Don't throw these 5 items away! Create something healthy with them instead! Here's 5 homesteading hacks to turn items you usually toss into something frugal you'll use every day! From FrugalChicken

If you make cheese (if you don’t, you need to learn this easy homesteading skill), you’ll be left with a lot of leftover whey.

This isn’t the same as the powdered stuff you buy at health food stores (that’s filled with who knows what since that industry isn’t regulated).

This is honest-to-goodness real food that has excellent nourishing properties.

Use for whey in place of water when cooking or baking. You’ll give a protein punch to any meal, and you’ll be using something you’d otherwise trash or compost.

Don't throw these 5 items away! Create something healthy with them instead! Here's 5 homesteading hacks to turn items you usually toss into something frugal you'll use every day! From FrugalChicken

It’s a great addition to bread, and it gives dough a tangy taste, as well as adding extra protein and probiotics. This is one way I personally use whey (full disclosure: my kids like to drink it, and since it’s full of good stuff, I let them).

Use it in place of water when making rice, or pour it into soups for extra nutrition. It’s just another way to make meals more nourishing than they would be otherwise.

And whey from different cheeses tastes slightly different, and each adds it’s own special blend of proteins and nutrients to your meal.

Hopefully these 5 frugal homesteading tips have jogged your thinking! What are your favorite items to reuse?