Have you ever been weeding or working with wood, and come inside with pricklies under your skin? Then you’ll want to grab a jar of my favorite Amish Black Drawing Salve!
Amish Black Drawing Salve is a traditional recipe that’s found a resurgence in our modern times – and it’s pretty easy to make yourself.
Even better, the ingredients in the Amish Black Drawing Salve recipe below have myriad uses around the house – so investing in them is a good idea for an all-natural homestead.
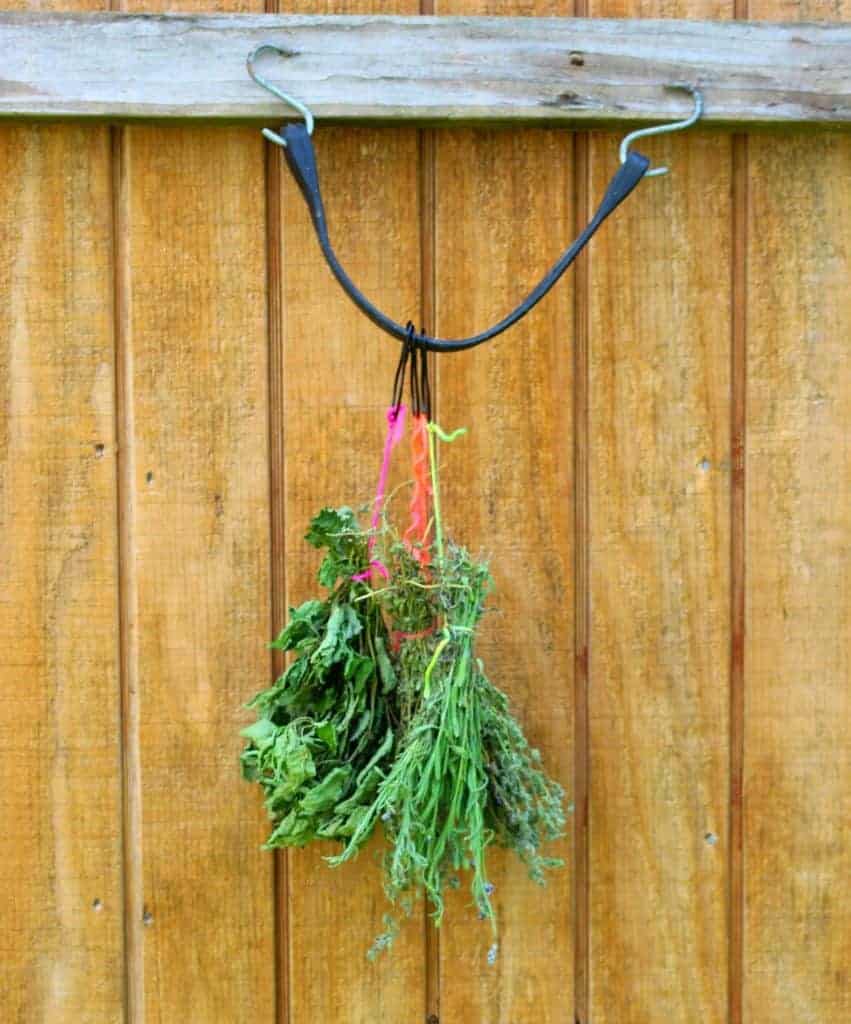
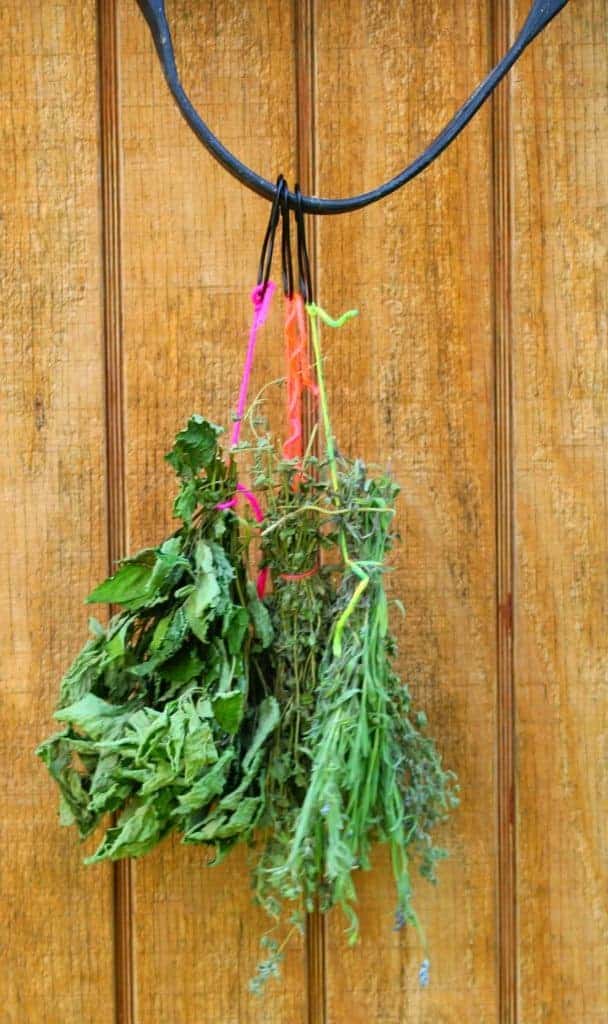
I’ve found Amish Black Drawing Salve particularly helpful after weeding the garden, when you might have brushed up against some prickly plants (the hyssop on this recipe is GREAT for that).

You can also use it if you’ve been working with wood and suddenly find yourself with a splinter.
Traditionally, Amish Black Drawing Salve is made with pine resin, and if you can get your hands on it, you can add it to this recipe – you’ll have to play with it a bit.
To replace the pine resin, I add pine essential oil – it accomplishes the same thing, and is easy to store with multitude other uses around the house (cleaners, for example).
I also added hyssop, which is great for supporting healthy skin. In fact, it’s my go-to when I want to improve the appearance of my skin. Similarly, carrot seed is great for supporting healthy skin.
The lavender in this Amish Black Drawing Salve adds it’s soothing properties while giving the salve a scent most people will appreciate (rather than something off-smelling, which some home remedies have).
Children, especially, are sensitive to smells, and might not want you to use it on them if your Amish Black Drawing Salve smells funky.
There’s a lot of different ingredients listed, but if you collect all the items before you make the salve (I’ve listed where you can get them for easy shopping), the actual steps are very simple.
Trust me, this looks a lot more complicated than it is.
Amish Black Drawing Salve Ingredients
- 2 tablespoons comfrey, calendula, and/or plantain infused oil (leave comfrey out if you have an open wound)
- 2 teaspoons shea butter
- 1 tablespoon raw organic honey
- 2 tablespoons coconut oil
- 2 tablespoons beeswax pastilles
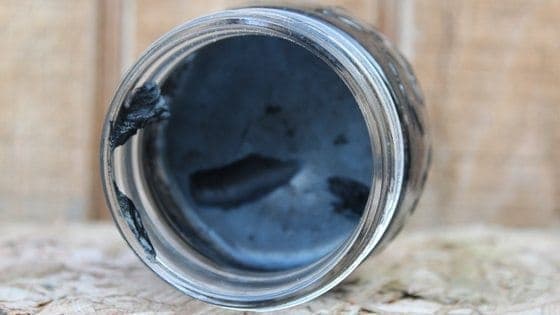
- 2 tablespoons food-grade activated charcoal powder
- 2 tablespoons white kaolin clay
- 10 drops lavender essential oil
- 5 drops carrot seed essential oil
- 5 drops hyssop essential oil
- 5 drops pine essential oil
(I’ve done a lot of research, and this is the brand of essential oils I recommend)
How to Make Amish Black Drawing Salve
Add the oil, shea butter, coconut oil, beeswax, and honey to a mason jar. Make a double boiler by heating water in a pot, then placing the mason jar in the water. You want to melt the oil, shea butter, coconut oil, beeswax, and honey so they combine.
Using the beeswax as a guide,when the mixture is almost totally melted, stir constantly for 2 minutes to ensure the honey is evenly distributed.
Don’t skip this step because you’ll find the honey might clump up in one portion of the finished salve, and it’ll be a sticky mess.
Once the ingredients are combined in the mason jar, remove from heat and add the activated charcoal powder, white kaolin clay, and essential oils.
Stir constantly until all the Amish Black Drawing Salve ingredients are thoroughly combined and then allow the mixture to cool undisturbed until solid. This step might take a couple hours.
Once cool, you can store it on a shelf and use as needed. To use, apply to the area of concern and wrap the area. Remove and reapply daily until desired result is achieved.
This recipe makes ¼ pint of Amish Black Drawing Salve – I store mine in a ½ pint jar. You can also store it in smaller containers.