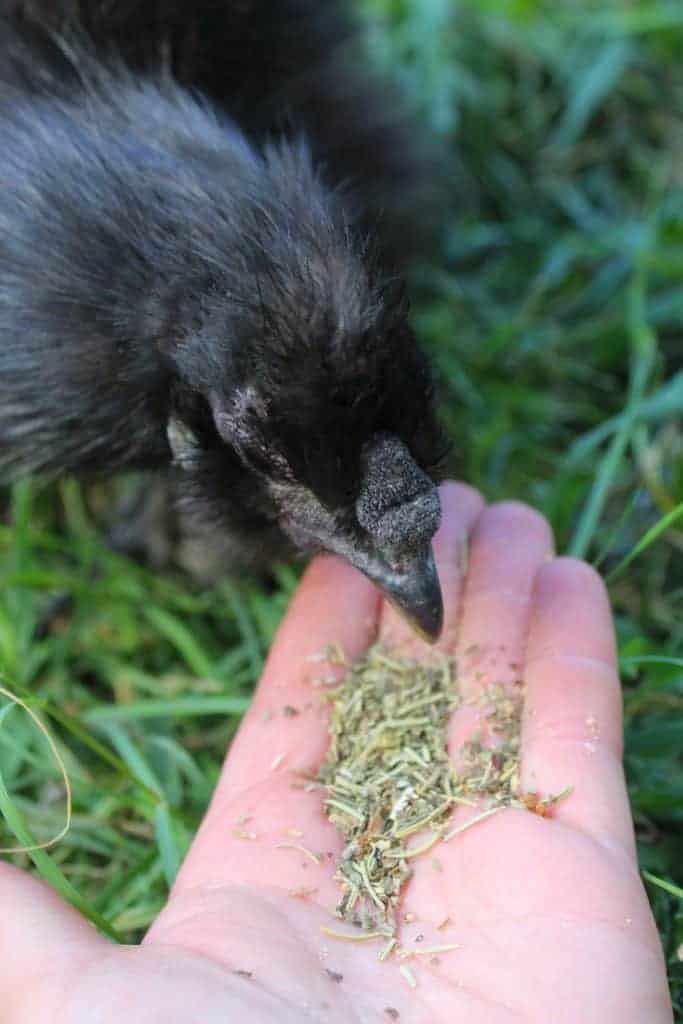
It’s August, which means it’s time to start thinking about cool weather vegetables!

(Y’all were thinking about pumpkin spice, weren’t you?)

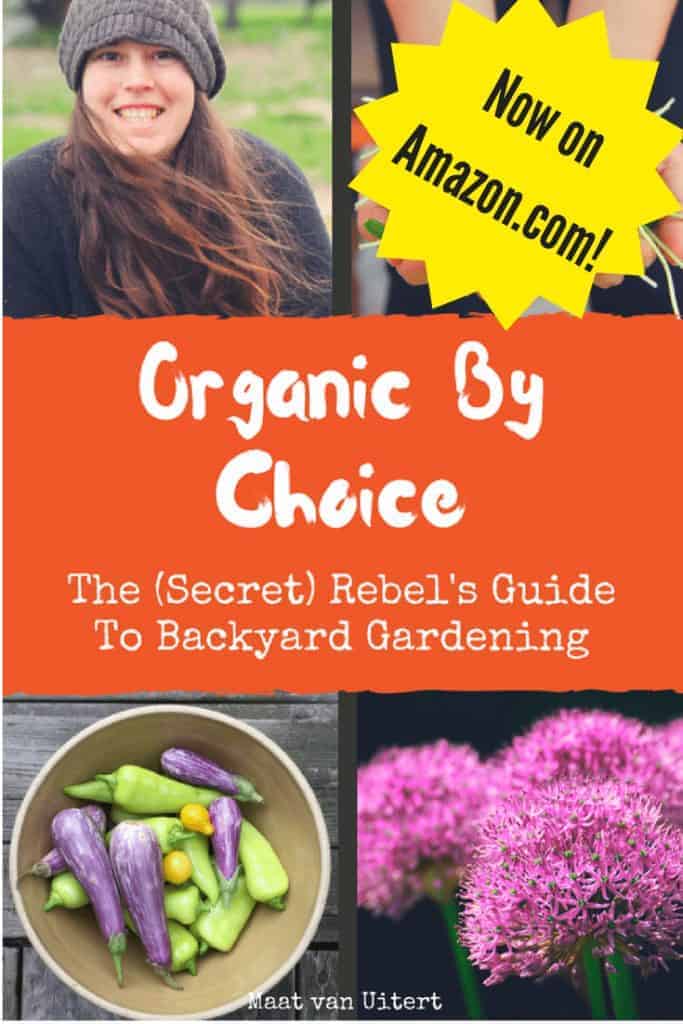
(This article is an excerpt from my #1 Amazon Best Selling book Organic By Choice: The (Secret) Rebel’s Guide To Backyard Gardening. You can grab it on sale on by clicking here!)

Even though it’s still hot in most of the US, the reality is that soon it will be chilly and crisp and ready to break out the Halloween candy.

But not quite yet – there’s still plenty you can plant to harvest before frost hits….AND plenty you can plant and overwinter.

Here’s 11 vegetables and herbs you can start right now, even if you’re a little late to the game!

11 Vegetables You Can Start In August For A Full Fall Harvest

Beans

Beans, beans, the magical fruit….Right now you can plant both pole beans and bush beans.

We’ve planted bush beans because it’s very hot and humid into October, and I’ve noticed vining plants don’t do so well in the super hot months (we’re in Zone 7). Bush-type plants also help conserve water.

You can either plant a lot of beans at once (and then you’ll have to preserve large batches – just be aware of it) or succession plant every 7 days from now until August 15.  

Give them a Southern exposure so they get as much light as possible.

Cabbage

If you haven’t gotten your sauerkraut quota for the year yet, there’s still time to plant some cabbage. In our area (Zone 7), cabbage planted in March doesn’t do so well in the heat of June, so a late summer planting (with a maturity date in October) fairs better – cabbage loves cool weather.

If your cabbage hasn’t fully matured by the time frost hits (it can survive in low temps down to about 25 degrees), harvest the large leaves for wraps – super yummy!

Cover Crops

Cover crops, such as clover, buckwheat, alfalfa, and any other member of the Little Rascal’s gang, can help preserve your top soil and add nutrients that’ll feed your plants the following spring.

Another option is winter wheat (and that’s probably what I’ll go with because it’s readily available here).

The type of cover crop you should plant will depend on your zone, so do a bit of research to make sure you pick one that can withstand your local climate. Start now so they’re established before frost sets in.

Garlic

It’s not just to ward off vampires and bad dates. Garlic is best planted in late August and over wintered for harvest in June the following year. You can read here exactly how to do that.

Just be sure to over winter with lots of straw on top to prevent freezing. Try elephant varieties for milder taste or for using in herbal remedies.

Kale

Who doesn’t love kale? If you don’t want kale chips or kale salad, you can always add it smoothies. Plant by mid-august, and wait until after a mild frost to harvest – the leaves will be sweeter!

If you’re cool with cold frames, you might even be able to overwinter if you place your kale in a southern-facing exposure.

Lettuce

Lettuce is super boring…until it’s the only thing growing in your garden. Then it’s better than Betty White, like little green bits of spent summers.

Start sowing your lettuce now, and it should be well-established by fall. Choose early-maturing varieties for best results (and abundant late-fall salads).

Mustard Greens

Mustard greens aren’t the sexiest leafy greens, but they have their place. Plant them now, and harvest after a light frost. They’ll taste sweeter and add a little bit of spice to your salads.

Water consistently during the hot days of August, and don’t use them for wraps after harvest – WAY too much spice (unless you like that sort of thing. Then totally go for it).

Peas

I’m not a huge fan of peas, but even I get into them when it’s time to plant a fall garden. Choose early-maturing varieties, and consider green peas or sugar peas because they taste oh-so-sweet.

If you have too many to preserve all at once, then you can easily freeze them in small batches for winter soups and stews.

Radishes

Radishes are probably the most overlooked, instant-gratification vegetable out there. But plant some now, and you’ll be rolling in them within 30 days.

Succession plant every week until 30 days before the last frost date. Radishes can withstand a light frost, but a hard frost will do them in.

Spinach

Spinach is so cool you might even be able to overwinter it. At least, in Zone 7, we can! (No cold frame needed…..)

Start it now, add it to breakfast smoothies come October. Loves cold weather, less than 12 hours of sunlight, and long walks on the beach.

Turnips

You can grow turnips for the leaves and the roots. It’s like two veggies for the price of one, and if for some reason the roots don’t grow into purple and white globes, you still have SOMETHING to harvest.

Broadcast turnip seeds then thin to at least 4 inches apart. Harvest when the roots are about the size of golf balls so they’re tender and not woody.

The leaves are sublime lightly cooked in olive oil, but please – don’t do what my mother-in-law does and slop them so full of oil they’re like looking at a heart attack – be gentle with the oil. Mix with mustard greens for a tasty side dish.

Today’s daily question comes from a reader who’s finding water in the eggs her hens lay.

Yep, it was a mystery to me at first as well, but after asking some questions, I was able to sort out why this hen has been laying eggs filled with water – and my answer is not to be missed.

I also answer questions about how to break a hen who has gone broody, which hens you can raise if you WANT a broody hen, and whether Rhode Island Reds are good for hatching eggs.

You can see all my answers in this 7 minute video here:

If you have a question about raising chickens you’d like answered, you can email me at [email protected]! While I can’t answer every question live, I do my best to answer as many as possible!

It’s time for this week’s Adorable Coops! Here’s 6 original and beautiful chicken coops you’ll love!

Who wouldn’t want these in their backyard??

https://www.instagram.com/p/Bl_zTMxHBuA/?hl=en&tagged=chickencoop

https://www.instagram.com/p/BmBDjpPntT3/?hl=en&tagged=chickencoop

https://www.instagram.com/p/BmAQTcgAyQR/?hl=en&tagged=chickencoop

https://www.instagram.com/p/Bl_iblYgqHv/?hl=en&tagged=chickencoop

https://www.instagram.com/p/Bl_NsHGAsl9/?hl=en&tagged=chickencoop

https://www.instagram.com/p/Bl-6WDnh3aX/?hl=en&tagged=chickencoop

Hey y’all! Here’s this week’s sneaky peek photos of life on our farm!

These images also appear on my Instagram account where I share MANY more photos and stories from the farm!

If you aren’t yet following me there, you can right here.

Enjoy the photos & be sure to share some of yours with me!

https://www.instagram.com/p/Bl_1PV-F0sG/?taken-by=pamperedchickenmama

https://www.instagram.com/p/Bl9UZDolwX3/?taken-by=pamperedchickenmama

https://www.instagram.com/p/Bl6viapFzO0/?taken-by=pamperedchickenmama

https://www.instagram.com/p/Bl4H1htlJxv/?taken-by=pamperedchickenmama

https://www.instagram.com/p/Bl1jKDtFDdv/?taken-by=pamperedchickenmama

https://www.instagram.com/p/Blt1KbRFyPn/?taken-by=pamperedchickenmama

It’s August – and there’s plenty you can do in your coop to keep your hens healthy!

It’s almost Back To School season and the holidays are fast approaching – now is the time to prepare for fall, and at a minimum, make decisions you can implement later that’ll keep your backyard chickens healthy and happy throughout the cooler months.

August is also a time to be extra vigilant about the heat!

Here’s what to do in your coop in August!

What to do in your backyard chicken coop in August

 Keep making sure your hens are cool with these tips here. 

You can also add a window if things are still blistering hot.

Start preparing for molting

Chickens don’t always start in August but some do, and its best to be prepared. Chickens start molting in the fall as the days get shorter.

Add extra protein to their feed such as mealworms, black soldier fly larvae, or Fluffiest Feathers Ever!

Think about whether your coop needs any adjustments before cold weather arrives, school begins, and the holiday season approaches.

Does it need any changes or additions to keep your hens warm and out of bad weather during winter? Are there leaks that can become a problem during a freezing rain, or even rain in cooler temps?

Any areas for predators to get into? As cool weather arrives and food is scarce, your flock becomes an even bigger target.

Make sure your chickens have access to a good dust bath.

Consider adding diatomaceous earth or an herbal blend like MitesBGone to it so they’re mite-free.

Add fall decor & boredom busters to your coop

An herbal wreath to the coop door will look cute, or if you have access to pumpkins, try making a fall planter.

Looking for a cute fall decoration for your chicken coop? Make a vase out of pumpkins! (Hint: It's also super nutritious for your hens!)

You can also hang apple slices (without the seeds – they’re poisonous), herbs from your garden, or other goodies in their run to reduce boredom.

If it’s still hot, treat your flock to some frozen suet cakes!

Recycle waste from your vegetable garden in your coop

Your hens will love the additional treats! Keep dried beans, potato skins, apple seeds, and stones from fruit out of the coop.

Some people add a compost pile to their run for the hens to help turn over – it’s up to you whether this works for your flock.

But be sure to clean your coop weekly!

You’ll want to reduce manure and ammonia load (from their waste) as the days continue to be hot.

Hi I’m Jenn! Last month I shared a rustic welcome sign and I’m back this month to share another rustic home decor project for you to build and enjoy in your home.

When you build furniture and work with wood, one of the side effects is scrap wood.  I end up with odd shapes and sized pieces of wood. These pieces of wood were cluttering up my work area so I knew it was time to create some chevron pieces using scrap wood.

I recently updated an area of my family room and I felt like it needed something small to hang on the wall.  These chevron wood pieces were going to fit perfectly.

We’ve lived in our home for 15 years and it’s taken me that many years to figure out what to do with our home.  

Now that I know exactly what I want, I want to change everything at once which is hard on the pocketbook.

I don’t have an open budget so sometimes I really need to think outside the box and make sure that I’m not wasting anything.  Which allows me to really get creative with things.

Since I have so many pieces of wood that are less than 12” long, I need to find creative ways to use them because furniture and shelves usually use pieces longer than that.

I had a bunch of leftover 1×3 pieces so I thought they’d be perfect to use.  So if you’re like me with leftover wood, then here’s a project made for you.

Scrap wood

The supplies you’ll need for this project are:

  • Scrap 1×3’s at least 6” long
  • Pencil
  • Tape measure
  • Angle square
  • Miter saw or hand saw
  • Wood glue
  • Straight bracket
  • Stain
  • Craft paint
  • Wall mount hardware
  • Ear and eye protection

Once you have all of your supplies ready it is time to measure.  The pieces are going to be cut at a 45-degree angle so you’ll need a little extra wiggle room for that.

I made 3 chevron pieces so you’ll need 6 pieces total for this project.

I started off by measuring the pieces. The chevron pieces are 4.5” each. I used an angle square to make sure I was getting a precise angle as you can see below.

Measure for the wall decor

45 degree angle measurements

Once the measurements are made it’s time to make the necessary cuts.  If you’re using a miter saw, set it to 45 degrees. If you are using a hand saw, cut along the line you made.

Make necessary cuts

Now that you’ve made all necessary cuts it’s time to sand each piece so it’s smooth and ready to take stain.

Sand the wood

It’s time to stain each piece.  I didn’t stain the back because no one will see it, so I stained the top and each side.  One thing to consider before you start staining is to remember to put the pieces together, so you are staining the correct sides.  I didn’t do that so I had to cut more pieces…

Stain the wood

Allow the pieces to dry for about 2 hours.

Once your pieces are dry it’s time to attach them.  I used straight brackets and wood glue to attach the pieces together.  

Add the glue and then add the brackets to the back.  You can see in the photos below.

Add wood glue

Attach back brakets

Allow the pieces to dry overnight so the glue has time to set.

The next step is to add craft paint.  I wanted to add a little color to the corner so I decided to paint them 3 different colors.  

  • White
  • Dark blue
  • Light blue

I added a coat of paint to each piece and allow to dry for about 2 hours.  I wanted the pieces nice and dry.

Apply craft paint

Once the pieces were dry I wanted to give them an aged and rustic look so I sanded them down.  The original dark stain was able to come through after I did a little sanding.  Each piece looks a little different as you can see.

Add an aged look

Once they were done I added some picture hanging hardware to the back and attached them to the wall and here’s the final product.

chevron wall decor

chevron wall decor

Now I feel like this corner is complete.  I have my blankets on display, some extra storage for my family room in my console table and I feel like these chevron pieces really helped give it a rustic feel.

wall decor

If you wanted to try a woodworking project then this is a perfect place to start.  You don’t need to purchase new equipment for this project and if you don’t have extra lumber laying around, no problem, you can pick up a 1×3 for about $2 or $3, so this project will not break the bank.  You can also customize this to your liking. You can use larger pieces and you can use different colors allowing you to make this your own.

I’d love to know if this is something you’ll be trying soon!?

Jenn is a mother of 2 daughters and a wife of a very patient man.  She loves to build furniture, create home decor, and develop creative ways to organize different areas of her house.  When she isn’t crafting up her new blog post at Home by Jenn she is enjoying the outdoors with her family and training for the next marathon.  You can learn more about her at HomebyJenn.com.