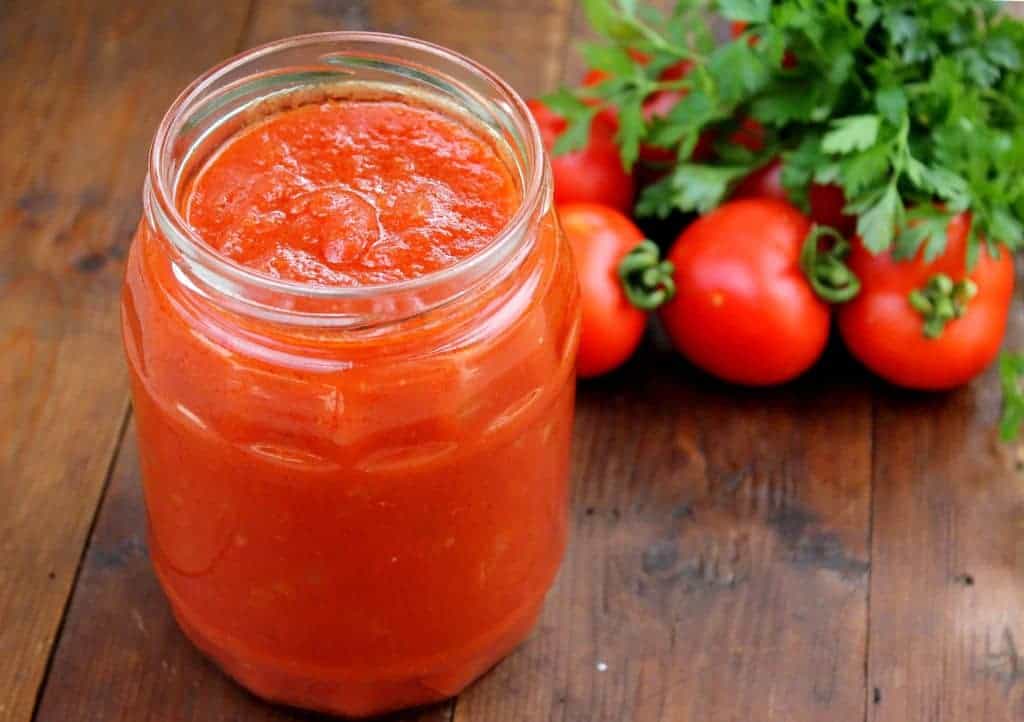
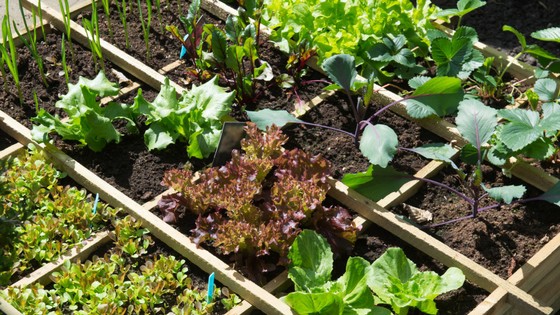
This year we’ve been lucky enough to have bumper tomato and squash crops – which means it’s time to get canning vegetables!
I’m a huge salsa fan. Like yogurt and mozzarella, salsa is one of those things I can always eat. So I make sure to can a TON of it to keep me going throughout the winter.
When you can anything, salsa included, you need to make sure you do it right. The last thing you want is to ruin the harvest you worked so hard to preserve or worse – get sick.
How to get started canning vegetables:
Step 1: Observe safety rules such as making sure you process your canned vegetables according to standard safety practices.
Step 2: Have necessary tools such as mason jars, lids, rings, and a water bath or pressure canner on hand.
Step 3: Decide whether you’ll use a water bath canner or pressure canner, and familiarize yourself with your unit’s instructions for use.
Step 4: Clean and sterilize your jars by washing them in warm, soapy water.
Step 5: Pack your jars according to the recipe you’re using.
Step 6: Process your jars of vegetables.
Step 7: Store your jars in a cool location away from sunlight.
But here’s the deal:
Canning is one of those things you can learn in an apartment or on a 100 acre homestead – which means you can start building your homestead anywhere.
If you live in an apartment or your HOA won’t let you grow food, just head down to a farmers market and buy as much of the freshest in-season produce you can afford.
You can also can most meats and fish – so if you buy your meat in bulk, have a lot of luck fishing, or just find a great deal at a store you don’t wan’t to pass up, you can preserve it for later.
What do I really love about canning?
During the coldest days of winter, you can still have a taste of summer.
Canning basics
Why bother?
While this is fairly intuitive, the point of canning anything, salsa included, is to preserve the freshest foods for times when they might not be so abundant.
That being said, the first step to learning to can salsa is to choose only use the freshest food, and make sure your ingredients are free of mold, soft spots, or any discoloration. In this case, the quality of your salsa ingredients counts!
Safety first
The number one rule of thumb is to not make certain canning mistakes, which means you want to make sure you remove oxygen, destroy enzymes and prevent the growth of undesirable bacteria, yeasts, and molds that threaten to destroy your harvest and render the food unsafe.
You want to use a method to can your salsa so that the glass jars and lids form a good vacuum over your harvest so that liquid stays in, while air and microorganisms stay out of the jar so they don’t destroy it.
Necessary tools for canning vegetables
Luckily, to can your harvest, you’ll only need a few inexpensive tools.
First, you’ll need mason jars, lids, and rings, which can be purchased online or at any grocery store.
The mason jars really are a great investment because they can be used for many, many years.
When we first moved to our homestead, the previous family had a huge collection of old mason jars they passed down to us – score!
Even though they were decades old, they were still very usable.
You’ll also need a few specialized tools, such as:
- A plastic or stainless steel funnel
- A stainless steel ladle
- A canning jar lifter with rubber grips
- A good pair of kitchen tongs
- Magnetic lid lifter and bubble remover
- Pressure canner
You can purchase these items individually, but your best bet is to buy a kit (you will have to purchase the pressure canner separately) – that way you’re getting everything at once, and when you start to can, you won’t have missed anything.
Using a pressure canner
Pressure canners used to get a bad rap because old, old models had a possibility of exploding. (pressure and all…)
But today’s models are more advanced and a perfectly safe. If you can find a used one, go for it.
Buying new works as well (full disclosure: I purchased mine new because I wanted to make sure it would work.)
Follow the directions that come with your pressure canner to use it properly.
Clean and Sterilize Your Jars
Be sure to have all your tools on hand before starting, and decide what size mason jars you will use. They are available in ½ pint, pint, 1½ pint, quart, and ½ gallon sizes.
Before you use your mason jars, wash them in hot, soapy water or run them through the dishwasher. Just be sure they’re free of soap when they’re clean so the flavor of your food doesn’t get ruined.
You can also soak mason jars for several hours in a solution containing 1 cup of vinegar per gallon of water.
Sterilizing your jars
You will need to sterilize your jars for anything you want to preserve that will be processed less than 10 minutes.
Before sterilizing your jars, prepare the food you want to can. You will place your food into the jars immediately after they’re sterilized.
To sterilize your jars, place them right side up on the rack in pot of boiling water. The rule of thumb is to fill the pot and jars with hot water to 1 inch above the tops of the jars.
Boil 10 minutes at altitudes of less than 1,000 ft.( At higher elevations, you should boil for 1 additional minute for each additional 1,000 ft.)
Using your canning jar lifter, remove your sterilized jars and fill them with the food you want to preserve.
Remove your lids and rings from the water using the magnetic jar lifter
For jams and jellies, or anything with liquid, it’s a good idea to use your funnel.
Top with the lids, making sure to tighten the screw bands.
Processing your jars
The best book on the market for processing times is the Ball Blue Book.
Every homestead that wants to can their harvest should have a copy on hand. For the value, the price is negligible.
Once you’re done processing your jars, don’t retighten the lids. You’ll know they’re properly sealed when you hear a “ping” after you process the jars and the tops are indented.
Store your jars in a cool location away from sunlight.
It’s necessary to store them below 95°F, and it’s optimal to keep the temperature between 50° to 70°F to maintain the quality of your canned produce.
I’d love to hear from you!
What will you try canning first? Leave a comment below, or email me!
Like this article? Try these recipes!
Maat van Uitert is a backyard chicken and sustainable living expert. She is also the author of Chickens: Naturally Raising A Sustainable Flock, which was a best seller in it’s Amazon category. Maat has been featured on NBC, CBS, AOL Finance, Community Chickens, the Huffington Post, Chickens magazine, Backyard Poultry, and Countryside Magazine. She lives on her farm in Southeast Missouri with her husband, two children, and about a million chickens and ducks. You can follow Maat on Facebook here and Instagram here.


Thank you so much for helping make our lives simpler!
You’re welcome! Glad you like the article!
Great article. I canned my first ever thing yesterday, green tomato salsa. I’m still crazy nervous about killing my family though….I think I read too much on botulism!
Me too!! You never get your peace again!
My Great Aunt, living in upstate NY would grow zillions of tomatoes in a narrow city lot. On a dedicated weekend, when the weather cooled, she would harvest the crop and can it. I was one of the “volunteers.” This was in the late 50s and early 60s. I was just a kid, but I learned how to can tomatoes. By the end of the day on Sunday, there were canned tomatoes everywhere. Dozens and dozens of them. She kept enough to get through the winter, and gave away the rest to folks who could use them.
To be sure there were plenty of stories about canning. My favorite tales were about when she and her late husband would dress up in their Sunday finest, and load up Packards fitted with special hidden tanks. Allegedly, they would transport fine spirits in bulk from Montreal to NYC during prohibition.
No wonder she always had a twinkle in her eye!
What a great story! Thank you for sharing!