You can’t make goat milk soap (or any soap) without lye, but I’ve shied away from it for the most part.
While handling lye isn’t that dangerous (precautions are necessary but many people use it with goat milk without problems), I know a lot of you aren’t comfortable handling it.
But the benefits of goat milk soap can’t be swept under the rug, and it’s the only soap we use on our homestead.
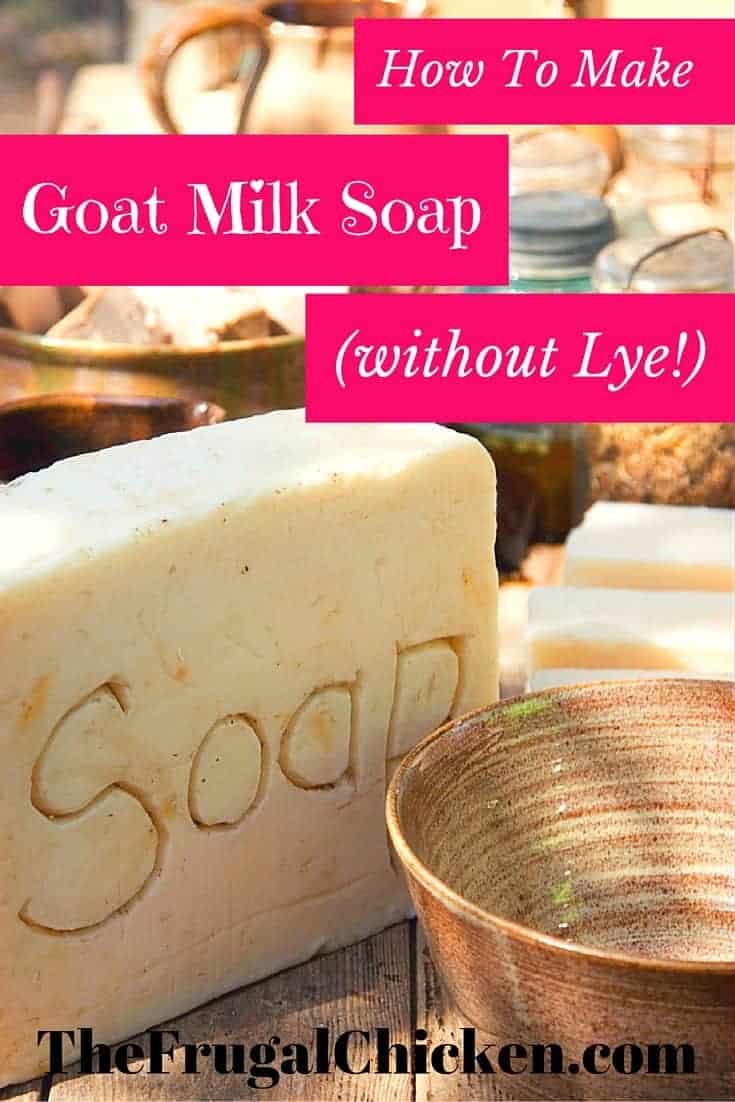
That’s why I’m a fan of melt and pour soap base, which lets you make your own custom goat milk soap without handling lye.
In this article, we’ll cover how to make your own luxurious, custom goat milk soap without using lye.
This is a very simple step-by-step process that anyone can master. If you don’t want to watch the video above, here’s the process I use to make custom goat milk soap without lye right on our homestead.
Ingredients
Melt & Pour Soap Base
Essential Oils
Anything else you want to add (flowers, oatmeal, almonds, you name it)
Choose a goat milk soap base
For this recipe, I used Stephenson Melt & Pour Goat Milk soap base, but you can use any you want.
Remember: You can’t make soap from scratch without lye, so your soap base will contain lye, but all the hard work is done for you.
It’s been cured, and the lye is neutralized, making it completely safe to handle.
https://instagram.com/p/9gramcC8wV/?taken-by=thefrugalchicken
Once you’ve decided which soap base to use…
Cut the goat milk soap into small pieces
You want to make the pieces as small as possible. I cut them into 1″ or 1/2″ cubes.
The smaller the cubes, the faster it will melt.
Set up a double boiler, and add your goat milk soap to the top boiler.
If you’ve never used a double boiler, simply grab two pots, one smaller than the other.
Fill the larger pot halfway with water, and rest the smaller pot in it.
Put the pieces of goat milk soap base in the top (smaller) pot.
Wait for the goat milk soap to completely melt in the double boiler
Be sure to watch the top pot; as the water in the bottom pot begins to boil, the goat milk soap will melt.
Make sure the soap doesn’t boil or scorch (I’ve never had this happen), and stir occasionally so it doesn’t form a film on top as it melts.
It will start to look like goat milk as it melts – it’s quite impressive.
In the meantime…
Set up your molds
You can use any mold you want, but I highly recommend using silicone molds.
They’re easy to flip over and pop the soap out of.
They’re also heat safe, so you don’t have to worry about your mold melting on you.
Here’s the one I use:
And these two look super cute:
If you want, you can grease the sides of the molds with some oil to make removing your goat milk soap easier, but in my experience, it isn’t really necessary.
After the goat milk soap base melts…
Immediately pour the melted soap base into the mold
As soon as you remove the goat milk soap base from the heat, it will start to cool.
Use a funnel to quickly transfer it to the mold.
The funnel will help keep everything tidy (although accidents will happen as you see in the video!)
I just use a plastic funnel for easy clean up.
https://instagram.com/p/9D-5OwC83y/?taken-by=thefrugalchicken
Immediately add your essential oils and other additives
At this point, you’re customizing it and creating your own goat milk soap in your own kitchen.
You can add anything, any fragrance (or no fragrance!) or additives you want.
In the video, we add honeysuckle essential oil and oatmeal. You can add flowers, nuts, toys for kids, your imagination is the limit.
After adding your whatever you want, stir to ensure they’re mixed in.
Don’t worry if they’re unevenly distributed throughout, it’s part of the charm of making your own handcrafted goat milk soap.
Now, leave it alone for 24 hours
Allow your newly minted, custom goat milk soap (made without lye!) to sit for 24 hours.
Using a base is a little different than using lye because with lye, you have to let it sit for quite a while to let it neutralize.
When making soap without lye, you can use it almost immediately, since the lye neutralized long before the goat milk soap base hit your doorstep.
Once your goat milk soap is hard…
Remove it from the mold
You can just turn the mold upside down, and pop it out.
Pretty simple isn’t it?
If it’s necessary, you can now cut your goat milk soap into bars.
The goat milk soap we produce without lye on our homestead are 4 ounces each, but you can make yours whatever size you want.
https://instagram.com/p/9qvk7Pi8zU/?taken-by=thefrugalchicken
I’d love to hear from you!
Now that you know how to make goat milk soap without using lye, which scents will you use? Email me at editor@thefrugalchicken.com, or comment below!
(Photo credit: katiew / Foter.com / CC BY-NC-ND)
Maat van Uitert is a backyard chicken and sustainable living expert. She is also the author of Chickens: Naturally Raising A Sustainable Flock, which was a best seller in it’s Amazon category. Maat has been featured on NBC, CBS, AOL Finance, Community Chickens, the Huffington Post, Chickens magazine, Backyard Poultry, and Countryside Magazine. She lives on her farm in Southeast Missouri with her husband, two children, and about a million chickens and ducks. You can follow Maat on Facebook here and Instagram here.

![What Seedlings You Can Start In March [Planting Guide]](https://thefrugalchicken.com/wp-content/uploads/2017/02/what-seedlings-can-you-start-in-march-feature-image.jpg)


I recently started using goats milk soap base as I am leary of using lye to make it from scratch since I have cats that get into everything and am afraid I would not be able to keep the bars out to deactivate the lye and away from them at the same time. Goat’s Milk Soap base solved this problem for me. I love the lather and how soft it makes my skin. I get compliments all the time from customers (I sell it at local craft shows).
Hi Kathy, that’s similar to the situation I’m in. I started using soap base because I have small children and animals, and didn’t think I could keep anyone away from the lye long enough. Thanks for the comment.
Awesome post! Would this be safe to use on dogs? Thank you!
I have never made soap before and your video gave the courage to try. Thank You