(This fermenting article is sponsored by Fermentools. They sent me their fermenting tools to test out for this post. Of course, I only promote products I trust and use myself, so rest assured the opinions I express are my honest opinions. Don’t fret over the whole sponsored post thing – you’ll have a much better experience fermenting if you use the right tools anyway.)
Fermenting is one of those homesteading skills that intimidates people, but it’s probably one of the easiest things you’ll learn.
We ferment frequently on our homestead, not just our food, but also our livestock’s feed.
But we weren’t always so fermenting friendly. Before starting the homestead, I thought fermenting was just making fruit into wine.
But it’s more than that. It’s a way to make your food more nutritious and flavorful.
My first attempt at fermenting sauerkraut was embarrassing. I used way too much salt and it never really fermented – nothing could grow in all that salt.
But I refined my skills by reading about fermenting and trying.
Fermenting used to mystify me too, and it’s one of those skills that’s best learned by doing.
Now, I’m no microbiologist, but I’ve managed to learn to ferment without killing myself (I’ve never once gotten sick), and I’ve even gained enough knowledge to impart some of it to you.
I’m a regular person, and if I can do it, you can learn it too.
This is something you can try at home.
So, let’s take a look at fermenting vegetables and why you should try it.
The science behind fermenting
I’m going to get nerdy on you for a minute.
The main idea behind fermenting is to discourage bad bacteria from growing and to create an environment for good bacteria to proliferate.
In the days before refrigeration, fermenting was a common method to preserving foods for months.
And I can tell you it works.
I’ve tested it with produce in 80 degree heat outside, and the fermenting vegetables still looked fresh and smelled fresh after 4 days while their non-fermented counterparts were nasty and rapidly decaying.
Seriously. So it works.
Here’s the deal:
Besides preserving the harvest, fermenting creates an environment in which Lactobacillus, the good bacteria, can proliferate.
Why?
Because you’re creating an anerobic environment in which most of the bad bacteria that decompose food can’t survive.
But Lactobacillus can.
The science of fermenting vegetables is really as simple as that.
And when that happens, your vegetables transform into a different sort of food.
They’re more nutritious because Lactobacillus is known for being great for intestinal health and for making vegetables easier to digest.
To break it down:
When you ferment something, you submerge it in water or some other fluid which creates an anerobic (without oxygen) environment – bad bacteria can’t grow as well but the good bacteria can, fermenting your vegetables.
And similar to pulling weeds, as the good bacteria grow, and as the underwater environment weeds out the bad bacteria, your good bacteria “garden” prospers.
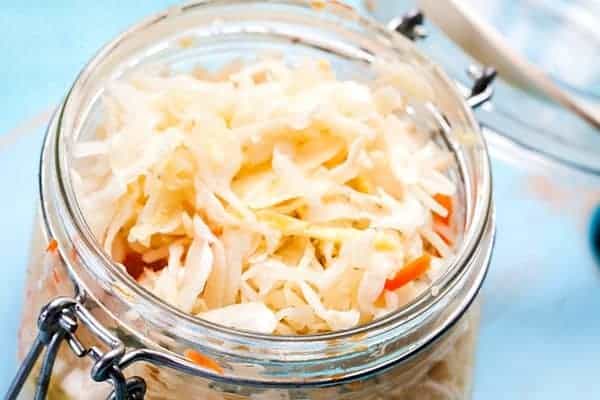
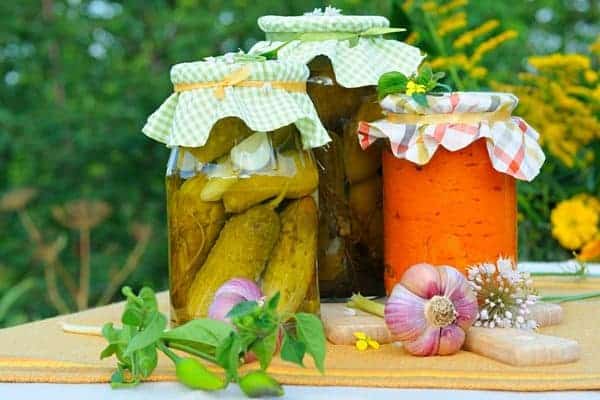
Probably the best known ferments are pickles, apple cider vinegar, yogurt (yup, yogurt), sourdough, and sauerkraut.
So, what’s the deal with this “good bacteria?”
Lactobacillus occurs naturally on fruits and vegetables, and it’s already found naturally in our body – our digestive system included.
Lactobacillus is a good thing – it increases our gut health, studies have shown.
So, when it comes to fermenting, all you’re doing is creating an environment that allows the good bacteria to grow.
The introduction of good bacteria makes the food easier for you to digest – which means your body can easily absorb the nutrients (in other words, you consume more of the nutrients).
A recent study published by researchers at the University College Cork, in Cork, Ireland, showed there’s a large connection between the health of your brain and the overall health of your gut.
It’s great for skin too. A study performed at Kyung Hee University in South Korea showed Lactobacillus, taken as a probiotic (in the form of fermented vegetables, for example), increases skin health, and boosts your immune system.
Pretty powerful stuff.
So, what are the basics of fermenting?
Water and other liquids
There’s no real magic to fermenting – for the simplest ferments, you’re submerging your chosen vegetables under water and allowing a naturally-occurring process to take place.
You can make it more complicated than that by introducing starters such as salt, whey, sugar and honey, but submerging in water or other liquid (such as a vegetable’s own juices) is the first step.
Salt, whey, sugar, and honey
When fermenting vegetables, you can add salt (e.g., create a brine) which further reduces the growth of bad bacteria (because they have a harder time living in a salty environment) or something like whey, which has a large amount of lactobacillus in it.
The salt also reduces the liquid in the vegetables you’re fermenting, making them crunchier and easier to chew.
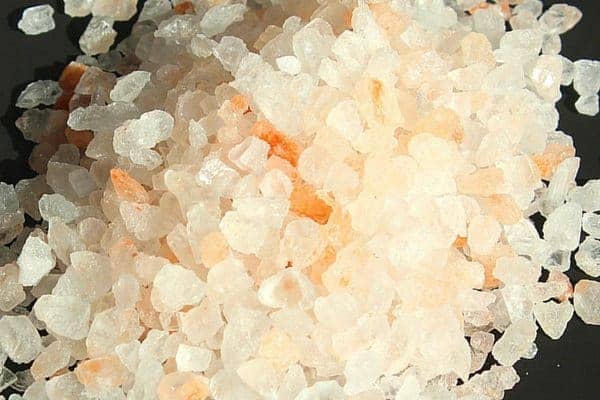
If you do use salt, I suggest using the salt Fermentools sends with their starter kit. You know you’re using the right stuff, since some salts aren’t the best options for fermenting.
The salt that comes with your Fermentools kit still contains minerals that are good for your body – other salts on the market might still retain minerals, while others won’t.
Make life easy on yourself and use the Himalayan salt that comes with your kit.
For a ferment like apple cider vinegar, you can use sugar or honey in your ferment.
How long should I let my vegetables ferment?
You can ferment for a few days to about 6 months as a very general rule of thumb (some ferments might not last 6 months, it simply depends.)
Initially, the vegetables will just soften and the taste will alter a bit.
It will taste good, and how the fermenting vegetables will taste depends on whatever your fermenting.
After a week or so, however, you’ll begin to notice bubbles forming inside your mason jar. These bubbles are a second transformation, and a very pleasant one.
Your vegetables begin to take on a fizzy quality – a sensation similar to the carbonation in very cold soda.
You can continue to ferment, which will increase the “fizzy” quality. It’s up to you.
White vs. Black or Green
At some point, your fermenting veggies might get white “floaties” in it – in all probability, that’s the good bacteria doing its thing.
If you see black or green mold or floaties, or smell something off, just dump it. It’s not worth the risk.
How to store your fermenting vegetables
While I’m fermenting my vegetables, I keep the mason jar in a cool, dark place out of sunlight.
A shelf in my kitchen suffices, and I keep it there until the veggies are done fermenting.
After, I personally keep the jar in my fridge, where the fermenting can continue (albeit at a slower pace).
In the days before refrigeration, people used to store them in cool areas of the house or a root cellar.
If you’re lucky enough to have a root cellar, you can store it there, making sure it’s covered and kept away from dust and hungry critters.
https://instagram.com/p/8CJKvcC85V/?taken-by=thefrugalchicken
When are my fermenting vegetables “done?”
It’s not that easy to answer this question about fermenting.
“Done” is a relative term.
Your fermenting vegetables might be “done” in a week or in 6 months. It just depends on how you want it to taste.
The #1 rule with fermenting is if your vegetables smell bad or rotten or taste funky, toss ’em.
Personally, I’ve not had anything go rancid.
But I always smell my ferment and taste a tiny bit before just diving in.
I personally prefer to wait between 1 week and a month before eating my fermented vegetables, but you can wait as short or as long (although it’s not recommended to wait longer than 6 months).
Some veggies, like peppers, do better fermenting for just a week or so, while others, like sauerkraut, will do better fermenting for a month or so.
It’s okay to open the fermenting jar up and peek inside to test for “doneness.”
Test it out, play with it, and see what you prefer. Part of the homesteading journey is seeing what works best for you and having fun developing a new skill.
What tools are needed for fermenting?
To begin fermenting, you will need:
- A vessel for your veggies. (A ceramic crock is traditional. Glass and food-grade plastic work well too. Avoid metal.)
- A way to weigh down the vegetables so they remain under water
- A top to keep bugs and other stuff out of your ferment
Why I like Fermentools
All that being said, here’s why I suggest you use the Fermentools kit.
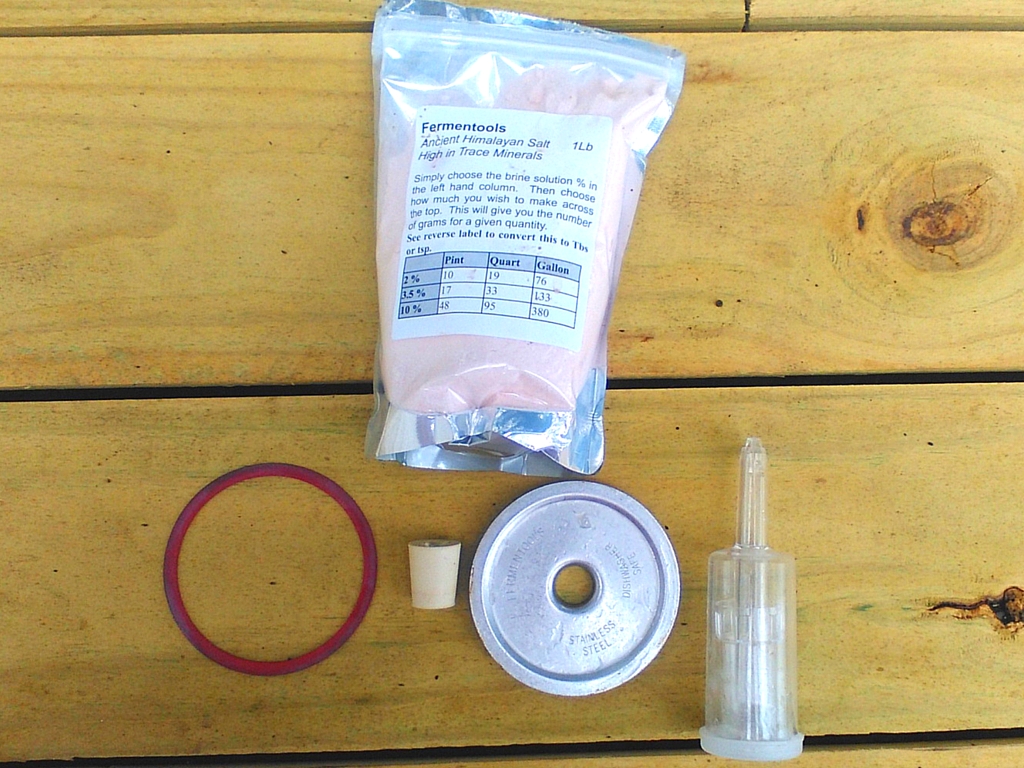
Here’s what you get in the kit:
- An airlock
- A rubber stopper
- A mason jar lid (without the ring) crafted to fit the rubber stopper
- A rubber ring (keeps the air out of the fermenting jar)
- A glass weight to keep your veggies submerged
- A large bag of Himalayan salt
- Directions for assembly (although it’s straight forward)
- Recipes
The kit attaches to a mason jar, so you can easily use glass to begin fermenting at home.
The kit comes with a glass weight, which means you don’t have to search for a weight, then wonder if it’s actually working to keep your veggies submerged.
The airlock assures you that air can escape your ferment (essential to creating that anerobic environment) and that air cannot get in.
You will have a better experience and worry less using Fermentools. I know I do.
I’ve tried fermenting without Fermentools and it’s not as tidy.
In one instance, my apple cider vinegar was invaded by fruit flies, and I had to toss 3 weeks worth of work.
If I had used the airlock that came with my Fermentools kit, the flies would not have been able to get near my fermenting vinegar.
Where to buy Fermentools?
You can buy Fermentools on their website (www.fermentools.com) or on Amazon.
While you can buy these tools for a single mason jar, I suggest you buy the six pack Fermentools.
Once you start fermenting, and gain confidence, you will want to try it with multiple veggies at the same time.
Trust me on this.
I hope this article has piqued your curiosity about fermenting, and given you the confidence to try it out!
Your life will be changed.
Here’s a recipe to get you started.
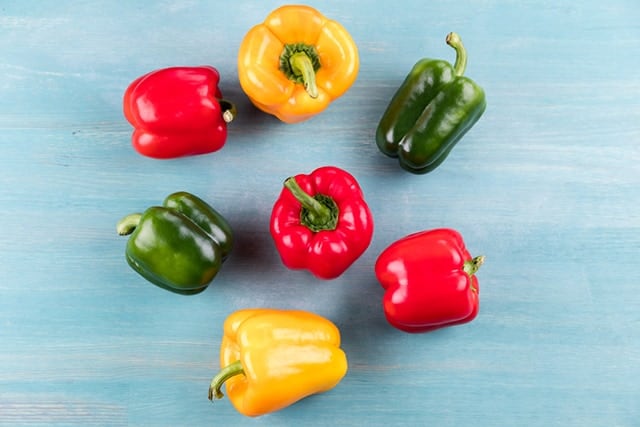
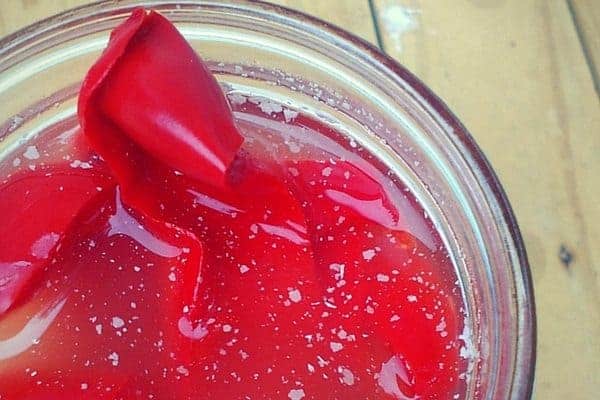
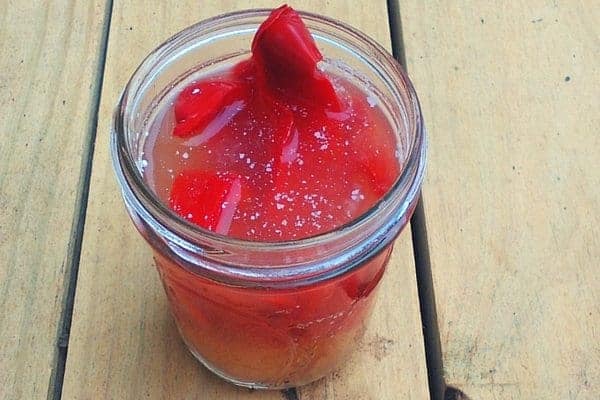
Fermented Red Peppers
Ingredients:
1 red bell pepper
1/8 tsp Fermentools Himalayan salt
Filtered water
Tools:
Fermentools Kit
Wide-mouth quart size Mason Jar
Mason jar ring
Cut your bell pepper into 1/4″ strips lengthwise
Pack into a clean, wide-mouth mason jar
In a separate bowl or jar, mix the salt with the filtered water.
Add to the mason jar with peppers, and fill until the peppers are covered, leaving a 1″ space between the top of the water and the lip of the mason jar.
Submerge the peppers under water using the glass weight in your Fermentools kit, pressing down if necessary. All the peppers need to be submerged!
Use the directions in your Fermentools kit to assemble the airlock and seal the mason jar.
I’d like to hear from you!
Do you think you’ll try fermenting? Why or why not? Email me at editor@thefrugalchicken.com or comment below!
Maat van Uitert is a backyard chicken and sustainable living expert. She is also the author of Chickens: Naturally Raising A Sustainable Flock, which was a best seller in it’s Amazon category. Maat has been featured on NBC, CBS, AOL Finance, Community Chickens, the Huffington Post, Chickens magazine, Backyard Poultry, and Countryside Magazine. She lives on her farm in Southeast Missouri with her husband, two children, and about a million chickens and ducks. You can follow Maat on Facebook here and Instagram here.




![Substitute Honey For Sugar & Get Perfect Baked Goods [Conversion Chart]](https://thefrugalchicken.com/wp-content/uploads/2017/06/Can-I-substitute-honey-for-sugar-feature.jpg)
